
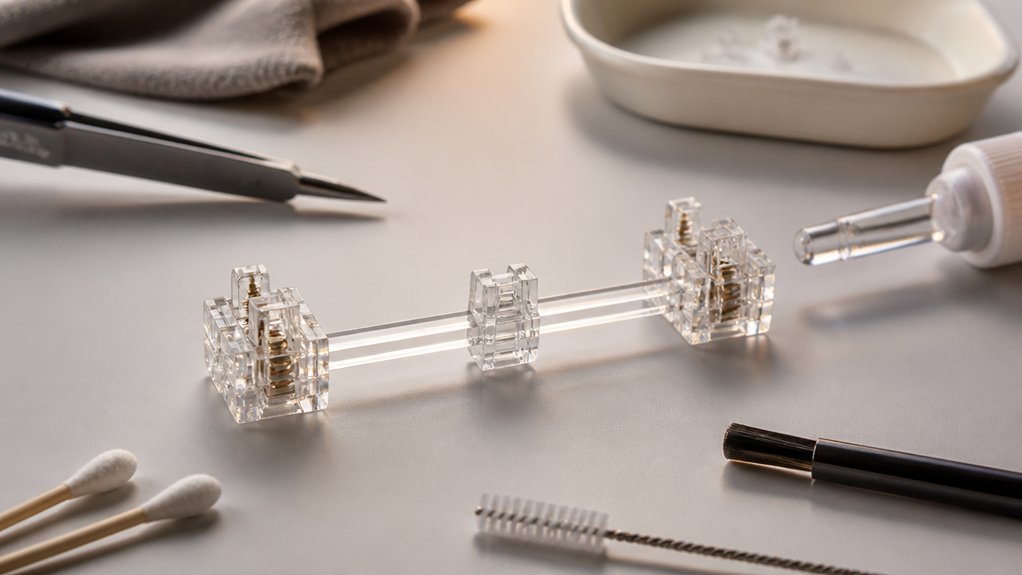
The best way to clean stabilizers is to carefully disassemble them, remove keycaps and switches, and then clean each part with a cotton swab or tiny brush dipped in isopropyl alcohol. Remove excess lubricant with a toothpick or Q-tip, and consider applying fresh lubricant like Krytox™ 205g0 for smoother sound and feel. Avoid over-lubricating or rushing the process, as proper cleaning can greatly reduce rattles and stickiness. Keep exploring for tips to maintain quiet, consistent stabilizers.
Why Regular Stabilizer Cleaning Matters
Regularly cleaning your stabilizers is essential because it keeps your keyboard performing smoothly. When you do regular cleaning, you remove excess lube that can cause sticky or sluggish key presses, guaranteeing consistent key travel.
Dust and debris tend to accumulate around stabilizer components over time, increasing noise like rattling or clacking if left unchecked. Keeping your stabilizers clean helps prevent uneven lube distribution, which can lead to inconsistent sound and feel across keys.
Regular maintenance also allows you to identify issues early, such as wire bends or clip wear, helping you make timely adjustments. Proper stabilizer lubrication not only reduces noise but also enhances overall typing feel. Ultimately, routine cleaning prolongs the lifespan of your stabilizers and guarantees your keyboard remains quiet, smooth, and reliable during daily use.
Pick Your Stabilizer Cleaning Supplies and Tools
Selecting the right cleaning supplies and tools is essential for maintaining your stabilizers effectively. You’ll need simple items like a cotton swab and a small paintbrush for precise cleaning and lubricant removal. Tweezers are vital for handling stabilizer components, especially on plate-mounted models like the NK65. For application and cleanup, thin, even layers of factory lube or cleaning solution work best with a lube pen or small paintbrush. Use paper towels or lint-free cloths to wipe away excess lubricant, preventing stickiness. Here’s a visual guide:
| Tool | Purpose |
|---|---|
| Cotton swab | Gently removes excess lubricant in tight spaces |
| Tweezers | Handles stabilizer parts without damage |
| Small paintbrush | Applies or cleans lubricant precisely |
Knowing the different keycap puller designs and materials can help ensure you choose the most suitable tools for your stabilizer maintenance. These tools guarantee a careful, effective stabilizer cleaning process.
Disassemble Your Stabilizers Safely
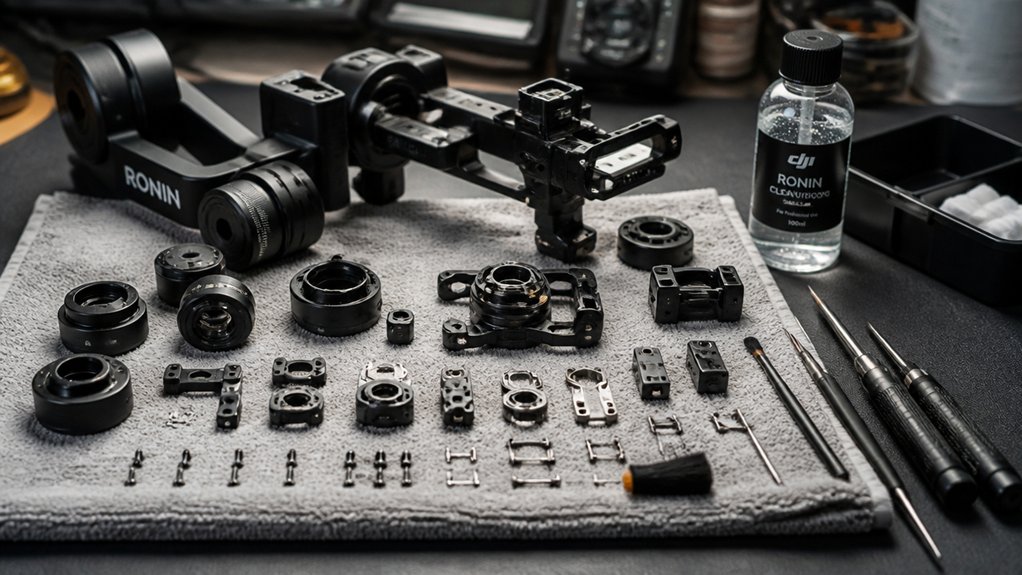
Before disassembling your stabilizers, take a moment to familiarize yourself with their components and gather the necessary tools. Knowing that plate-mounted stabilizers, like on the NK65, only require removing the respective switch keeps the process simple.
Use tweezers to gently unclip stabilizer wires from the plate—this prevents damage and preserves the stabilizer stems. Keep track of small parts such as screws and washers; losing these can complicate reassembly.
Remember, applying too much force when removing stabilizer stems or wires can cause bending or breaking—avoid this at all costs. Having tools like keycap pullers, switch pullers, and small screwdrivers on hand guarantees a careful, efficient disassembly.
Additionally, understanding material durability can help prevent accidental damage during cleaning processes. Handle parts gently for seamless reassembly.
Keep small components organized.
Be cautious of lube can cause improper functioning
How to Clean Stabilizer Parts Effectively
Start by removing any excess lubricant with a gentle blot using a q-tip or soft cloth to prevent spreading it further. Carefully detach stabilizer components, like wires or housings, using tweezers or small tools to access hidden areas. Use toothpicks or tiny brushes to clean tight spaces, removing debris or dried lube for a thorough, precise clean. For best results, consider inspecting the material quality of your stabilizers to identify any wear or damage that might need special attention during cleaning.
Removing Excess Lubricant
To effectively remove excess lubricant from your stabilizer parts, you’ll want to start by gently dabbing the surfaces with a Q-tip dipped in isopropyl alcohol or a mild solvent. Focus on accessible stabilizer surfaces—be careful not to spread the lubed switch’s small amount of lubricant further. Using high-purity residue-free formulations ensures thorough cleaning without leaving sticky residues that could affect performance. This targeted cleaning prevents sticky or off-center keypress issues.
- Use a gentle touch to avoid damaging delicate components.
- Remove keycaps first to access stabilizers easily.
- For hard-to-reach spots, employ a toothpick or tweezers for precision.
Detaching Stabilizer Components
Once you’ve removed excess lubricant from accessible stabilizer surfaces, the next step is to detach the stabilizer components for thorough cleaning.
For plate-mounted stabilizers like those on the NK65, only remove the related switch to unclip and detach the stabilizer from the plate—no need for full keyboard disassembly. Use tweezers to carefully unclip stabilizer wires and detach housings and stems for individual cleaning.
Make sure to separate all components—including housings, stems, wires, screws, and washers—so you can clean and lubricate each part effectively, aiming to restore the factory feel. Be gentle and avoid excessive force when detaching parts to prevent bending wires or damaging clips.
Properly detaching components guarantees a more precise and thorough cleaning for your stabilizer performance.
Cleaning With Appropriate Tools
How can you guarantee a thorough and gentle cleaning of your stabilizer parts? Use the right tools to make certain everything you need is covered, making sure you avoid damaging delicate components. Use a q-tip or toothpick to carefully remove excess lubricant—focus on areas where lube has bled out, but don’t spread it further.
Remove keycaps and switches if possible to expose stabilizers fully, which improves cleaning effectiveness. Employ tweezers to handle small parts, providing precision and preventing damage. For spots hard to reach inside housings or on stems, a small paintbrush or toothpick works great.
Remember:
- Dabbing excess lubricant with a cloth prevents pushing it deeper.
- Use tools that give you control and accuracy.
- Always be gentle to preserve component integrity.
How to Lubricate and Mod Stabilizers for Better Feel
Lubricating and modding stabilizers is essential for achieving a smoother, quieter keystroke. Start by applying a small amount of Krytox™ 205g0 lubricant to all sides of the stabilizer stems and inside the housing walls, focusing where the wire contacts the stem.
Use a flat surface to carefully balance the stabilizer wires, reducing ticking noises and wobble. Coat the stabilizer wire ends and clip-in areas generously with Krytox™ XHT-BDZ in an “L” shape to cut down on rattle.
Perform the Holee mod by inserting adhesive bandages into the stabilizer stem holes to improve sound stability and adhesion. Finally, clip only the protruding legs with flush cutters, reassemble, and guarantee stabilizers sit flush on the plate or PCB to avoid mushy feel.
Troubleshooting Rattles, Wobble, and Sticky Keys
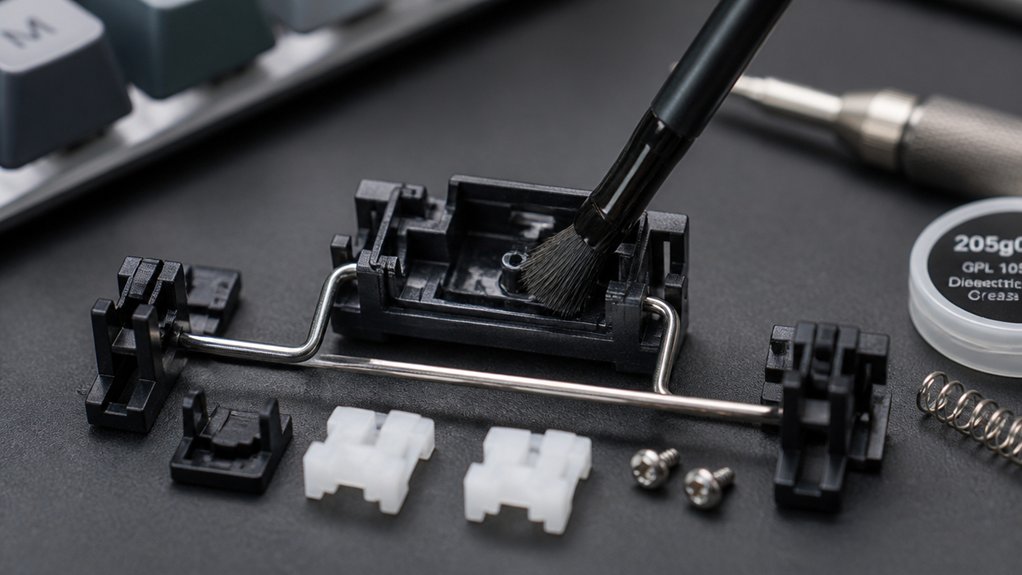
If your stabilizers rattle, wobble, or stick, the first step is to identify the cause, such as misaligned wires or excess lubricant. Use gentle cleaning techniques like a q-tip or toothpick to remove any buildup or uneven lubricant, and check that all clips and wires are properly seated. Small adjustments, like bending wires or tightening clips, can often fix these issues without over-lubricating. Additionally, considering the use of stabilizer pads and sound tuning accessories can help improve stability and reduce noise long-term.
Identifying Rattle Causes
When troubleshooting rattles, wobble, and sticky keys in your stabilizers, the first step is to identify the root cause of each issue. A rattle often comes from unlubricated or improperly seated wires rubbing against the housing or stems. Wobble typically results from wires not fully clipping into the housing or stabilizers being loose on the keyboard plate. Sticky keys usually happen due to over-application of lube, which causes resistance during pressing.
To diagnose, test the stabilized keys by pressing side to side—this helps determine if the rattle or ticking stems from wire bends or lack of lube inside the stem hole. Careful inspection, bending wires straight on a flat surface, or adjusting stabilizer seating can resolve these issues. Proper maintenance of your stabilizers—including cleaning and re-lubricating—can significantly improve their sound and feel over time.
- Rattle often signals inadequate lube or misaligned wires.
- Wobble points to loose clips or stabilizer seating.
- Sticky keys are caused by excessive or uneven lube buildup.
Correct Lubrication Techniques
Proper lubrication techniques can make a significant difference in fixing rattles, wobble, and sticky keys in your stabilizers. To save time and effort, avoid over-lubricating parts like the exterior housing and stem, which often causes stickiness. Instead, focus on internal contact points. Use Krytox™ 205g0 sparingly and evenly on stabilizer stems and housing interiors to prevent rattle. Apply Krytox™ XHT-BDZ generously in an “L” shape on stabilizer wire ends and clip-in areas to reduce wobble and noise. Remove excess lubricant with a q-tip or toothpick to avoid sticky keys. Guarantee stabilizer wires are balanced, seated flush, and gently straighten bent wires to eliminate ticking. Correct technique reduces the need for repeated adjustments and preserves your stabilizers’ factory lubed quality. Proper material quality, such as high-quality polymers and stainless steel wires, also plays a crucial role in ensuring durability and optimal sound.
Fixing Sticky Stabilizers
Sticky stabilizers often result from excess lubricant that has seeped out of internal contact points, causing keys to feel sluggish or off-center. To fix this, start by gently removing excess lube with a q-tip or toothpick on stabilizer stems and housings, focusing on areas where lube has bled out.
For plate-mounted stabilizers like on the NK65, remove the keycap and switch to access components without doing a full teardown. Remember, avoid over-applying lubricant—thick layers can cause sticky, off-axis key presses.
If you notice wobbling or rattles, carefully straighten or balance the stabilizer wire and consider adding foam or a bandage mod. Proper application of lubricants using precise tools can significantly prevent these issues.
After cleaning, re-lubricate sparingly with Krytox 205g0 using a small brush to help keys feel smoother and prevent future stickiness.
Best Practices for Maintaining Quiet Stabilizers
Maintaining quiet stabilizers is essential for a smooth and unobtrusive typing experience, and it starts with regular, deliberate cleaning. You need to know that small details make a difference.
Gently remove excess lubricant from stabilizer stems and housing with a Q-tip or toothpick after factory lubing, avoiding spreading it further. When cleaning plate-mounted stabilizers, carefully unclip them with tweezers to prevent full keyboard disassembly.
Remove excess lubricant with a Q-tip or toothpick, then carefully unclasp stabilizers with tweezers to avoid disassembly.
Wipe off any lubricant that has bled onto external parts to prevent sticky or off-axis keypresses. After cleaning, apply a thin, even layer of Krytox™ 205g0 lubricant on stems and housing interiors—this keeps operations smooth and quiet.
Regularly check for wire bends or clips not fully engaged, as this reduces rattles and ticking noises effectively.
Common Mistakes to Avoid When Cleaning Stabilizers
When cleaning stabilizers, it’s easy to make mistakes that can affect their performance. One common error is using a little bit too much lubricant, which can cause stickiness and make the keys feel mushy.
Avoid spreading lubricant beyond the stabilizer components; focus only on the stems and housing interiors to prevent buildup on external parts. Rushing the cleaning process leads to uneven lube removal, resulting in inconsistent stabilizer sound and feel.
Don’t forget to clean leftover grease from wires, as it can cause rattling and noise. Also, avoid forcefully disassembling plate-mounted stabilizers beyond what’s necessary—damaging clips or mounts can worsen the keys feel rather than improve it.
- Over-lubricating causes stickiness.
- Skipping cleanup of wires increases noise.
- Forcing disassembly damages components.
Frequently Asked Questions
How to Clean a Stabilizer?
You remove the keycap and switch, gently clean the stabilizer parts with a q-tip and toothpick, then wipe off old lubricant with isopropyl alcohol. Reapply Krytox lubricant for smooth, quiet operation—avoid soaking to prevent damage.
Can You Lube Stabilizers With WD-40?
You shouldn’t lube stabilizers with WD-40 because it’s a solvent that can damage plastics, cause stickiness, and lead to inconsistent key feel. Use specialized lubricants like Krytox™ 205g0 or Krytox™ XHT-BDZ for best results.
What Is the Best Lube for Stabilizers?
The best lube for stabilizers is Krytox™ 205g0 for the housing and stem, combined with Krytox™ XHT-BDZ on wire ends and clips. Use a thin, precise application to guarantee smooth, quiet stabilization without mushiness or off-axis issues.
Can I Lube My Stabilizers With Vaseline?
You shouldn’t lube your stabilizers with Vaseline. It can attract dust, cause stickiness, and damage plastic parts over time. Use dedicated keyboard lubricants like Krytox™ for smoother, longer-lasting stabilization instead.
In Summary
Keeping your stabilizers clean and well-maintained guarantees a smoother, quieter typing experience. Regular cleaning prevents buildup of dirt and grease that can cause rattling or sticking. Use the right tools and gentle techniques to disassemble, clean, and lubricate your stabilizers safely. Avoid shortcuts to prevent damage, and stick to best practices for ongoing maintenance. With consistent care, your stabilizers will stay in top shape, enhancing your overall keyboard performance and enjoyment.



