
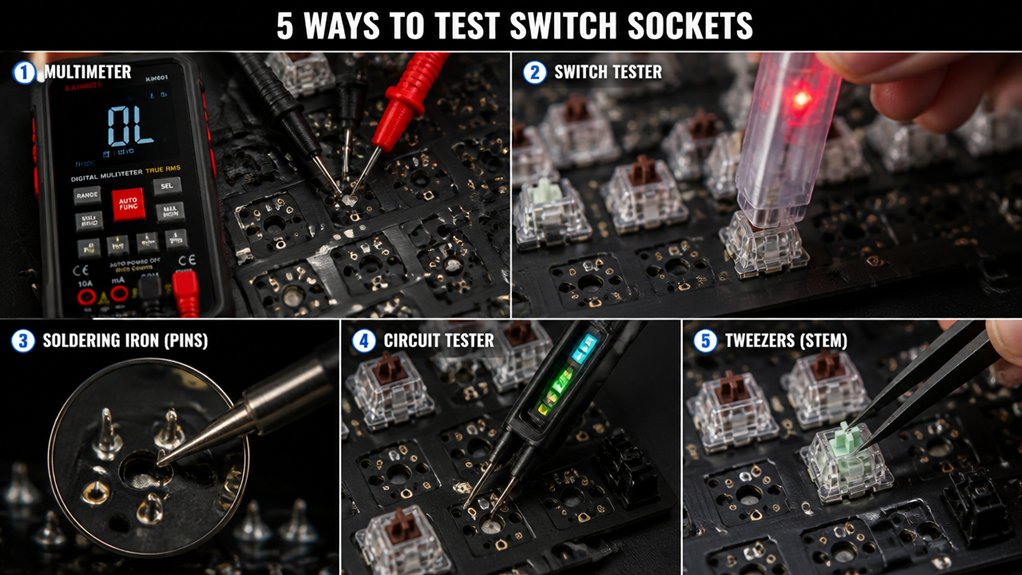
To test your mechanical keyboard switch sockets, start by using a switch test kit to check for proper click or resistance, ensuring pins are aligned. Next, manually press switches while connected to software like VIA or Keyboardtester.com to verify responsiveness. You can also short circuit contacts with metal tweezers for real-time testing. Keep an eye out for misaligned clips or debris, and explore troubleshooting tips to see how simple fixes can improve your keyboard’s performance.
What Are Hot-Swap Sockets and How Do They Work?
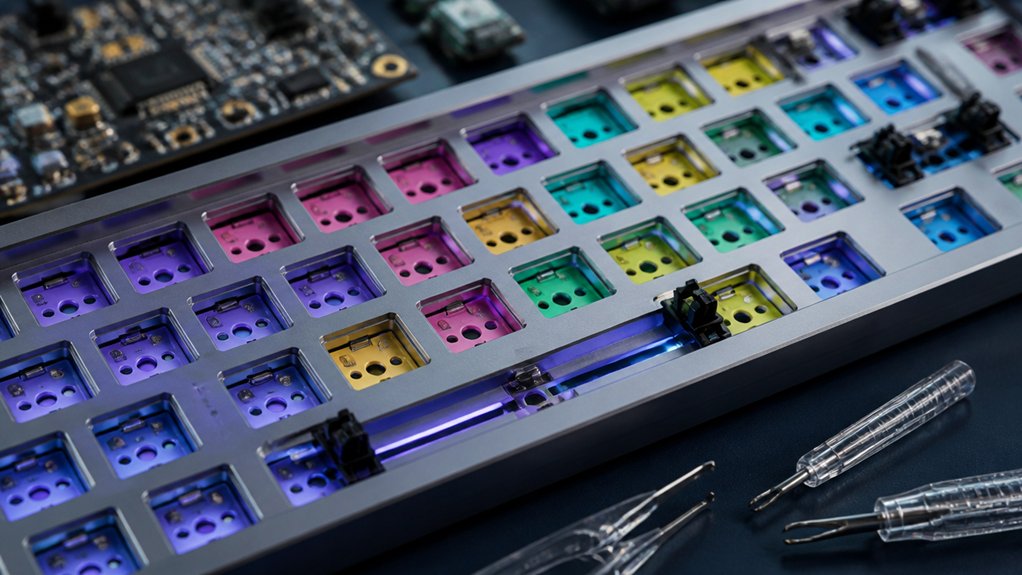
Have you ever wondered how hot-swap sockets allow you to change mechanical switches quickly and easily? Hot-swap sockets are special receptacles soldered onto a PCB that let you plug in or remove switches without soldering.
Hot-swap sockets enable quick, solderless switch replacements for easy customization and maintenance.
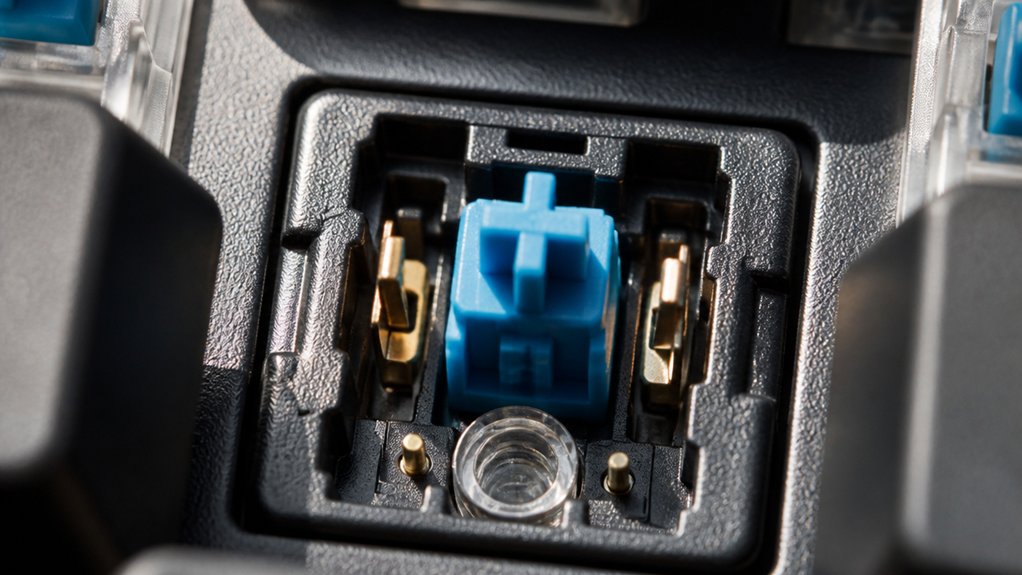
They feature a rigid plastic housing that lines up the switch pins perfectly, and tempered metal clips inside grip the pins securely, functioning like spring-loaded jaws. This design guarantees reliable electrical contact comparable to soldered joints but with much more convenience.
You can swap switches in under a minute, making experimentation effortless and repairs straightforward. Plus, hot-swap sockets support testing different switch types without needing to desolder.
Some sockets are equipped with features like gold-plated pads to enhance oxidation resistance and ensure long-term durability. However, you should be careful when removing switches to avoid damaging the socket, especially by pulling at an angle instead of straight out.
How to Use a Switch Test Kit to Find Faulty Sockets
Using a switch test kit makes it straightforward to identify faulty sockets in your mechanical keyboard. First, insert the switch into the PCB socket, ensuring proper pin alignment, and listen for a clear click or feel consistent resistance. Connect the PCB to a computer and use software like VIA or keyboardtester.com to verify if the switch registers keypresses reliably. If a switch doesn’t register, try reinserting it or testing adjacent sockets to isolate the problem. You can also use metal tweezers to short the switch contacts, checking if the circuit completes and signals properly. Repeated failure to register input from a socket suggests it’s faulty or damaged, requiring repair or replacement. Regular testing with compatible switch testers helps maintain keyboard responsiveness and can prevent long-term issues. This method helps you quickly pinpoint issues before reassembling your mechanical keyboard.
How to Manually Test Switch Functionality in Real-Time
To manually test switch functionality in real-time, connect your keyboard’s PCB to your computer via USB and open software like VIA or keyboardtester.com. Use the test interface to visually confirm switch socket activation.
Then, carefully bridge the contact holes of each mechanical switch socket with metal tweezers, pressing firmly enough to complete the circuit. Observe if the corresponding key lights up on the software—this indicates proper electrical connection.
You can perform this test from either the front or back side of the PCB, but guarantee consistent contact to prevent false negatives caused by misalignment. Repeat the contact process multiple times if no key response appears initially.
Confirm every switch registers input to detect faulty sockets early, and seek replacement if sockets consistently fail during testing. Switch durability and ratings for keystroke longevity are important factors to keep in mind during testing.
How Software Tools Like VIA and Keyboard Testers Help Diagnose Connection Problems
Software tools like VIA and keyboard testers play an essential role in diagnosing connection problems in mechanical keyboards. They offer a new, straightforward way to verify if switch sockets are functioning properly.
VIA provides real-time recognition and mapping of key presses on supported PCBs, making it easy to spot connection issues instantly. Keyboardtester.com gives a simple online interface to confirm switch functionality but only supports ANSI layouts.
Repeatedly testing with metal tweezers, combined with these tools, helps you identify intermittent or position-related problems. Understanding the hot-swap socket compatibility and electrical limits can also prevent your testing from damaging the components.
You’ll find it empowering to discover problems early, saving time and money.
- Feel confident detecting faulty sockets early
- Gain clarity from instant key recognition feedback
- Quickly confirm proper electrical contact
- Isolate issues before replacing entire boards
- Feel in control of your keyboard’s health
Common Socket Problems and Easy Fixes You Can Try
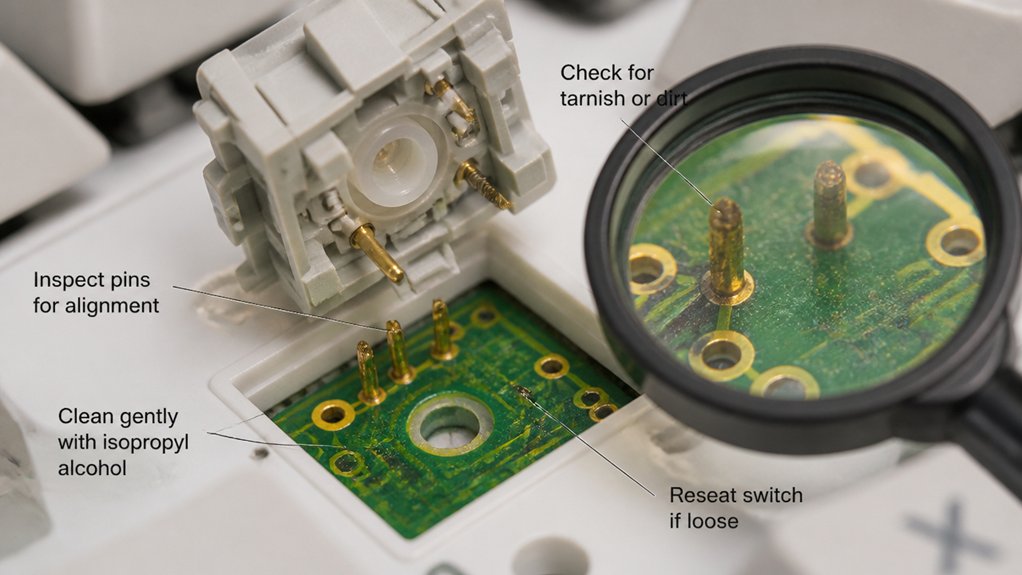
Many common socket problems stem from physical misalignments or debris that interfere with electrical contact. In mechanical keyboards, bent or misaligned metal clips prevent proper key registration, leading to unresponsive switches.
Dirt, dust, or debris inside the switch socket can block the contacts; cleaning with compressed air or isopropyl alcohol often restores connectivity.
Pulling switches out at an angle can damage socket clips, so always remove them straight up to avoid deforming the spring-loaded jaws. If a socket repeatedly fails to register during testing, reseating the switch or replacing the socket may be necessary.
Keep in mind, visual inspection alone isn’t enough—using testing software like VIA or keyboardtester.com helps confirm the fault and verify your fix. Employing high-quality tools, such as stainless steel or manganese steel switch pullers, can prevent accidental damage during removal.
Frequently Asked Questions
How to Test Out Keyboard Switches?
You test keyboard switches by inserting them into the sockets securely, then pressing each key while monitoring their registration with software like VIA or keyboardtester.com. Alternatively, use a multimeter for electrical continuity checks.
What Is a 96% Keyboard Missing?
A 96% keyboard is missing a dedicated function row, a full navigation cluster, and a traditional number pad. It consolidates keys, making it smaller and more portable, but sacrifices some dedicated keys for a compact design.
How to Test Keyboard Switches With a Multimeter?
To test keyboard switches with a multimeter, set it to continuity mode, place probes on the switch’s pins, press the switch, and check for a beep or resistance drop. Test each switch individually for consistent contact.
How to Test a Hotswap Socket?
You connect your keyboard to a computer, then use software like VIA or keyboardtester.com to check key registration. Short the socket pins with tweezers, watch for key presses, and inspect closely for damages or faulty contacts.
In Summary
Testing your mechanical keyboard switch sockets guarantees peak performance and longevity. Whether you use hot-swap sockets, a switch test kit, manual methods, or software tools like VIA, understanding how to identify and troubleshoot issues is key. Don’t ignore irregularities—address them early with simple solutions. Keeping your sockets in good condition guarantees smooth typing and a better overall experience. Regular testing helps you catch problems before they become costly, so stay proactive and enjoy a flawless keyboard performance.



