
To use dampening mats in your keyboard build, first choose multi-layer mats with rubber bases and foam or fabric tops for effective sound absorption. Carefully measure and cut the mats to fit inside the case without obstructing switches or stabilizers. Clean the interior thoroughly before placing the mats and secure them with double-sided tape. During installation, guarantee even contact and avoid wrinkles. To learn detailed steps and extra tips, keep exploring this guide for a quieter, more refined typing experience.
Why Use Dampening Mats for Keyboard Noise Reduction
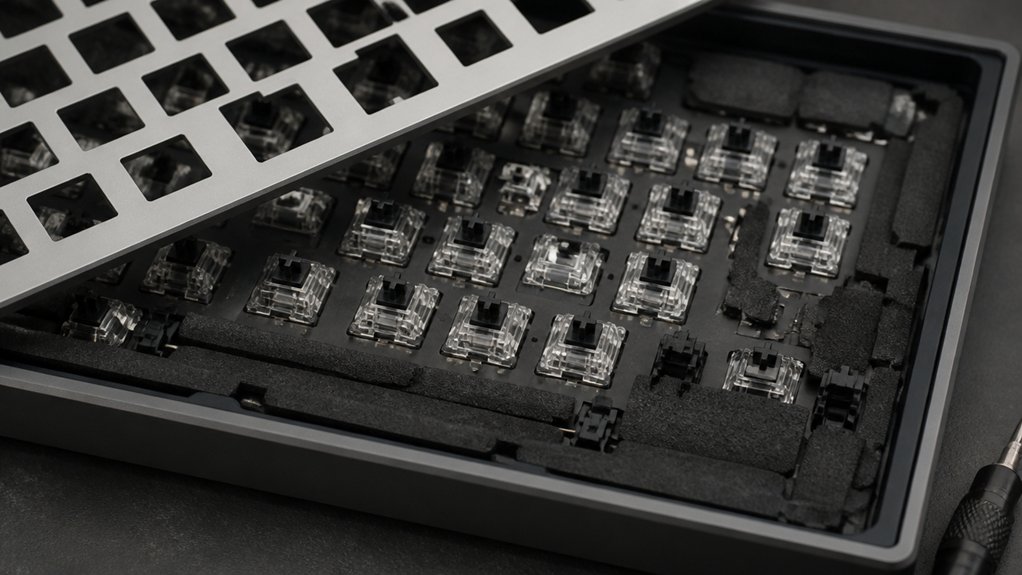
Dampening mats are a practical solution if you want to reduce keyboard noise effectively. They’re placed inside or beneath your mechanical keyboard case to absorb sound and vibrations from keystrokes. Multi-layer mats, with rubber bases, foam cores, and fabric tops, convert vibrational energy into heat and disperse sound waves. Thicker mats, around 6–8 mm, can reduce sound levels by 5 to 7 dB(A), especially low-frequency hammer noise from switches. Properly sizing the mats so they cover the keyboard base maximizes contact and vibration absorption, minimizing impacts from switches and keycaps hitting the case. When combined with other methods like switch lubrication or O-rings, dampening mats greatly improve sound reduction and create a quieter typing experience. Using high-density foam materials enhances the overall vibration dampening effect, leading to even more effective noise suppression.
How to Choose the Best Materials and Thickness for Dampening Mats
How do you choose the best materials and thickness for your dampening mats? Start by selecting rubber mats with a multi-layer design, including a foam core and fabric top. These materials effectively dampen the sound and reduce vibrations.
Choose multi-layer rubber mats with foam cores and fabric tops for effective sound and vibration dampening.
Thickness is key: a 6 mm mat offers notable noise reduction of 5–7 dB(A) and dampens low-frequency sounds, while thinner options like 2 mm provide less noise absorption.
Opt for materials with viscoelastic properties, such as neoprene, rubber composites, felt, or memory foam, as they convert sound energy into heat, enhancing noise reduction.
Larger mats that cover your keyboard and workspace improve vibration dispersion, while stitched edges and non-slip bottoms maintain shape and stability, ensuring consistent noise dampening during use.
Preparing Your Keyboard and Workspace Before Installation
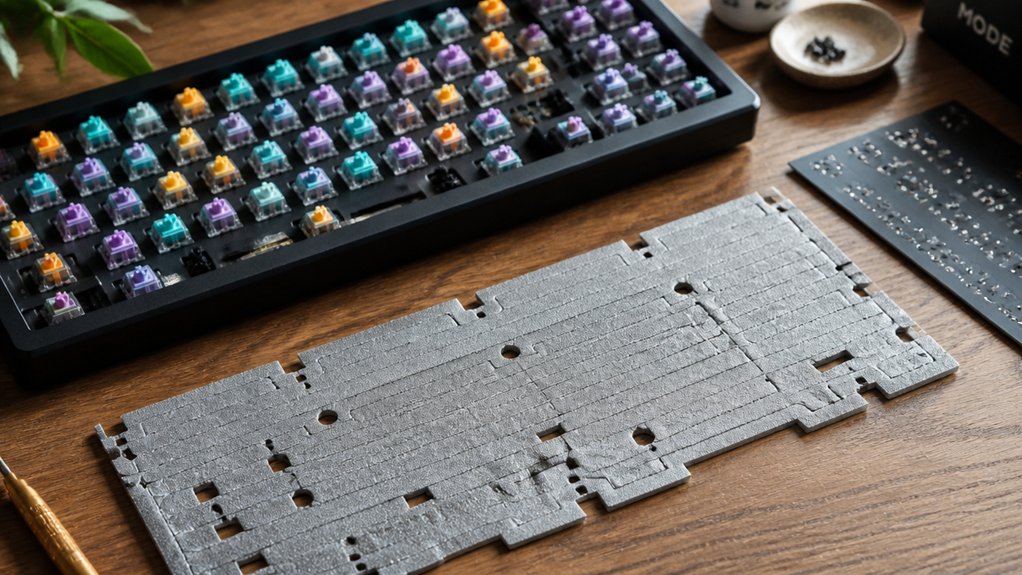
Before installing dampening mats, set up a clean, well-lit workspace free from dust and debris. Gather all necessary tools and materials, such as scissors, adhesive mats, and tweezers, to guarantee a smooth installation. Ensuring proper foaming material selection can make a significant difference in achieving effective sound dampening. Confirm your keyboard is fully disassembled and compatible with the dampening mats to prevent any fitment issues.
Clear Workspace Setup
Setting up a clean and organized workspace is essential for a smooth dampening mat installation. Start by choosing a flat, dust-free surface to prevent debris from sticking to the dampening mats or keyboard case.
Securely remove all keycaps and switches if possible, giving you clear access to the interior of the keyboard case. This step guarantees precise fitting of the dampening mats without obstacles.
Measure the internal dimensions of your keyboard case to select or cut a dampening mat that fits snugly, avoiding interference with other components.
Using the right tools can help ensure accurate cuts and proper placement, making the installation process more efficient and professional-looking.
To keep the process efficient, organize your tools—scissors, cleaning cloths, and mats—within easy reach. Also, ground yourself or use anti-static precautions to protect the delicate electronic components during setup.
Gather Necessary Materials
Gather all necessary materials before starting your dampening mat installation to guarantee a smooth process. You’ll need to carefully disassemble your keyboard to access the interior, removing keycaps and opening the keyboard case. Choose dampening mats made from neoprene, rubber, or multi-layer foam for peak sound absorption. Measure your keyboard case to cut the dampening mats precisely, guaranteeing a snug fit without interfering with switch mechanisms or stabilizers. Gather tools like scissors or X-Acto knives for trimming and adhesive such as double-sided tape or spray adhesive for secure placement. Keep your workspace clean and static-free to prevent component damage and guarantee proper adhesion. Proper material selection can significantly impact sound dampening performance and long-term durability. Here’s a quick overview of tools and materials:
| Material | Purpose | Notes |
|---|---|---|
| Dampening mats | Vibration/noise reduction | Select flexible, impact-absorbing material |
| Scissors/X-Acto | Trim mats | Guarantee precise cuts |
| Adhesive | Secure mats | Use double-sided tape or spray adhesive |
| Keycap puller | Disassemble keyboard | Protect keycaps during removal |
| Microfiber cloth | Cleaning | Keep surfaces dust-free |
Check Keyboard Compatibility
Have you double-checked your keyboard’s internal layout and case dimensions? Guaranteeing compatibility with the dampening mat is vital to reduce keyboard noise and avoid keycaps hitting inside the keyboard. To verify this:
- Remove keycaps and the PCB plate to inspect space inside the keyboard, confirming the mat will fit without blocking switch stems or stabilizers.
- Measure the space beneath the PCB; a 1–3 mm thickness is typical for effective sound absorption without affecting switch travel.
- Confirm the dampening mat material is compatible with your components, avoiding static or corrosion issues over time.
- Ensure the material’s adhesive strength is sufficient to maintain positioning during regular use, especially if your keyboard experiences frequent movement or shifts.
Preparing your workspace guarantees you install the dampening mat evenly, preventing wrinkles that could compromise noise reduction. Proper compatibility checks save time and improve your overall typing experience.
Step-by-Step Guide to Installing Dampening Mats in Your Keyboard
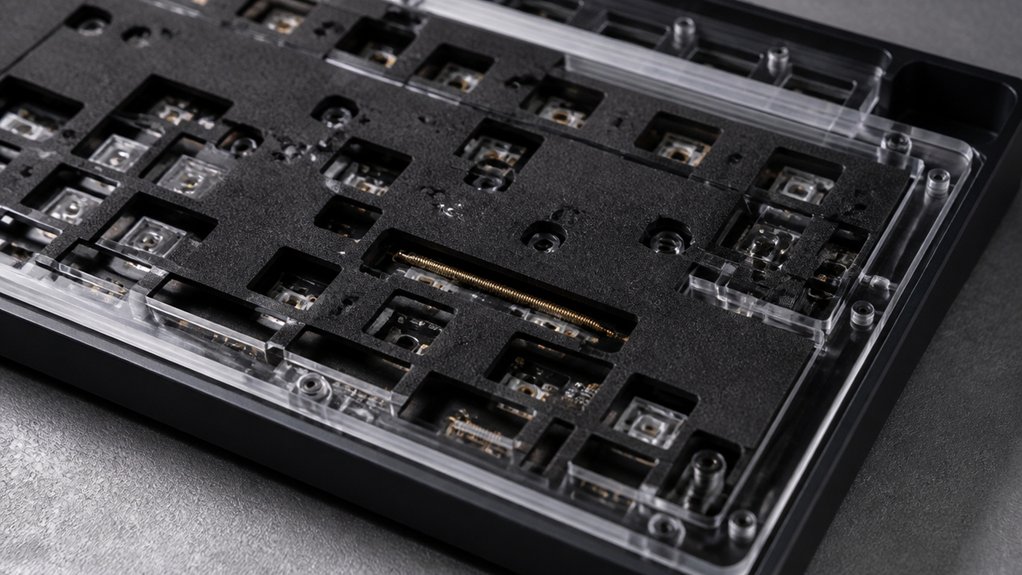
To install dampening mats effectively, start by measuring your keyboard’s interior case to cut the mat precisely. Remove the PCB and plate assembly before placing the multi-layer mat inside to guarantee even coverage and prevent interference. Secure the mat with double-sided tape and reassemble carefully, making sure nothing presses too tightly against the components. The foam density should be considered to ensure optimal vibration absorption and durability during installation.
Preparing the Keyboard Surface
Before installing dampening mats, it’s vital to thoroughly clean the inside of your keyboard case to remove dust, debris, and oils. This guarantees proper adhesion and peak performance.
Once clean, follow these steps:
- Measure and cut the dampening mats to fit precisely within your keyboard case without covering the PCB or obstructing switch areas.
- Use a multi-layer design, such as rubber bases with foam or fabric tops, to enhance vibration absorption and noise reduction.
- Secure the dampening mats with double-sided adhesive or low-residue tape to prevent shifting during assembly or use.
Afterwards, test fit all components to check for interference with key travel, then reassemble carefully, ensuring the mats make even contact without excessive compression.
Applying Dampening Materials
Once you’ve thoroughly cleaned the keyboard case interior, it’s time to install the dampening mats. Cut the dampening mats, which often combine rubber and acoustic foam, to fit precisely inside the case or between the PCB and plate.
Make sure the mats are 4-6 mm thick to maximize vibration absorption and reduce noise generated during typing. Use double-sided tape or specialized adhesive sprays to secure the dampening mats in place, avoiding interference with switches or stabilizers.
Carefully test your keyboard’s functionality during installation to confirm the mats don’t hinder key travel or switch operation. Properly applied dampening mats will effectively absorb vibrations, diminish sound, and create a quieter, more satisfying typing experience. Additionally, ensuring the material compatibility of your dampening mats with your keyboard components will help prevent any potential damage or fit issues.
Maximizing Soundproofing: Combining Mats With Other Techniques
Enhancing your keyboard’s soundproofing often requires more than just placing dampening mats; combining them with other techniques creates an all-encompassing noise reduction system.
Effective keyboard soundproofing combines multiple techniques for comprehensive noise reduction and a better typing experience.
To maximize noise reduction, consider these methods:
- Use a multi-layer desk mat with rubber bases and foam cores beneath your mechanical keyboard. This addresses impact noise and vibration transmission.
- Place thick rubber or neoprene mats under your keyboard stand on a solid plywood platform to disperse vibrations effectively.
- Reduce noise further by lubricating switches and installing O-rings or landing pads on keycaps to minimize vibration and impact noise during typing. Incorporating appropriate materials, such as damping mats, can significantly enhance overall soundproofing.
Layering these techniques creates a thorough soundproofing setup that greatly reduces noise and improves your typing experience.
Tips for Maintaining and Improving Your Dampening Setup
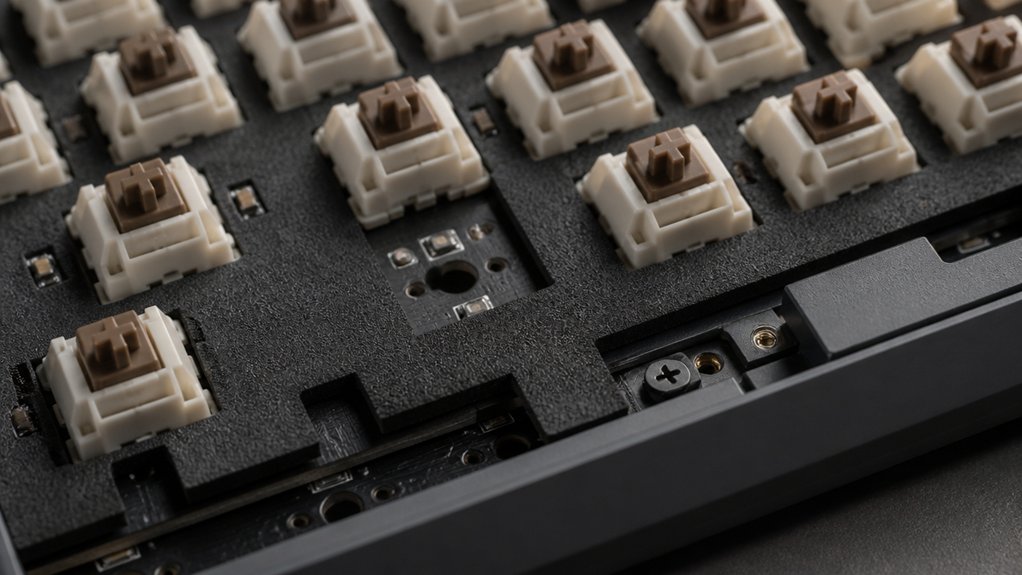
Are you getting the most out of your dampening setup? Regularly inspect and clean your dampening mats to prevent dust buildup, which can diminish their noise-absorbing effectiveness.
Proper placement is key; position mats to maximize coverage beneath your keyboard and stand, enhancing vibration dispersion and reducing sound produced during typing.
Layering mats—such as pairing a dense rubber layer with soft foam—can target both impact noise and vibrations more efficiently.
Replace mats that become compressed or worn, as reduced thickness weakens their sound-dampening abilities. Experiment with different thicknesses, especially 4–6 mm mats, which commonly provide the best noise reduction of 3–7 dB(A).
Choosing gasket-mount kits with durable materials ensures your dampening setup maintains its effectiveness over time.
Keeping your dampening setup well-maintained guarantees you maintain peak noise reduction and typing comfort.
Frequently Asked Questions
How to Use Keyboard Dampeners?
You install keyboard dampeners by placing dampening mats inside or beneath the case, ensuring they cover contact points without obstructing switch movement. Proper fit and positioning maximize noise reduction while maintaining key feel and overall keyboard functionality.
How Do I Dampen My Keyboard?
You dampen your keyboard by placing thick rubber or neoprene mats beneath it, covering the entire footprint, and adding a solid platform if needed. Combine this with other quieting methods like O-rings for best noise reduction.
Do Keyboard Sound Dampeners Really Work?
Yes, keyboard sound dampeners really work. They absorb and disperse sound waves, reducing noise considerably—especially with thicker, layered mats and sealed edges. Pairing them with other techniques maximizes silence and improves your typing experience.
What Is a 96% Keyboard Missing?
A 96% keyboard misses a dedicated navigation cluster, separate arrow keys, and a standalone numeric keypad. It combines these features into a compact layout, maximizing space but sacrificing some dedicated keys and extra function or macro keys.



