
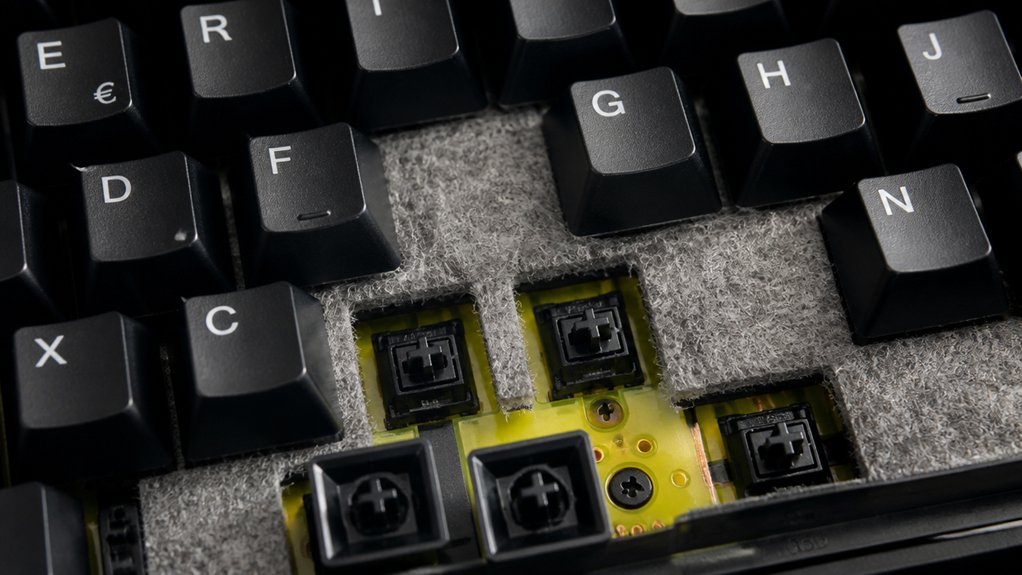
To dampen your mechanical keyboard sound with felt, remove the keycaps and open the case. Cut high-density felt to fit inside the keyboard, placing it between the PCB, stabilizers, and case to absorb vibrations and reduce noise. Use adhesive tape to secure the felt without blocking switches or screw holes. Layering felt with foam or rubber can improve sound dampening. For more detailed tips and tricks for a quieter typing experience, keep exploring further.
Why Felt Is a Great Solution for Keyboard Noise Reduction
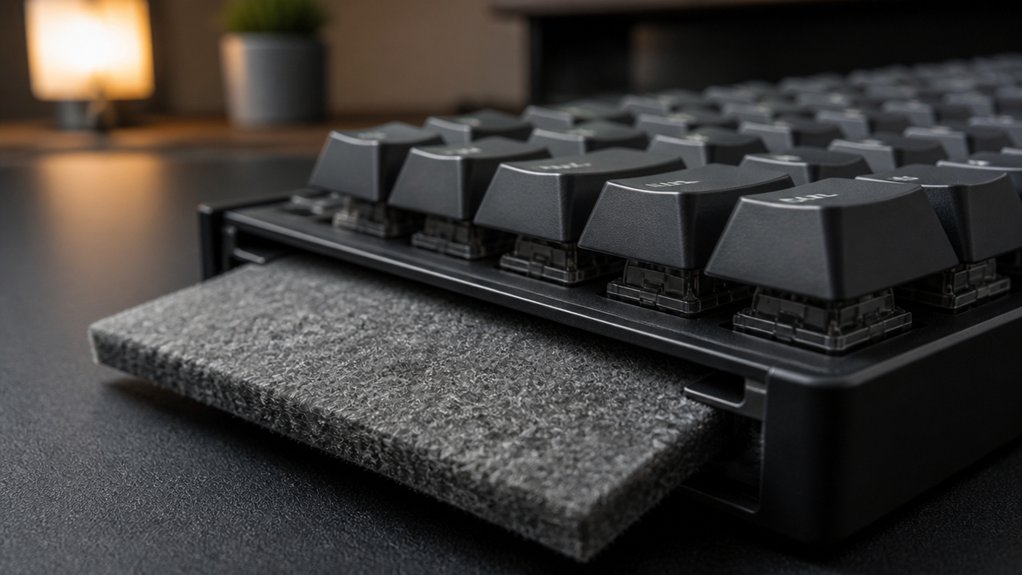
Felt is an excellent choice for reducing mechanical keyboard noise because it effectively absorbs sound waves and vibrations. By placing felt between the PCB and the keyboard case or plate, you can dampen impacts from keypresses, making keystrokes noticeably quieter. Its soft, dense texture disrupts sound transmission paths, helping to reduce keyboard noise without affecting switch functionality. Compared to other foams, felt is durable, easy to cut to size, and can be layered for customized thickness, which enhances its sound absorption qualities. Many users notice a significant decrease in internal resonance and hollow sounds inside their keyboards. Additionally, felt’s sound-absorbing properties make it a versatile and practical material for improving overall acoustic comfort. Overall, felt is a cost-effective, practical material that improves your typing experience by reducing keyboard noise and internal echo.
How Felt Works to Absorb Vibration and Sound
Because of its dense, fibrous structure, felt acts as an effective barrier that converts mechanical vibrations from keystrokes into heat energy, preventing sound waves from passing through.
Felt’s dense, fibrous structure converts vibrations into heat, effectively blocking sound transmission through your keyboard.
As a sound-absorbing material, felt disrupts how sound propagates within your mechanical keyboard. Here’s how it works:
- Felt absorbs high-frequency noise, softening sharp keystrokes and rattles.
- Its porous nature dampens vibrations, reducing resonance within the keyboard case.
- When placed between components, felt minimizes sound reflection and echo.
- Combining felt with foam or rubber layers broadens sound absorption, covering multiple frequencies.
- Selecting the right material density and thickness ensures optimal vibration control and long-term durability, aligning with the principles of effective acoustic performance.
How to Choose the Best Felt Material for Your Keyboard
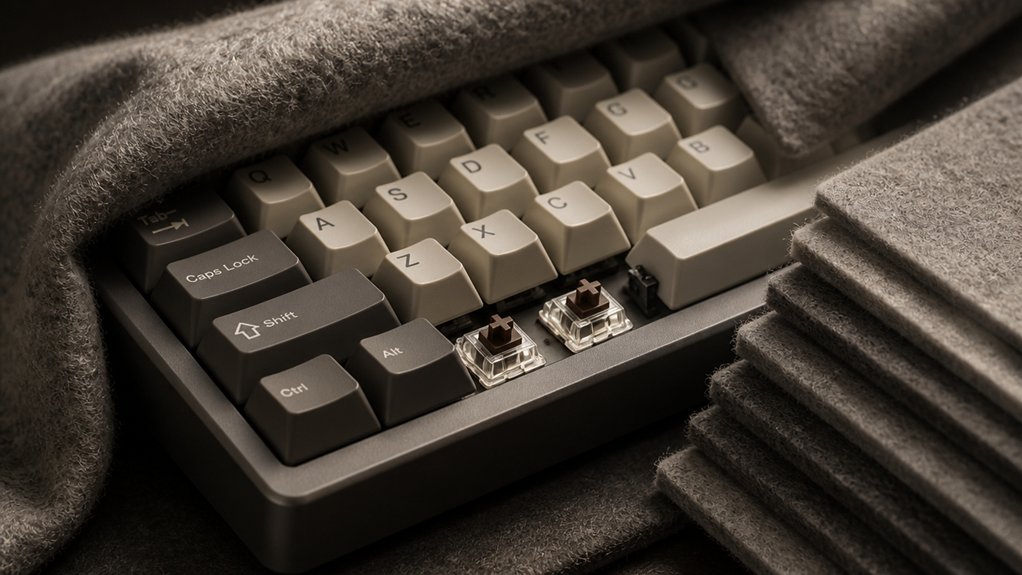
Choosing the right felt material for your keyboard involves considering several key factors to guarantee effective sound dampening without hindering performance. You want high-density felt, as its dense fibers effectively reduce keyboard resonance and echo. A thickness of 2-3 mm strikes a good balance, providing enough cushioning without interfering with internal components. Synthetic wool or blended felt offers better durability and sound-absorbing foam qualities compared to thinner craft felt. The felt should be soft enough to prevent extra key noise but firm enough to keep its shape. Pre-cut felt pads specifically designed for keyboards provide a precise fit and easier installation, maximizing your sound insulation efforts. Additionally, choosing materials with sound absorption properties optimized for keyboards ensures a more refined acoustic experience.
What Is the Ideal Thickness and Density of Felt for Sound Dampening?
Choosing the right felt thickness and density is key to effective sound dampening in your keyboard.
Felt between 2 mm and 4 mm offers good high-frequency noise reduction, while medium-density felt around 100-200 kg/m³ balances performance and fit. Thicker layers and layered densities can improve low-frequency damping but might require adjustments for proper fit. Additionally, using a dense enough felt material ensures better vibration absorption and long-term durability. Sound dampening effectiveness can be significantly enhanced by selecting appropriate felt specifications.
Optimal Felt Thickness Range
The ideal felt thickness for sound dampening in mechanical keyboards generally falls between 2 mm and 6 mm. This range effectively reduces noise without hindering key travel or typing comfort. To optimize your dampening: 1. Keep the felt between 2 mm and 6 mm for a balance of sound reduction and tactile feel. 2. Use denser felt (150-300 kg/m³) to better absorb vibrations and minimize sound transmission. 3. Avoid thicker felt beyond 6 mm to prevent overly cushioning your keyboard, which can affect feel. 4. Consider layering felt or combining it with foam for more efficient sound dampening across different frequencies. Additionally, foam density plays a crucial role in how well the felt can dampen vibrations and improve overall sound absorption. Choosing the right thickness guarantees your mechanical keyboard produces less sound while maintaining a satisfying typing experience.
Impact of Felt Density
Felt density plays a crucial role in how effectively sound is dampened within a mechanical keyboard. Higher density felt, around 150-200 kg/m³, offers better vibration absorption, which reduces sound resonance inside the case. This helps dampen mechanical keyboard noise more efficiently than lower density materials.
For peak sound dampening, choose felt that’s firm enough to resist over-compression but soft enough to absorb key noise. Thicker felt, around 4 mm to 6 mm, enhances high-frequency noise reduction—up to 40% when combined with other layers like cork or foam.
Using denser felt guarantees your sound dampening setup is effective without adding unnecessary bulk, making it ideal for quieter typing experiences and a more controlled sound profile in your mechanical keyboard. Proper material selection, including considerations like material compatibility, is essential for ensuring longevity and optimal performance of your damping setup.
Balancing Sound Absorption
Finding the right balance between thickness and density is key to optimizing sound dampening in your mechanical keyboard. Felt between 3mm and 6mm offers an effective mix of sound absorption and maintaining key feel. Medium to high-density felt enhances vibration absorption, reducing sound transmission through the keyboard case. To optimize this balance, consider: 1. Using felt around 4mm to 5mm thick for effective sound absorption without impacting key travel. 2. Choosing a felt density of 150-250 kg/m³ to effectively trap sound energy and damp resonance. 3. Avoiding felt below 2mm, which reduces echoes but offers limited noise insulation. 4. Combining felt with foam to target different sound frequencies and maximize quietness. Additionally, using stabilizer tuning kits can further improve the sound and rattle performance of your keyboard.
How to Properly Install Felt Inside Your Mechanical Keyboard
Have you ever wondered how to enhance your mechanical keyboard’s sound dampening? To do so, start by carefully removing the keycaps and unscrewing the keyboard case to access the internal cavity. Cut felt sheets precisely to fit between the PCB and case bottom or plate, avoiding interference with switches or stabilizers. Use double-sided adhesive tape or repositionable glue to secure the felt, preventing movement and ensuring consistent sound dampening. High-density felt around 1.5 to 3 mm thick works best for absorbing vibrations and reducing echo without hindering key travel. Proper material choices like TPU housings and the use of elastic support bases in stabilizers can significantly improve noise reduction.
Where to Place Felt Pads or Strips for Maximum Noise Reduction
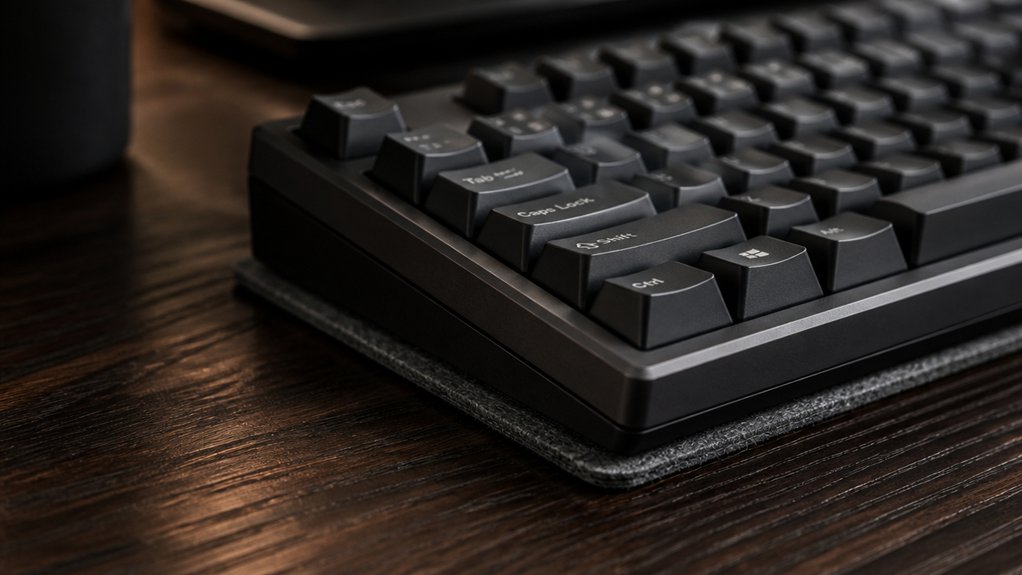
To effectively quiet your keyboard, focus on placing felt pads or strips in key areas like the space between the PCB and case bottom, and around the plate edges inside the keyboard. Using strong adhesive options will guarantee the felt stays in place without damaging your components. Proper placement maximizes vibration absorption and reduces overall noise during typing. Additionally, consider the use of stabilizer lubricants to further soften keystroke sounds and improve overall sound dampening.
Optimal Placement Locations
Where should you place felt pads or strips to get the best noise reduction? The ideal spots include key areas inside your keyboard.
First, position felt pads between the PCB and bottom case to dampen the sound caused by vibrations.
Second, line the inside surface of the keyboard case with felt strips to absorb resonance and minimize reflections.
Third, apply felt beneath the keyboard’s plate to soften noise from keystrokes impacting the switch housing and plate structure.
Fourth, insert felt around stabilizers—especially under larger keys—to reduce rattling.
Finally, place felt pads on internal corners or edges of the case to disrupt sound waves and prevent sound amplification. These placements maximize sound dampening and create a quieter typing experience.
Additionally, placing felt on key areas that are directly involved in key travel reduction can significantly enhance the overall noise reduction effect.
Effective Adhesive Options
Choosing the right adhesive is key to guaranteeing that felt pads and strips stay securely in place for maximum noise reduction.
For your felt pads and adhesive-backed felt, use double-sided tape or repositionable glue dots to attach them inside the keyboard case. This keeps the felt in position while absorbing sound effectively.
Place small felt pads on the inner case walls near the plate and stabilizers to dampen vibrations from larger keys and stabilizer rattles.
Position felt strips beneath the keyboard PCB and between the PCB and bottom case to minimize echo and resonance.
Applying adhesive-backed felt on the bottom of the keyboard case reduces vibrations transmitted to your desk, considerably lowering typing noise.
Proper adhesion guarantees stability and long-lasting sound dampening.
Combining Felt With Other Soundproofing Techniques for Better Results
Combining felt with other soundproofing techniques can greatly enhance the overall noise reduction of your mechanical keyboard. Using felt alongside foam dampening inside the case targets different noise frequencies, reducing resonance and echo more effectively.
To maximize soundproofing:
- Add felt with lubricated stabilizers and switches to minimize key rattle and friction noise.
- Layer felt with O-ring dampeners under keycaps for extra cushioning against bottom-out sounds.
- Apply felt to keyboard cavities, then place a thick desk mat (6–8 mm neoprene or rubber) to absorb vibrations transmitted through the desk.
- Use felt in gasket mount keyboard structures to isolate plate and PCB vibrations, boosting overall noise reduction.
These combined strategies create a quieter, more comfortable typing experience.
Top Mistakes to Avoid When Installing Felt in Your Keyboard
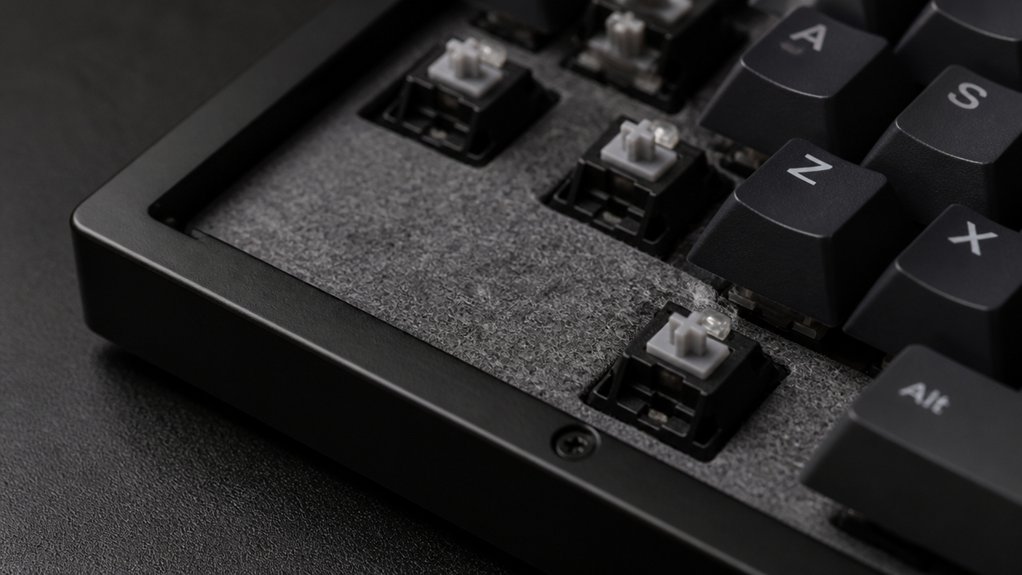
When installing felt in your keyboard, you need to avoid incorrect placement that can disrupt switch movement or cause rattling.
Using low-quality or untreated felt may lead to debris buildup and performance issues. Additionally, don’t overdo the thickness, as it can interfere with case closure and proper sound dampening.
Incorrect Felt Placement
Installing felt improperly can greatly diminish your keyboard’s sound dampening. If you don’t place the felt correctly inside the case, you’ll reduce sound effectively.
Here are common mistakes to avoid:
- Using felt that’s too thick beneath the PCB, which can interfere with switch stability and key travel, weakening your typing experience.
- Blocking screw holes or component openings during installation, making assembly and maintenance more difficult.
- Only covering the bottom case with felt while leaving the plate area exposed, limiting noise reduction between the plate and PCB.
- Using low-density or overly stiff felt, which won’t absorb vibrations well and may cause key rattle, negating the dampening benefits.
Proper placement guarantees consistent sound absorption and peak quietness.
Using Low-Quality Felt
Using low-quality felt can greatly undermine your keyboard’s noise-dampening efforts, as it often lacks the density and consistency needed for effective sound absorption. Soft materials with uneven or loose fibers won’t absorb noise in mechanical keyboards effectively, leading to minimal noise reduction.
Thin, flimsy felt sheets tend to compress too much under typing pressure, quickly losing their cushioning and dampening properties. If the felt isn’t cut properly, gaps inside the case can cause unwanted echo and resonance, increasing noise rather than reducing it.
Low-quality felt, which often lacks density, results in insufficient vibration absorption, producing a hollow, unbalanced typing sound. Additionally, avoid felt with adhesive backings, as these can leave residues or degrade over time, potentially damaging your keyboard components and diminishing overall noise control.
Overdoing Felt Thickness
While choosing the right type of felt is important, adding too much thickness can cause significant problems. Excessively thick felt can reduce key travel and hinder switch actuation, negatively affecting your typing feel. It may also cause uneven pressure on keys, leading to inconsistent responses and potential switch damage.
Additionally, overdoing it can trap moisture and dust, risking long-term degradation of keyboard components. Finally, too much felt (beyond 2-3 mm) offers diminishing noise reduction benefits while dampening desirable acoustic feedback.
To avoid these issues:
- Stick to 2-3 mm felt layers for peak noise reduction.
- Test the felt for proper key travel before fully installing.
- Guarantee even pressure distribution when adding layers.
- Regularly check for trapped debris and moisture buildup.
How to Maintain and Replace Felt Dampening Over Time
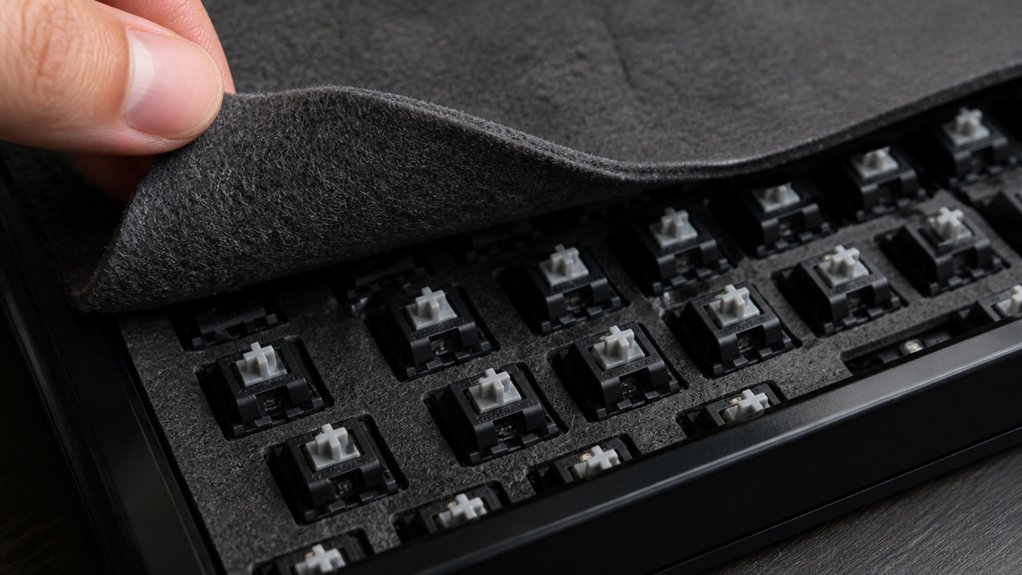
Felt dampening material in mechanical keyboards needs regular attention since it gradually compresses with use, affecting the sound profile. To maintain its effectiveness, inspect the felt every 6 to 12 months for signs of wear or thinning. When replacement is needed, remove the keyboard case and swap out the old felt layers with new ones cut to the exact interior dimensions. Using high-density felt extends sound absorption, reducing the frequency of replacements. Keep the felt free of dust and debris to preserve its acoustic properties. Regular maintenance prevents vibration and echo amplification caused by compressed or degraded padding. Below is a visual guide for maintaining and replacing felt dampening:
| Step | Tip |
|---|---|
| 1. Inspection | Check for thinning or tears |
| 2. Dust removal | Use compressed air or brush |
| 3. Cutting felt | Match dimensions precisely |
| 4. Replacing felt | Carefully swap out layers |
| 5. Reassemble keyboard | Guarantee snug fit for ideal sound absorption |
Tools and Materials You Need for Installing Felt in Your Keyboard
To successfully install felt dampening inside your keyboard, gathering the right tools and materials is key. You’ll want to have everything ready to effectively absorb sound and reduce typing noise inside the keyboard case.
Here are essential items to prepare:
- Pre-cut or custom-cut felt sheets (1.5mm to 3mm thick) to guarantee peak sound absorption.
- Small scissors or a precision craft knife for trimming felt to match the case contours.
- Double-sided adhesive tape or glue to keep felt securely in place, preventing shifting during use.
- Tweezers and a clean workspace for precise placement and to avoid misalignments with switches or the PCB.
Optional tools like screwdrivers and keycap pullers help with disassembly and reassembly.
Troubleshooting Persistent Noise Despite Using Felt
Have you noticed persistent typing noise even after installing felt dampening? If so, the issue might stem from unaddressed switch friction or bottom-out impact, which felt alone can’t fully block. To achieve significant noise reduction, optimize felt placement, covering all cavities like under stabilizers and between the PCB and case—gaps cause echo and vibration. The felt’s thickness is key; thin felt provides minimal high-frequency noise dampening, while thicker, layered foam or rubber pads target low-frequency vibrations. Remember, felt can’t absorb resonance from the keyboard case or plate vibrations, so additional measures like gasket mounts or plate foam are necessary. Proper stabilizer lubrication and switch modifications are essential alongside felt use for the best results.
| Issue | Cause | Solution |
|---|---|---|
| Persistent noise | Gaps in felt placement | Fill all cavities carefully |
| Minimal noise reduction | Thin felt | Use thicker, layered material |
| Low-frequency vibrations | Resonance from case and plate vibrations | Add gasket mounts or plate foam |
| Switch noise | Friction or bottom-out impact | Lubricate stabilizers and modify switches |
Real User Experiences: Before-and-After Noise Comparison
Curious about how felt dampening actually transforms your keyboard’s sound? Many users report a noticeable change in their typing experience after adding felt.
Felt dampening significantly reduces keyboard noise, creating a softer, more comfortable typing experience.
Here’s what you might observe:
- The noise levels drop by around 20-30%, making your keyboard sound much softer.
- Initially, you may notice a hollow or reverberating sound, which transforms into a deeper, muted tone with felt installed.
- Internal echoes are absorbed by the felt placement, decreasing high-frequency chattering.
- Overall noise reduction of 3-5 dB helps create a Keyboard Quiet environment, ideal for offices or shared spaces.
These real user experiences show felt dampening isn’t just easy to install—it’s a low-cost way to enhance comfort and markedly reduce disruptive noise.
Final Tips for a Quieter, More Enjoyable Typing Experience
Building on how felt dampening can greatly reduce keyboard noise, implementing the right techniques guarantees you get the most benefit from your modifications. For an effective, simple way to improve your typing experience, focus on proper felt placement. Use high-density felt (2-4 mm) around key areas like the PCB and large cavities, securing maximum noise absorption without obstructing components. Regularly inspect and replace felt inserts to maintain their cushioning and dampening qualities. Combining felt dampening with properly lubed switches and stable stabilizers further enhances quietness and comfort. To summarize, here’s a quick guide:
| Tip | Action | Benefit |
|---|---|---|
| Felt thickness | Use 2-4 mm dense felt | Balanced damping and fit |
| Cover cavity areas | Cut felt precisely | Reduces echo and resonance |
| Check inserts | Replace as needed | Maintains consistent noise reduction |
| Lubricate switches | Apply proper lube | Smoother, quieter typing |
| Stabilizer tuning | Make sure stabilizers are well stabilized | Reduces noise from stabilizers |
Implement these effective tips for a quieter, more enjoyable typing experience.
Frequently Asked Questions
How to Dampen Sound on a Mechanical Keyboard?
To dampen sound on your mechanical keyboard, you should add sound-absorbing felt inside the case, especially between the PCB and bottom case. Cut and stick the felt to reduce reverberation, vibrations, and improve overall noise levels.
Is 84 Keys 75%?
An 84-key keyboard can be a 75% layout, but it depends on the design and key spacing. You need to verify its layout, as some 84-key keyboards might have slightly different arrangements, making them not true 75%.
How to Make a Mechanical Keyboard Sound More Creamy?
To make your mechanical keyboard sound more creamy, add felt padding between the PCB and case, choose thicker felt layers, and position them strategically. Experiment with different thicknesses and placements for a warm, softened, and richer sound profile.
Do Gamers Prefer Membrane or Mechanical?
You’ll find most gamers prefer mechanical keyboards because of their durability, response time, and customizable switches, even though they’re louder. Many seek ways to dampen noise, making them more suited to competitive gaming and long-term use.



