

To remove sticky residue from keycaps, start by carefully removing the keys and soaking them in warm, soapy water for 30–60 minutes. Gently scrub each key with a soft brush or cloth, then rinse and dry thoroughly. Use isopropyl alcohol sparingly with cotton swabs to target stubborn spots, and wipe down the keyboard with a damp microfiber cloth. Following these simple steps will help restore your keycaps and keep your keyboard clean—more tips are available if you continue exploring.
Why Your Keyboard Keys Get Sticky and What Causes Residue
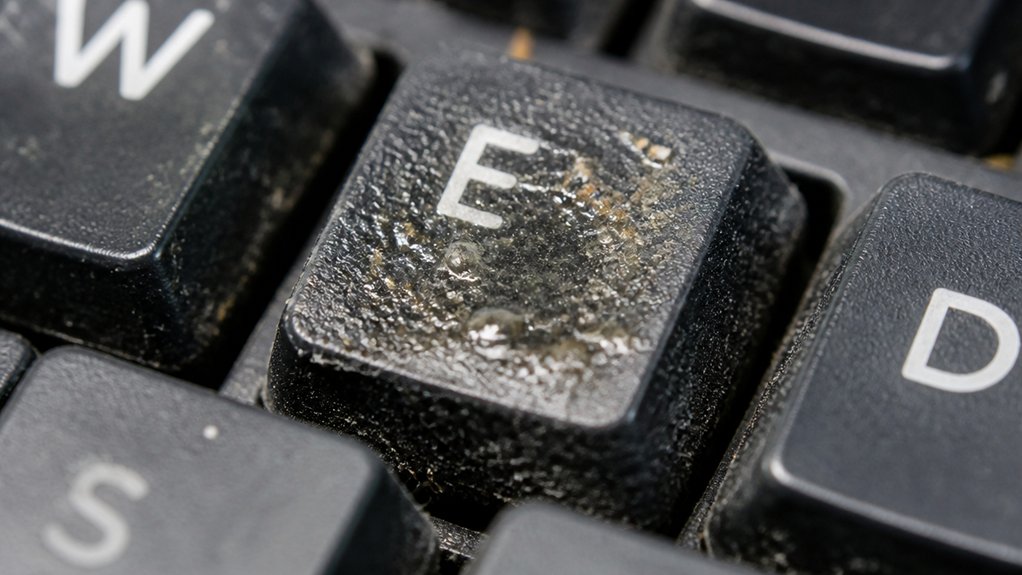
Have you ever wondered why your keyboard keys become sticky over time? The main culprit is sticky residue, which often builds up on plastic keycaps. This residue results from oils from fingertips that mix with dust and dirt, forming a sticky film that clings to the surface.
A high purity cleaning solution can effectively remove this buildup without damaging the plastic or leaving harmful residues. Sugary spills or leftover adhesive tape can also leave stubborn residues on your keys, especially if not cleaned promptly. Exposure to humidity and certain cleaning agents can even worsen the situation, making the gummy texture more intense.
Since plastic keycaps are non-porous, they trap these residues easily, making cleaning your keyboard more challenging. Over time, this buildup attracts more dirt, further impairing key responsiveness and creating an unpleasant feeling every time you type.
Preparing Your Keycaps and Keyboard for Safe Cleaning
Before you start cleaning, it’s important to prepare your keyboard and keycaps properly to avoid any damage. Begin by carefully removing the keycaps from your keyboard. Take a clear photo of the layout to guarantee correct reassembly.
Carefully remove keycaps and photograph the layout to ensure proper reassembly and avoid damage during cleaning.
To prevent liquid from seeping inside during cleaning, use compressed air to clear dust and debris from the keyboard body. Protect the electronic components by lightly dampening a cloth with alcohol, avoiding excess liquid. Using the appropriate keycap removal tools can help ensure safe and damage-free removal of keycaps.
Soak the removed keycaps in warm, soapy water for 30 to 60 minutes to loosen residue. After rinsing, dry the keycaps completely with a soft towel, then leave them to air dry overnight.
This preparation guarantees a safe, effective cleaning process and helps prevent damage to your keyboard or keycaps.
How to Choose the Best Cleaning Products for Sticky Residue
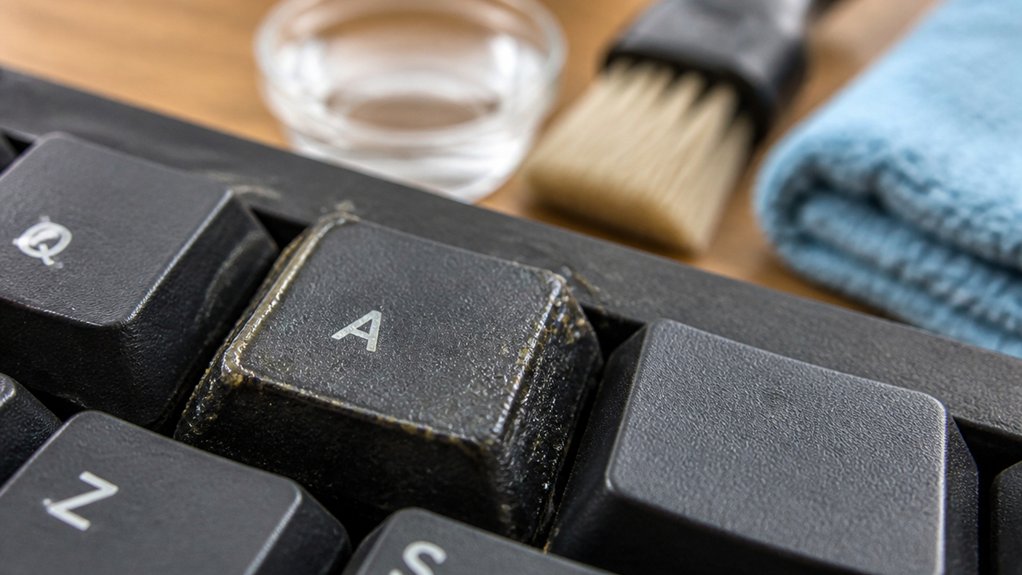
Choosing the right cleaning products is essential for effectively removing sticky residue without damaging your keycaps. You want solvents that are safe for plastics, like isopropyl alcohol (70% or less), which dissolves residues while protecting the printed circuit and surface.
Avoid harsh chemicals such as acetone or strong acids, which can discolor or soften the plastic. Instead, opt for mild options like denatured alcohol or specialized adhesive removers like Goof Off.
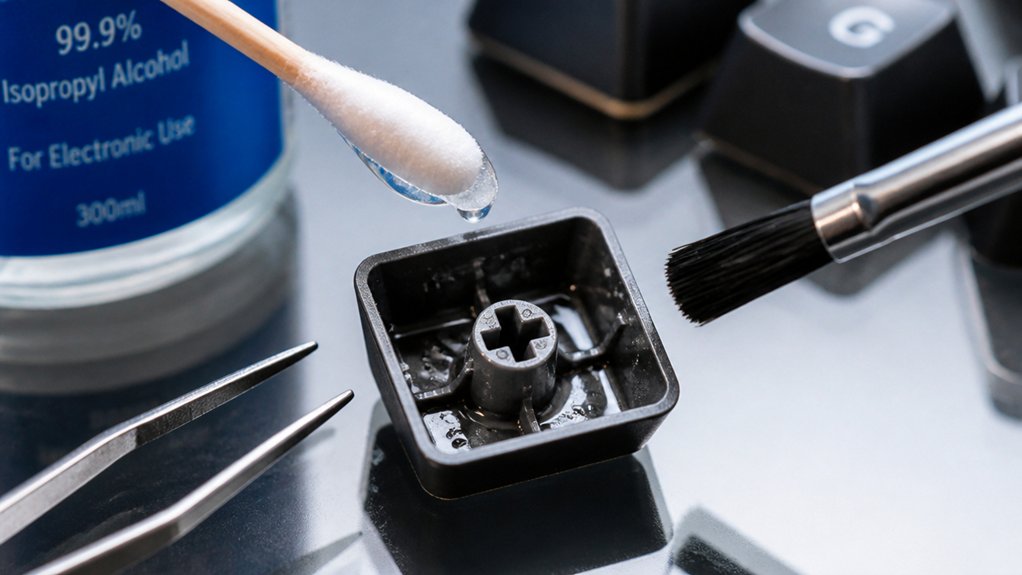
A cotton swab dipped in your chosen solution allows precise application, especially around delicate areas. When wiping the surface, make certain you’re gentle to prevent damage.
Always test on an inconspicuous spot first to confirm it won’t cause discoloration or surface softening. Quick evaporating products leave minimal residue, maintaining keycap integrity.
Step-by-Step Instructions for Cleaning and Soaking Your Keycaps
Carefully removing the keycaps from your keyboard is the first step to effective cleaning. Take a photo beforehand to remember their layout.
Next, soak the keycaps fully submerged in warm, soapy water for 30 to 60 minutes. This helps loosen sticky residue and can preserve the print quality, especially for dye-sublimated or double-shot legends. After soaking, gently scrub each keycap with a soft brush or cloth to remove any remaining gummy buildup.
Rinse the keycaps thoroughly with clean water to wash away soap and loosened debris. Make sure all soap is rinsed off to prevent a filmy residue.
Finally, dry the keycaps with a towel and let them air dry overnight. This prevents moisture from causing damage when you reinstall them. Proper soaking, scrubbing, rinsing, and air drying guarantee your keycaps are clean and ready for reassembly.
Reassembling Your Keyboard and Tips for Long-Term Maintenance
Once you’ve thoroughly cleaned and dried your keycaps, reassembling your keyboard is straightforward if you follow a few essential steps. Make sure all keycaps are completely dry to prevent moisture damage or sticky keys.
Refer to a clear photo taken before removal to correctly reinstall each keycap in its proper position and orientation. Use a cotton swab to carefully apply air and verify no dust or residue remains in the switches.
When installing, press each keycap firmly but gently onto its switch until it snaps securely into place, avoiding loose keys. Afterwards, test the keyboard thoroughly to confirm all keys respond correctly and there’s no residual stickiness.
For long-term maintenance, regularly use a damp microfiber cloth to clean surfaces and keep keycaps dust-free, preventing residue buildup. Proper tool use can further help you safely remove and maintain switches and keycaps, extending your keyboard’s lifespan.
Frequently Asked Questions
How to Get Rid of Sticky Keycaps?
To get rid of sticky keycaps, soak them in warm, soapy water, then gently scrub. For stubborn residue, use a cotton swab dipped in isopropyl alcohol, rinse thoroughly, and let them air dry overnight.
How to Remove Gunk From Keycaps?
You can remove gunk from keycaps by soaking them in warm soapy water first, then gently scrubbing with a soft brush or cloth. Use isopropyl alcohol on a cotton swab for stubborn residue, and dry thoroughly afterward.
Can You Use WD40 on a Sticky Keyboard?
Yes, you can use WD-40 on a sticky keyboard, but do so sparingly. Apply it to a cloth or cotton swab, not directly, and thoroughly wipe the keys afterward to prevent residue buildup and potential damage.
Can I Use 70% Isopropyl Alcohol to Clean My Keyboard?
Yes, you can use 70% isopropyl alcohol to clean your keyboard. Just lightly dampen a microfiber cloth or cotton swab, avoid excessive use, and make certain it doesn’t seep into the circuitry to prevent damage.
In Summary
Keeping your keyboard clean prevents sticky keys and prolongs its lifespan. By understanding what causes residue, preparing properly, choosing the right cleaning products, and following the step-by-step instructions, you can effectively restore your keys to a smooth, like-new condition. Regular maintenance is key to avoiding buildup. With these simple tips, you’ll enjoy a clean, responsive keyboard every day—making typing more comfortable and hassle-free.



