
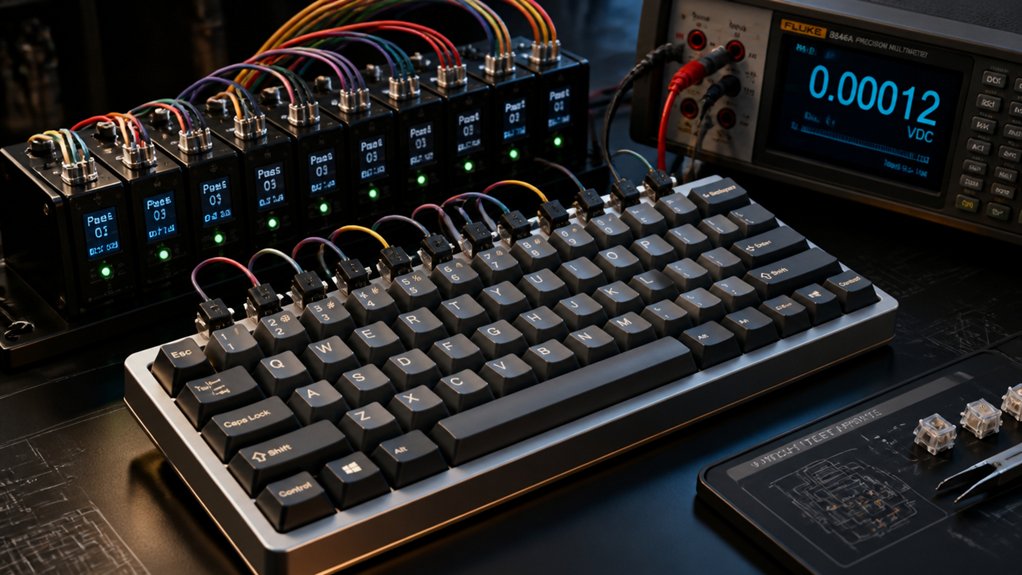
Start by connecting your keyboard PCB to a computer and testing software like VIA or VIAL to verify key registration and lighting. Use tweezers to bridge switch contacts, pressing keys to check actuation and response. Inspect solder joints and stabilizers for rattling or noise, applying lubrication if needed. Make sure keycaps fit securely and layout is accurate. If you keep exploring, you’ll find more tips to guarantee your keyboard functions perfectly.
How to Perform an Initial Keyboard Functionality Test
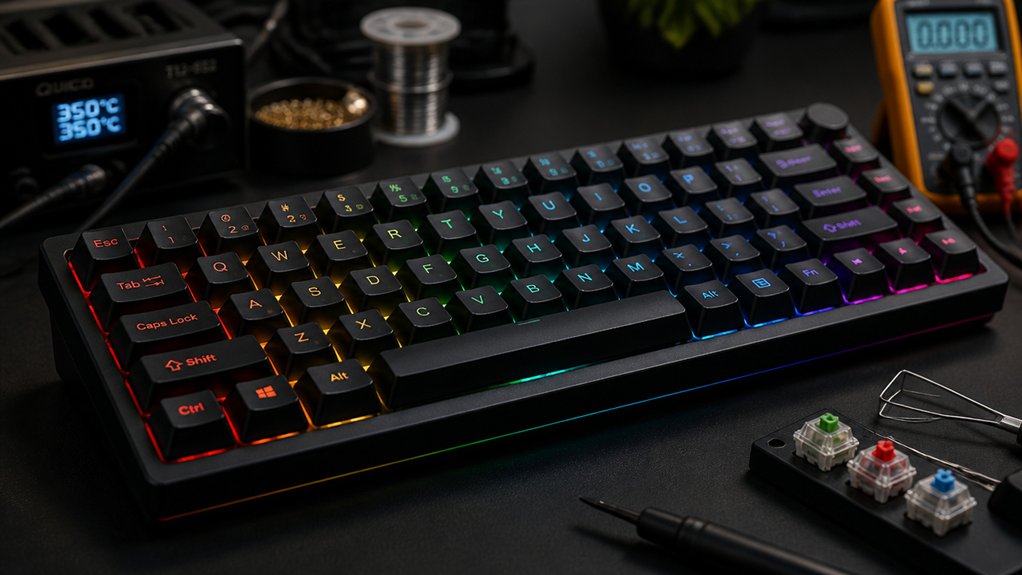
To guarantee your assembled keyboard functions correctly, start by connecting the PCB to your computer via USB and opening a reliable testing application like VIA, VIAL, or an online keyboard tester.
Connect the PCB via USB and test with VIA, VIAL, or an online tester to ensure proper keyboard function.
During the build process, it’s important to check each switch contact. Use tweezers to briefly bridge each switch contact pad on the PCB, simulating key presses. This will help verify that the corresponding keys light up and register in the software.
Physically press each installed key to confirm that the switch actuates properly and input displays accurately. Watch out for any unresponsive or stuck keys, which could indicate soldering issues, bent pins, or faulty switch installation.
Confirming full keyboard matrix functionality now helps prevent problems later, after final assembly or keycap installation. Additionally, performing a precise soldering check ensures all connections are solid and reduces the risk of future hardware failures.
Verify Key Registration and Circuit Continuity With Software
Before proceeding with physical testing, verify your keyboard’s PCB is connected to your computer with the correct cable.
For mechanical keyboards, open a keyboard testing application like VIA, VIAL, or an online tester to monitor key inputs. Use tweezers to tap each switch contact on the PCB, ensuring that every key registers correctly in the software.
Confirm that all keys light up and produce the expected response, indicating proper circuit connections. During this process, focus on verifying circuit continuity and identifying any missed solder joints or bent switch pins if keys don’t register.
This step is essential for proper keyboard programming, helping you catch wiring issues or faulty switches early, so your keyboard functions reliably before moving on to stabilization and tuning. Additionally, testing switches for circuit continuity can help identify potential wiring issues before final assembly.
Check Stabilizers and Large Keys for Rattle and Stability
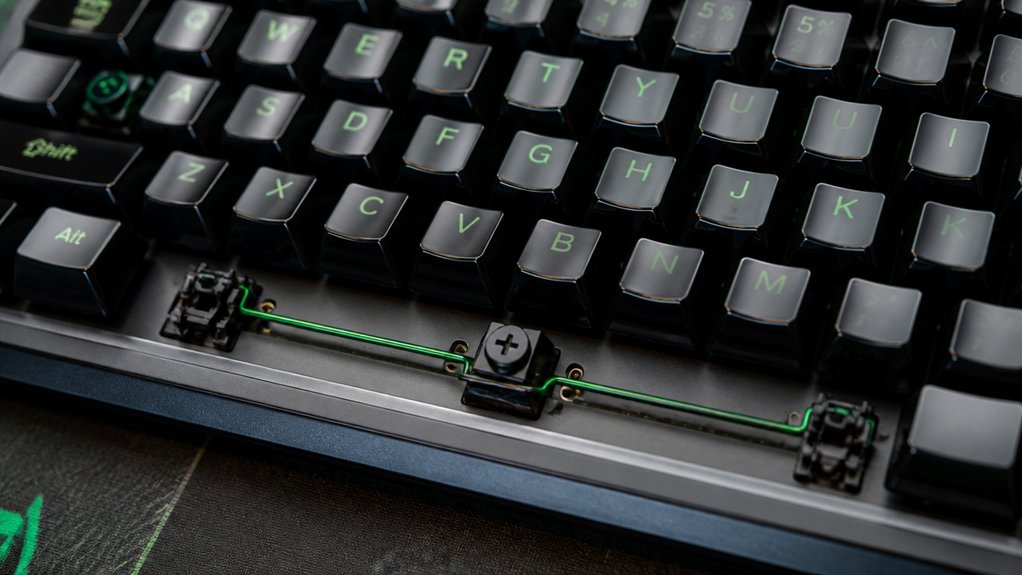
Once you’ve assembled the keyboard, it’s important to check the stability and noise levels of your large keys, such as the spacebar, shift, and enter.
With stabilizers installed, press each key firmly multiple times to detect rattles or loose movements. Confirm the stabilizer wires are correctly oriented, with ends toward the larger PCB holes, to promote stability and reduce noise.
Apply a small amount of lubricant, like silicone grease, on stabilizer stems and housings before testing—this minimizes friction and rattling. Type or tap repeatedly to listen for smooth, consistent sound and feel.
If rattling persists, examine the fit between the keycap stem and stabilizer, and consider adding a thin shim or re-lubricating to improve stability. Everything should be working smoothly without excess noise. Proper stabilizer tuning and maintenance are essential for long-term smooth operation.
Test Switch Response and Sound Quality for Each Key
Start by using a testing app like VIA or VIAL to guarantee each key registers properly and reliably.
Pay attention to the sound and feel of each switch, confirming they match your preferences for click or smoothness. Press each key multiple times to check for consistent response and identify any rattling or irregularities that need correction.
Verify Key Registration
To verify each key’s response, connect your assembled keyboard to a computer and run a keyboard testing application like VIA, VIAL, or an online tester. Building a keyboard requires confirming that each key properly registers when pressed, so systematically press every key to verify key registration. This helps guarantee all electrical contacts are secure and no missed solder joints or bent pins exist. Additionally, pay close attention to the hot-swap compatibility of the switches to ensure they are functioning correctly and can be easily swapped without issues. Listen closely for the mechanical click or audible feedback from each switch, which indicates proper sound quality and switch operation. Test stabilized keys separately to detect rattling or inconsistent sound, which may suggest a need for lubrication or adjustment. After initial testing, retest the keyboard after about 24 hours to confirm stable electrical contact and consistent key response.
Assess Key Sound Quality
How can you guarantee each keyboard switch produces the right sound and feel? Start by testing the mechanical build with typing test platforms like Monkeytype or Typings.gg.
Check each key’s tactile response and auditory feedback, listening for the signature mechanical click-clack to confirm proper switch activation. Pay attention to keys that rattle or sound inconsistent, as these may hint at stabilizer or switch lubing issues.
Perform individual keypresses to secure smooth, reliable feedback, avoiding double-presses or missed inputs. After making adjustments—such as tightening screws or adding foam—repeat the tests to verify improvements.
This process guarantees each switch contributes to a balanced, satisfying typing experience, confirming that your build’s mechanical components are functioning efficiently in both sound and feel. Regularly inspecting the sound calibration of your keyboard can help maintain consistent acoustic performance over time.
Test for Key Consistency
Testing for key consistency guarantees your keyboard functions reliably and feels uniform across all keys. During the build a mechanical keyboard process, you should verify each key responds correctly and maintains consistent tactile and auditory feedback. Use keyboard testing software like VIA or an online key tester to quickly identify missed inputs or unresponsive switches. Press every key individually, listening for the characteristic click-clack sound, and check for any muted or abnormal noises that may indicate installation issues. Focus on stabilized keys—such as the spacebar, enter, and shift—to guarantee smooth operation without rattling. To confirm uniformity, type common phrases or use a typing test platform. This process assures your keyboard provides a consistent, high-quality typing experience across all keys. Additionally, employing a switch tester kit can help you evaluate the specific feel and sound of each switch type, ensuring that your build matches your desired tactile experience.
Troubleshoot Missing or Faulty Key Registers
When you notice that some keys aren’t registering or seem faulty, the first step is to verify their functionality with a keyboard testing tool.
During building, make sure everything is properly aligned and soldered. Inspect solder joints and switch pins for poor connections or bends, as these are common causes of faulty keys. If you find cold, cracked, or incomplete solder joints, re-solder them to guarantee stable electrical contact.
For bent pins, carefully remove switches from hot-swap sockets and straighten the pins with tweezers before reinserting. After making these adjustments, retest the PCB to confirm all keys register inputs correctly before final assembly.
Using precise soldering techniques based on quality guidelines can help prevent such issues and improve overall stability. Troubleshooting in this way helps you identify and resolve issues preventing keys from functioning properly.
Fix Common Electrical Issues and Re-Solder Joints
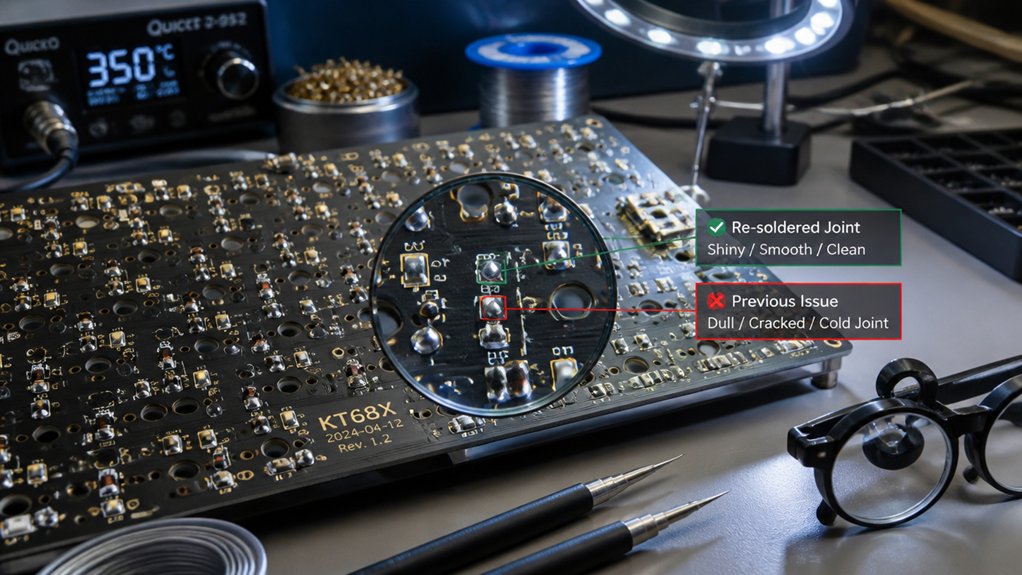
Making solid electrical connections is essential for your keyboard to function correctly, especially after assembly. If some keys don’t register or behave erratically, check your solder joints carefully.
Cold soldering, cracks, or incomplete connections are common issues in custom mechanical keyboards. Use a soldering iron to reflow or remove faulty solder. Solder wick or a solder sucker helps clean bad joints before applying fresh solder, resulting in shiny, solid connections.
Also, inspect switch pins for bends and straighten them with tweezers to guarantee proper contact. Once you’ve re-soldered, retest the keyboard to verify correct electrical signals across all circuits.
- Identify faulty solder joints
- Remove bad solder with a soldering iron and wick
- Reflow solder for strong connections
- Retest for circuit continuity
Assess Sound and Feel for Lubrication and Stabilizer Problems
As you type, listen carefully for any rattling or scratchy sounds that signal stabilizer issues. Feel for uneven keystrokes or inconsistent feedback on wider keys, which can point to lubrication or installation problems. Using pre-lubricated stabilizers can help minimize these issues and improve overall sound and feel. Address these by adjusting lubrication or adding mods until your keyboard produces a stable, smooth sound and feel.
Identifying Rattling Stabilizers
To identify rattling stabilizers, start by pressing the wide keys that use stabilizers and listening carefully for any creaking or scratchy noises. This is the exciting part of building a custom keyboard, where sound reveals issues.
If you notice rattling, check these areas:
- Make certain stabilizer wires are secure and not loose.
- Look for gaps between the stabilizer stems and keycaps.
- Confirm lubrication is sufficient; dry stabilizers often rattle.
- Add a thin plastic piece between the stabilizer stem and keycap to fill gaps.
Consistent smoothness and silence confirm stabilizers are well-lubricated and correctly installed. Addressing rattling at this stage enhances build quality and feels more satisfying during use.
Detecting Uneven Sound Levels
When testing your keyboard after assembly, typing on all keys is essential to detect uneven sound levels. Listen for hollow or inconsistent sounds that might indicate insufficient lubing or stabilizer issues. Rattling or noise when pressing stabilized keys signals loose stabilizers or unlubed stems. To improve sound uniformity, go ahead and lubing switches or stabilizers as needed. Using foam kits or Poly-Fil inside the case and between the plate and PCB helps dampen ringing sounds and equalize acoustics. The table below summarizes key sound testing aspects:
| Issue | Symptoms | Solution |
|---|---|---|
| Hollow or uneven sounds | Inconsistent volume, echoing | Add foam, lub stabilizers, or lubricate switches |
| Rattling stabilizers | Noisy keys, loose feel | Reseat stabilizers, lubricate stabilizers |
| Quiet keys | Muffled, dull sound | Apply tape mod or increase damping |
Additionally, choosing appropriate lubricants, such as synthetic greases or multi-purpose compounds, can enhance stabilizer smoothness and reduce noise further.
Confirm Keycap Fit and Layout Accuracy After Assembly
After completing the assembly, it’s essential to verify that all keycaps are securely fitted and correctly positioned. This step guarantees your custom keyboard works as intended and prevents loose keys during use.
Ensure all keycaps are secure and properly aligned for a reliable, professional-looking custom keyboard.
As part of your beginner’s guide to building, check each keycap for proper alignment and placement, especially for special keys like Enter, Shift, and Backspace.
- Make certain all keycaps sit firmly on switches without wobbling.
- Confirm that each key matches the intended layout, avoiding positional errors.
- Check for uniform height and spacing across rows for comfortable typing.
- Verify compatibility of keycaps with switch stems, preventing damage or looseness.
- Be mindful of ergonomic profiles that influence key positioning and overall comfort, ensuring they are properly oriented.
These checks help guarantee a functional, accurate, and professional-looking custom keyboard.
Final Check: Ensure All Keys Are Fully Functional
Once you’ve confirmed that your keycaps are properly seated and aligned, it’s time to check that every key functions correctly. Connect your fully assembled keyboard to a computer and use a testing tool like VIA, VIAL, or an online tester. Press each key individually to verify that it registers the correct input and responds promptly, paying attention to any unregistered or stuck keys.
If you used a hot swap process during the build, make sure all switches are responsive and stable. Recheck stabilized keys for smooth, rattle-free movement and consistent actuation, confirming stabilizer installation quality. Inspect for missed or cold solder joints if certain keys don’t register, and resolder as needed.
Confirm that tactile and auditory feedback meet expectations, indicating successful switch and stabilizer installation.
Frequently Asked Questions
How to Perform a Keyboard Test?
You connect your keyboard to a computer, open a testing app, then press each key to verify they register correctly. Check larger keys for stabilizer function, and reseat or resolder any non-registering switches to fix issues.
What Is R1, R2, R3, R4 in Keyboard?
R1, R2, R3, and R4 are the rows of keycaps on your keyboard, each with a unique sculpted profile. They’re designed for ergonomic finger reach, with varying heights and angles to enhance comfort during typing.
How Long Does Building a Keyboard Take?
Building a keyboard can take anywhere from several hours to multiple days, depending on your experience, customization, and whether you’re lubing switches or troubleshooting. Expect the process to be flexible and sometimes extend over multiple sessions.
Is 84 Keys 75%?
Yes, an 84-key keyboard typically qualifies as a 75% layout because it balances compactness with essential functions, including function keys, arrow keys, and navigation keys, making it a popular choice for space-efficient, versatile builds.
In Summary
Once you’ve completed these post-build testing steps, you can confidently verify your keyboard functions perfectly. By systematically checking each key’s response, stability, and sound, you’ll catch any issues early. Addressing electrical problems and confirming proper assembly guarantees a reliable, satisfying typing experience. Don’t forget the final review—you want all keys to work smoothly and feel right. With thorough testing, your custom keyboard will be ready for long-lasting use and enjoyment.



