

To program keyboard macros simply, start by choosing firmware like QMK or Kaleidoscope that supports macro creation. You can define macros using JSON in QMK or C++ in Kaleidoscope, which allows you to automate key sequences, timed presses, and modifiers. Set up your development environment with tools like QMK Toolbox and create custom keymaps tailored to your needs. Continuing will reveal how you can customize macros for gaming, productivity, or accessibility with ease.
What Are Keyboard Macros and Why Do They Matter?
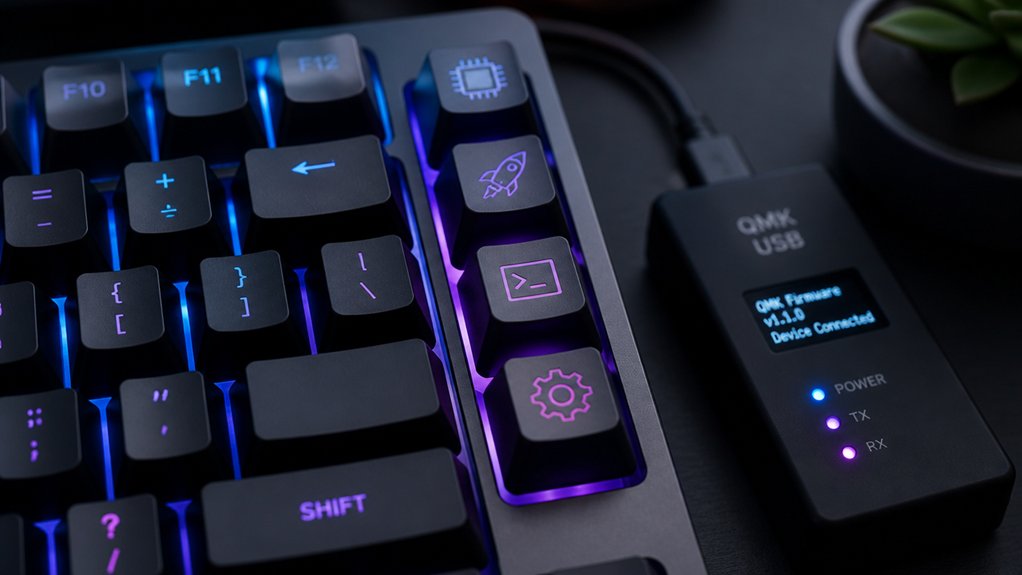
Have you ever wished you could perform complex tasks or repetitive keystrokes with a single press? That’s where macros come in. Macros allow you to automate sequences of keystrokes into a single command, saving time and reducing errors. You can use macro keys or assign macros to specific key combinations, making workflow more efficient.
Whether it’s typing long texts, executing multi-step commands, or enhancing gaming performance, macros are versatile tools. By leveraging firmware or software, you can define macros that include timed key presses, modifier combinations, and dynamic actions. This customization turns your keyboard into a powerful device tailored to your needs. Additionally, understanding QMK firmware provides the flexibility to program custom macros and layers directly into your keyboard firmware.
Using macros is essential for streamlining frequent tasks and achieving smoother, faster interactions with your computer.
How to Choose the Right Microcontroller for Firmware Macros
Choosing the right microcontroller depends on matching its features to your firmware macro needs. You’ll want one with native USB support for easy keyboard communication and enough memory to handle complex sequences. Additionally, selecting a board with programmable I/O pins ensures you can customize your build’s layout and functionality to suit your macro requirements. Also, consider power use and size to guarantee it fits your project’s hardware and practical requirements.
Compatibility With Keyboard Hardware
When selecting a microcontroller for firmware macros, ensuring it supports the USB Human Interface Device (HID) protocol is essential, as this enables the device to communicate directly with a PC as a keyboard. This support allows you to simulate key presses, essential for creating macros that trigger multiple actions.
To choose the right hardware:
- Select microcontrollers like Atmel AVR-based controllers with native USB support, such as the ATmega32U4 on the Arduino Pro Micro.
- Confirm compatibility with open-source firmware frameworks like QMK or Kaleidoscope for easier macro programming.
- Make sure your hardware has enough input/output pins for keys, macro buttons, and extra features like RGB lighting.
- Check that the microcontroller’s memory can store all your macro code, avoiding unreliable implementations.
- Consider boards with USB connectivity features like the Raspberry Pi Pico W, which can support custom firmware that emulates keyboard functions.
Programming Flexibility and Features
Opting for a microcontroller with advanced firmware features greatly enhances your ability to create complex and dynamic macros. Look for controllers supporting custom keycodes, timers, and modifier management, which allow actions like press and release sequences, tap-hold behaviors, or macro chaining. A microcontroller with hot-swappable switches also enables quick customization and troubleshooting without the need for soldering, making it easier to experiment with different switch types and layouts. Compatibility with platforms like QMK or Kaleidoscope simplifies macro code development by providing built-in libraries for key registration and delays. For example, a Caps Lock macro can be easily programmed to toggle states or trigger specific functions. Guarantee the microcontroller has sufficient flash memory and RAM to store and execute your macros without limitation. Models based on ATmega32U4 or ARM Cortex-M series are ideal, as they support native USB keyboard communication and flexible firmware development, ensuring a robust, feature-rich macro setup.
Power Consumption and Size
To guarantee your firmware macros run efficiently, selecting a microcontroller with a low power footprint and compact design is essential, especially for portable or embedded applications. The best thing you can do is prioritize models with native USB support, like the Arduino Pro Micro or Leonardo, as they enable direct keyboard communication with minimal power draw.
Choosing smaller microcontrollers such as the ATmega32U4-based boards balances size and energy efficiency, making them ideal for macro projects. Avoid larger controllers like Arduino Uno or Nano, which lack USB HID and require extra components, increasing size and power consumption.
Focus on microcontrollers that support low-power sleep modes and efficient clock speeds, securing your device consumes less power rather than hold unnecessary energy. This approach guarantees your macros run smoothly and efficiently. Additionally, considering arm flexibility and reach of the microcontroller can impact how well it integrates into your project environment, ensuring optimal placement and performance.
Getting Started: Firmware Options Like QMK and Kaleidoscope
Are you ready to customize your keyboard with powerful macros? Firmware options like QMK and Kaleidoscope make this straightforward. QMK allows you to define up to 32 macros in a JSON file using arrays of strings and action objects such as down, tap, up, delay, and beep. Kaleidoscope uses C++, with plugin support, enabling easy macro creation through custom keycodes and macroAction functions that handle multi-key sequences and modifiers. Both firmwares provide functions like process_record_user() or macroAction() to intercept keypresses and send sequences programmatically. Additionally, understanding firmware compatibility with your keyboard hardware can streamline the customization process. Here’s a quick comparison:
| Feature | QMK | Kaleidoscope |
|---|---|---|
| Macro Definition | JSON with arrays & actions | C++ with custom keycodes |
| Key Press Handling | process_record_user() | macroAction() |
| Sending Keystrokes | SEND_STRING(), tap_code() | MACRODOWN() calls |
| Customization Level | High, hardware-based | High, plugin-supported |
Setting Up Your Development Environment for Macro Programming
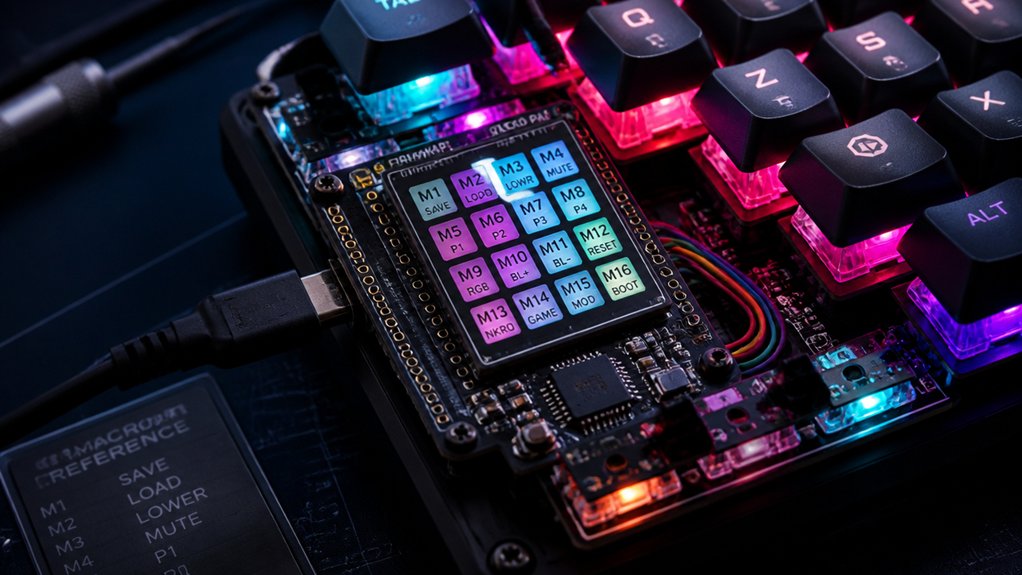
To get started, you’ll need to install the right firmware tools like QMK or Kaleidoscope, along with necessary compilers and drivers.
Next, set up your keymap files to define your macros using supported syntax and keycodes.
A helpful tip is to review hot-swappable switches support in your selected firmware, as it can streamline testing and customization.
Finally, use a text editor or IDE to customize your macros and compile the firmware for flashing onto your keyboard.
Required Software Tools
Setting up your development environment for macro programming involves installing specialized software tools that enable you to write, compile, and implement custom keyboard macros.
First, install QMK Firmware and its Configurator tool, which allow defining up to 32 macros in JSON keymaps for easy compilation. You’ll also need a code editor like Visual Studio Code, paired with QMK’s build environment, to develop and compile custom keymaps using process_record_user() functions.
Additionally, learn to utilize SEND_STRING() to send ASCII strings and create complex macro sequences by combining key taps, delays, and modifiers.
For keyboard-specific projects, you might use software like Redragon’s Macro Manager or Arduino IDE for microcontroller firmware.
Finally, leverage community resources and header files such as sendstring_colemak.h to simplify coding and support different key layouts.
Understanding hot-swap compatibility in keyboard kits allows you to modify switches without soldering, making firmware macro programming more flexible and easier to test different configurations.
Firmware Compilation Process
Before you can successfully compile your keyboard firmware with custom macros, you need to set up a proper development environment. First, install the necessary toolchain, like QMK Firmware, which supports macro definitions in keymaps and custom C code.
Use tools such as the QMK Configurator to visually define up to 32 macros in JSON format, then compile them with the qmk compile command. For complex macros, create custom keycodes in your C keymap files using enums with SAFE_RANGE, and implement logic in process_record_user() and matrix_scan_user().
To ensure reliable and long-lasting performance, consider selecting hot-swap PCBs and sockets with high swap cycles and robust construction, especially if you’ll frequently modify switches during customization or testing.
Once compiled, flash the firmware onto your keyboard using a compatible programmer or bootloader. Make sure you’ve installed dependencies such as Python and microcontroller toolchains (AVR or ARM) before running the compilation process.
Setting Up Development Environment
Once you’ve gathered the necessary firmware tools from the compilation process, configuring your development environment is the next step to enable macro programming.
Start by installing and setting up the QMK firmware environment, including QMK Toolbox and essential build tools for compiling and flashing your keyboard firmware.
To define your macros, use Configurator or JSON keymap files for up to 32 simple macros with basic keycodes, strings, and actions. For advanced macros, set up a C programming environment with a text editor or IDE to modify process_record_user() functions and custom keycodes.
Don’t forget to include necessary header files and libraries like Kaleidoscope or QMK macro plugins to access macro functions.
Test your macros thoroughly with firmware flashing and debugging tools for proper timing and sequence behavior, ensuring optimal power management and performance during operation.
How to Create Basic Macros in Firmware Using JSON Keymaps
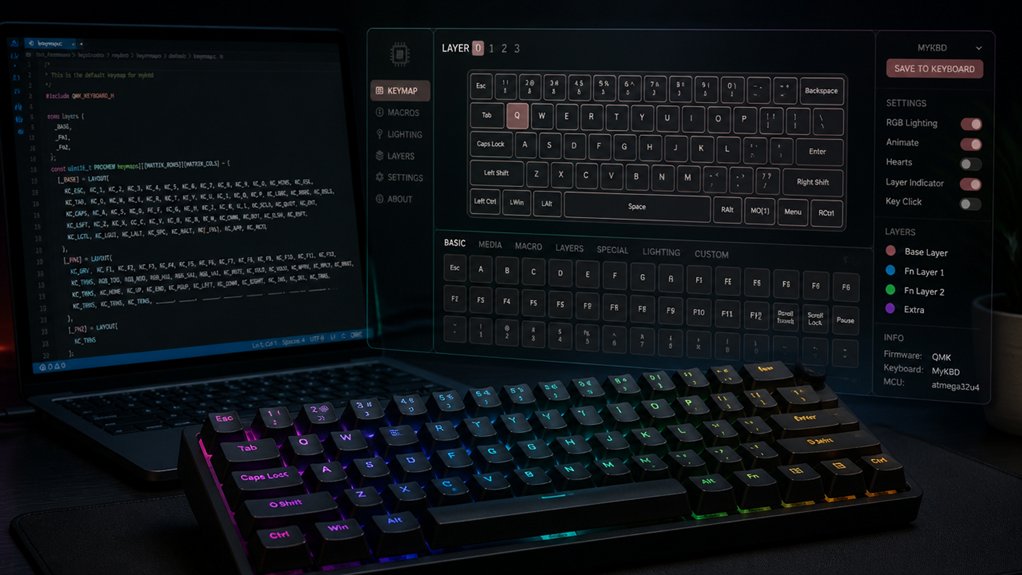
Creating basic macros in firmware with JSON keymaps is straightforward once you understand the structure. You define up to 32 macros in your keymap.json file using the “macros” keyword.
Creating macros in JSON is simple and efficient with the right structure.
Each macro is an array combining strings, which represent typed text, and action objects that control key presses. Action objects require an “action” key with options like down, tap, up, delay (in milliseconds), and beep to manage events and timing.
Keep in mind, JSON macros use simple keycodes without the “KC_” prefix, supporting only basic codes suitable for straightforward sequences. For non-English or non-QWERTY layouts, language-specific keycodes are recommended to guarantee accurate output.
This method enables quick, declarative automation of repetitive keystrokes without needing to write C code.
How to Program Advanced Macros With Custom Logic and Timing
To program advanced macros with custom logic and timing, you need to leverage the firmware’s processing functions and custom keycodes. Define custom keycodes with enums, then handle them in `process_record_user()` to implement complex behaviors like conditional logic, multi-key sequences, and delayed actions.
Use timers, such as `alt_tab_timer`, along with boolean flags to manage macro states and timing, enabling features like repeated key taps or delayed releases. Carefully employ functions like `register_code()`, `unregister_code()`, and `tap_code()` for accurate key event control, supporting modifier combos and chorded inputs.
Additionally, utilize `matrix_scan_user()` for ongoing checks and timed actions, such as releasing keys after inactivity. Returning `false` from `process_record_user()` guarantees the macro fully controls the key event, avoiding default processing.
Managing Multiple Macros: Storage and Organization Tips
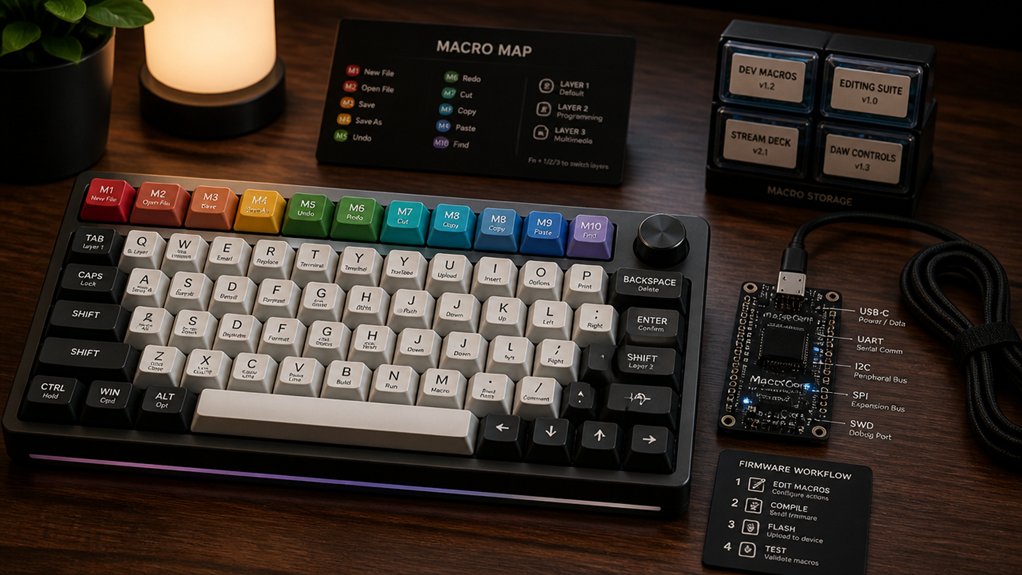
To manage multiple macros effectively, you should categorize them clearly so you can find and modify them easily. Using descriptive names helps you quickly identify each macro’s purpose, reducing confusion.
Don’t forget to back up your configuration files regularly to prevent data loss and keep your setup safe.
Categorize Macros Effectively
Effectively managing multiple macros begins with organizing them systematically within your firmware. Start by defining macros as arrays under a dedicated “macros” key in your keymap JSON, or using an enum for custom keycodes in C. This approach keeps macro entries clear and accessible.
Use unique enum values with SAFE_RANGE in the process_record_user() function to handle each macro independently. Limit simple, repetitive text macros in JSON and reserve complex or timed macros for custom keycodes and functions in C.
Structure your macro definitions and triggers logically—group related macros and give them descriptive names for easier updates. To prevent conflicts, utilize timer variables and boolean flags to manage macro activation states, ensuring smooth coexistence and proper timing during key presses.
Use Descriptive Naming
Using descriptive names for your macros greatly improves code clarity and ease of management. Name macros based on their function, like “CtrlS_Save” or “Launch_Browser,” to quickly identify their purpose. Avoid generic labels such as “macro1” or “m1,” which can cause confusion during updates or troubleshooting.
Group related macros with consistent prefixes or categories within your keymap JSON or enum declarations to maintain organization. Keep a centralized list or index of macro names and their actions, simplifying the process of updating and debugging your firmware.
When handling multiple macros programmatically, use switch-case structures with meaningful labels that match your descriptive names, making your code more readable and easier to maintain. Clear naming boosts efficiency and reduces errors.
Backup Configuration Files
Regularly backing up your configuration files guarantees that your custom macros are protected against data loss and can be easily restored after firmware updates or hardware changes.
To stay organized, store your macros within JSON keymaps or C keymap files using clear naming conventions and grouping. This simplifies identification and modification later.
Use version control systems like Git to manage multiple configurations, track changes, and revert to previous macro sets if needed. It’s also wise to keep backups alongside your firmware and keymap files to maintain compatibility.
Consider separating complex macros into dedicated files or headers to keep your main configuration lean and improve maintainability, especially during collaborative development.
Staying organized makes managing multiple macro setups straightforward and reliable.
Testing Your Firmware Macros Safely and Effectively
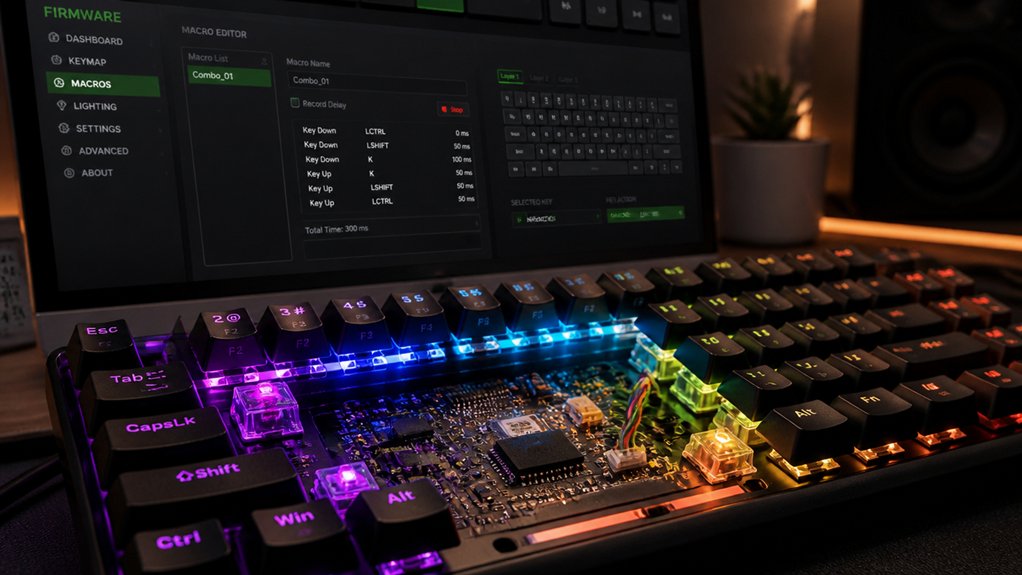
Before deploying your firmware macros widely, it’s essential to test them in a controlled environment to prevent unintended behaviors like key looping or stuck keys.
Use functions like SS_UP() or unregister_code() to guarantee macros release pressed keys properly.
Enable debug features or logging inside process_record_user() to monitor macro activity, helping you spot unexpected issues early.
Incorporate delays like SS_DELAY() thoughtfully to give host systems time to process key events without overloading input buffers, especially during rapid sequences.
When testing, stick to simple custom keycodes instead of complex macros, isolating functionality and minimizing firmware crashes.
After testing, clean up the keyboard state by calling clear_keyboard() or clear_mods(), making sure no modifiers or keys remain active and interfere with normal operation.
How to Make Your Macros Reliable and Prevent Input Problems
Ensuring your macros are reliable requires careful handling of key release events to prevent issues like stuck keys or unintended persistent modifiers. Make sure to properly handle key releases with functions like SS_UP() or unregister_code() after each key press.
Use delays such as SS_DELAY() thoughtfully within macros to give your system enough time to register each action, avoiding missed inputs.
Clear modifiers and keys responsibly using functions like clear_keyboard(), clear_mods(), or clear_keyboard_but_mods() to keep the keyboard state consistent.
To handle more complex scenarios, leverage custom keycodes and process_record_user() for reliable press and release management.
Additionally, employ timer-based tracking (like alt_tab_timer) to detect inactivity and release modifiers, preventing their unintended prolonged activation.
Troubleshooting Common Firmware Macro Issues
When troubleshooting common firmware macro issues, it’s important to identify the root cause of key misplaced, stuck, or unresponsive keys. First, confirm macros use only basic keycodes in your JSON keymaps, avoiding unsupported codes that can cause failures. When using process_record_user(), check for keyup events and properly unregister codes with unregister_code() or tap_code() to prevent stuck keys. Use timers and variables like alt_tab_timer or is_alt_tab_active to manage macro states and avoid missed releases. Simplify complex logic inside send_string() or JSON macros by switching to custom keycodes and process_record_user(). Finally, clear modifiers with functions like clear_mods() or clear_keyboard() during macro execution to prevent unintended keyhold issues.
| Issue | Possible Cause | Solution |
|---|---|---|
| Stuck keys | Unregistered keycodes after press | Use unregister_code() on key release |
| Unresponsive keys | Unsupported keycodes | Stick to basic keycodes in JSON |
| Key misbehavior | Modifier conflicts | Clear mods with clear_mods() |
| Unintended repeats | Complex macro logic | Simplify or switch to custom keycodes |
| State issues | Persistent macro states | Use timers and variables carefully |
Enhancing Macros With Timing, Chords, and Modifier Effects
Enhancing macros with timing, chords, and modifier effects allows you to create more dynamic and precise key sequences that mimic complex workflows or gaming inputs. You can incorporate action objects like down, up, tap, and delay to build timed sequences within your firmware-defined arrays.
Using timing functions such as SS_DELAY(milliseconds) guarantees key presses and intervals are exact, producing reliable effects. Modifier keys can be combined with keycodes in single calls—for example, register_code16() with mod+key—to activate shifted or controlled characters seamlessly.
Additionally, flags and timers in process_record_user() and matrix_scan_user() enable macros that adapt to hold or tap actions, such as ALT-TAB repetition with release after a timeout. Fine-tuning timing with functions like tap_code16_delay() helps avoid stuck keys and improves modifier interaction.
Customizing Macros for Gaming, Productivity, and Accessibility
Customizing macros plays a vital role in optimizing your keyboard for gaming, productivity, and accessibility. Using firmware tools like QMK or Kaleidoscope, you can program complex key sequences, delays, and modifier actions directly into your keymaps or C code.
This allows gamers to execute rapid combos, professionals to automate tasks like launching apps or typing commands, and users with limited mobility to perform multi-step actions with a single press. Advanced macro functions handle key press/release events, timers, and conditional logic, making workflows smoother and more tailored.
Custom keycodes and the process_record_user() function offer precise control over macro behavior, supporting features like layer switching or application-specific shortcuts. Overall, firmware-based macros enable a more efficient, accessible, and personalized input experience.
Long-Term Maintenance: Updating and Improving Your Firmware Macros
Maintaining and improving your firmware macros over time requires a structured approach to keep your keyboard setup reliable and adaptable. To do this, modularize your macros with custom keycodes and separate functions within your firmware. This makes updates smoother and errors easier to troubleshoot.
Use timers and state variables, like alt_tab_timer and is_alt_tab_active, to dynamically manage macro behavior, enabling seamless feature additions or fixes. Leverage built-in QMK functions such as clear_keyboard(), clear_mods(), and tap_code_delay() to guarantee consistent key states, reducing sticky key bugs during updates.
Keep your macro logic focused and concise within process_record_user() and matrix_scan_user()—this simplifies troubleshooting and incremental improvements. Also, document macro behaviors clearly and use consistent naming conventions for easier long-term collaboration and revisions.
Frequently Asked Questions
How to Program Macro Keys on Keyboard?
You start by entering programming mode with the macro key or dedicated button, then press the keys or actions you want to record. Save your macro, exit programming mode, and assign it to your chosen key for instant use.
How to Create a Simple Keyboard Macro?
You create a simple keyboard macro by defining a sequence of key presses, releases, and delays in a JSON keymap or using SEND_STRING, allowing you to automate tasks with a single keystroke easily and quickly.
What Is the Simple Keyboard Macro Tool?
The Simple Keyboard Macro Tool lets you define up to 32 macros directly in a keymap.json, automating key sequences with commands like tap, down, up, delay, and beep, making programming macros straightforward and easy without advanced coding.
Can You Macro Keyboard?
Yes, you can macro a keyboard by programming sequences of key presses into firmware or software. Use dedicated macro keys, custom keycodes, or functions to automate complex actions, improving your efficiency in gaming, shortcuts, or repetitive tasks.



