
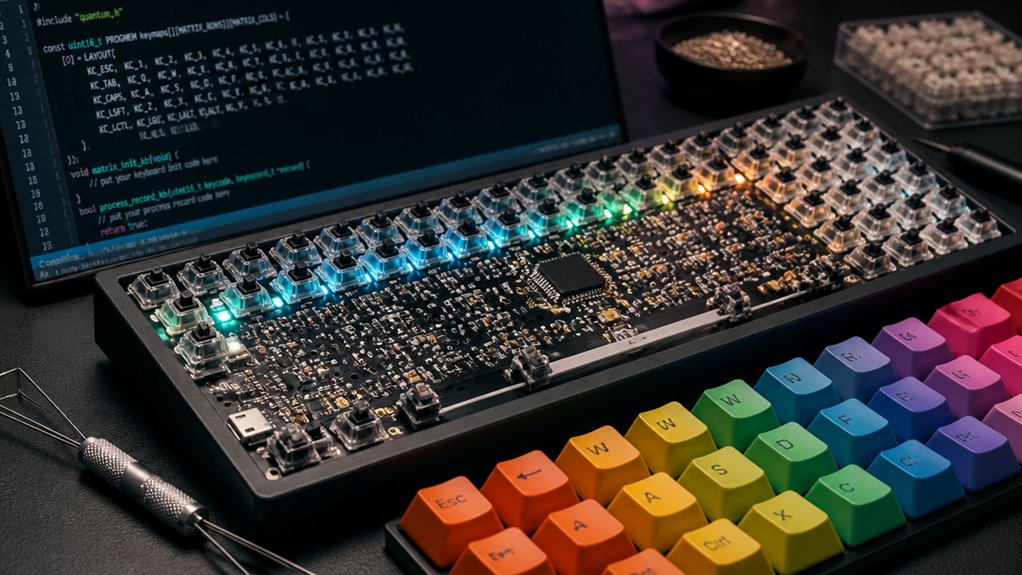
To compile your keyboard firmware, start by choosing the right keyboard model and setting up your development environment with QMK CLI tools. Next, create or select a custom keymap and configure layers, macros, and lighting effects. Make sure to verify your setup, clean previous builds, and compile the firmware with the correct commands. Then, carefully flash it to your keyboard, test all features, and troubleshoot any issues. If you keep going, you’ll master customizing your keyboard to perfection.
Why Custom Keyboard Firmware Matters for Your Setup
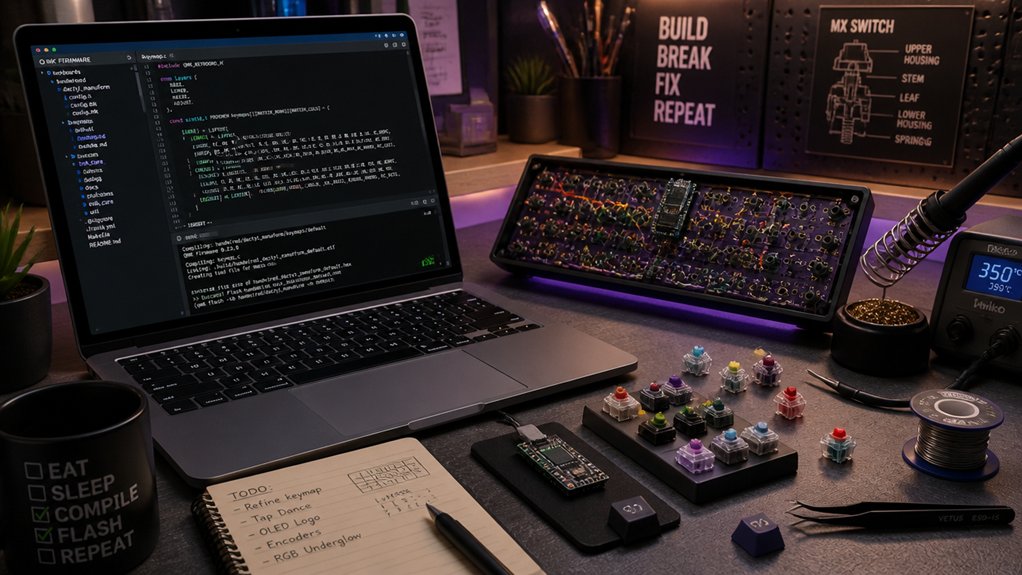
Custom keyboard firmware matters because it gives you full control over your setup, allowing you to customize key mappings, macros, and layers beyond the hardware’s default capabilities.
With custom firmware like QMK firmware, you can store your configurations directly on your mechanical keyboard’s microcontroller, so no extra software is needed after flashing. This enables advanced features such as personalized keymaps, toggleable layers, and unique macros tailored to your work, gaming, or coding routines.
Layers, in particular, add versatility, letting you switch between multiple layouts seamlessly—up to 32 layers in some cases. Exploring the QMK firmware guides helps you understand the full potential of customizations available.
Choose the Right Keyboard Model and Firmware Version
Selecting the right keyboard model and firmware version is a vital step before you start compiling your custom firmware. First, verify your keyboard model by running `qmk list-keyboards` and make certain you select the exact keyboard path relative to `qmk_firmware/keyboards/`. For example, if you have the Framework Laptop 16, use the stable Framework QMK firmware branch v0.2.9 from the official GitHub repository, cloning it with the specific branch tag. Confirm the firmware version’s compatibility with your hardware to prevent flashing issues or non-functionality—avoid outdated branches like v0.2.8-prep.
To streamline your process, configure your build environment defaults with `qmk config user.keyboard=[keyboard_path]` and `qmk config user.keymap=[keymap]`. Always check the latest firmware release tags on GitHub before proceeding. Ensure hot-swap compatibility when selecting your keyboard model to simplify the hardware modification process and avoid potential compatibility issues during the firmware flashing process.
Set up Your Development Environment With Essential Tools
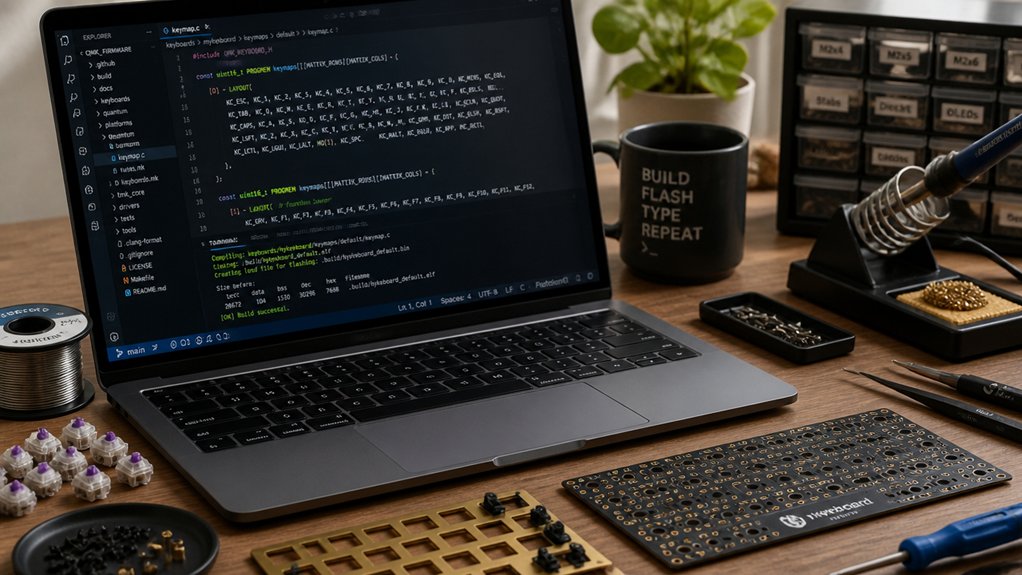
To effectively compile your keyboard firmware, you need to set up your development environment with the necessary tools. Start by installing the QMK CLI with `curl -fsSL https://install.qmk.fm | sh`, then run `qmk setup` to clone firmware files and initialize your environment. Windows users should install QMK MSYS for a pre-configured terminal, while macOS and Linux users follow platform-specific instructions in the QMK documentation. Use the `qmk doctor` command to verify all dependencies are correctly installed. To simplify repetitive tasks, you can set default keyboard and keymap paths with `qmk config`. Proper setup guarantees smooth firmware compilation, especially if you adhere to the recommended hot-swap socket specifications for seamless hardware integration.
Create or Download a Custom Keymap and Configure Layers
Creating a custom keymap involves copying the default layout with the command `qmk new-keymap`, which you can specify for a particular keyboard using the `-kb` option if defaults are unset or multiple keyboards exist.
Once created, locate the new keymap folder containing `keymap.c`, `config.h`, and `rules.mk`. Open `keymap.c` to define or modify layers under the `const uint16_t PROGMEM keymaps[][]` array. You can:
- Add or adjust layers, assigning keycodes, toggles (`MO(layer)`), or macros.
- Incorporate custom macros or layer-specific functions by editing `process_record_user`.
- Fine-tune your layout’s behavior through `config.h`, enabling features like RGB indicators or mouse keys.
This approach allows you to craft a unique, functional keyboard layout tailored to your needs.
Customize Settings for Key Locks, Mouse Keys, and RGB Indicators
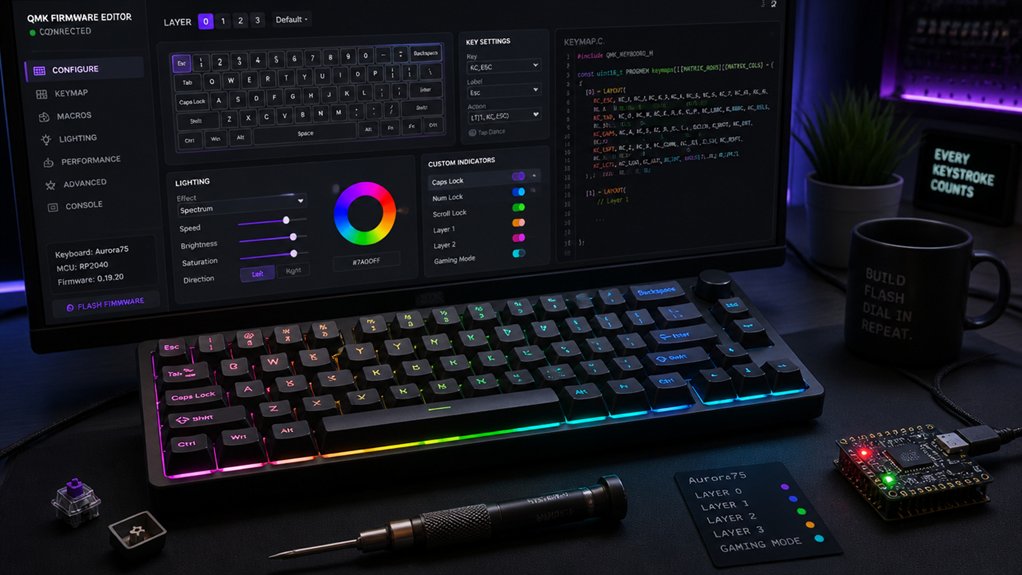
You can enhance your keyboard’s functionality by customizing key lock features, mouse keys, and RGB indicators. Setting up key locks involves defining specific keycodes and toggling behaviors, while mouse keys can be configured for cursor movement and clicking with adjustable timing. RGB indicators provide visual feedback by programming colors to show lock status and active layers, creating a more intuitive user experience. Additionally, utilizing programmable PCBs allows for more precise customization and dynamic lighting effects to improve usability.
Managing Key Lock Functions
Managing key lock functions involves configuring your firmware to toggle and display the hold states of keys like Caps Lock, as well as integrating mouse control and visual status indicators.
To do this effectively:
- Define the QK_LOCK keycode in your keymaps and assign it to a desired key—commonly Caps Lock—to manage the lock toggle.
- Use layer 2 or higher to enable Mouse Keys, adjusting timing and speed in config.h for smooth, responsive control.
- Implement RGB lighting by setting specific LEDs with `RGB_MATRIX_INDICATOR_SET_COLOR()` to visually indicate key lock status, active layers, or mouse key activation.
Grouping LED indices in an array enhances feedback clarity, while ensuring your key behaviors respond intuitively with proper configuration of QK_LOCK and RGB status cues.
Furthermore, understanding the waterproof ratings of your RGB PCBs can help in selecting suitable lighting for different environments, ensuring durability and long-term functionality in various conditions.
Customizing RGB Indicators
Customizing RGB indicators allows you to visually communicate key lock statuses, active layers, and mouse control states with precise color cues. You can set colors for RGB LEDs using the function `RGB_MATRIX_INDICATOR_SET_COLOR(index, red, green, blue)`, where each index maps to a physical LED on your keyboard. For example, you might assign different colors to indicate Caps Lock or specific layers. This setup guarantees clear visual feedback, especially when overlaying RGB lighting effects with indicator colors to reflect status changes. You can create custom functions to set multiple LEDs simultaneously, enabling synchronized RGB animations or patterns for key lock and layer indicators. Proper configuration guarantees a seamless, intuitive user experience with your firmware. Additionally, incorporating adjustable Hall Effect switches and advanced sound dampening can further enhance the overall keyboard responsiveness and acoustics.
Build Your Firmware and Fix Common Compilation Errors
When building your keyboard firmware, guaranteeing a smooth compilation process requires careful attention to detail and proper setup. To avoid common errors, follow these steps:
- Use `qmk compile -kb [keyboard] -km [keymap]` within the correct QMK environment to build your firmware.
- Run `qmk clean` beforehand to eliminate stale files that can cause conflicts.
- Check your `keymap.c` for missing or extra commas in layers, and verify that `config.h` and `rules.mk` are present and properly configured.
- Ensure that the components of your PCB and firmware settings are compatible, especially if you’re working with diverse kits that include different switches or microcontrollers.
If you encounter size limit errors, review enabled features like RGB or macros in `config.h`, and simplify your keymap layers.
Proper setup guarantees your firmware compiles successfully without errors, ready for flashing onto your keyboard.
Flash Your Firmware to the Keyboard Safely
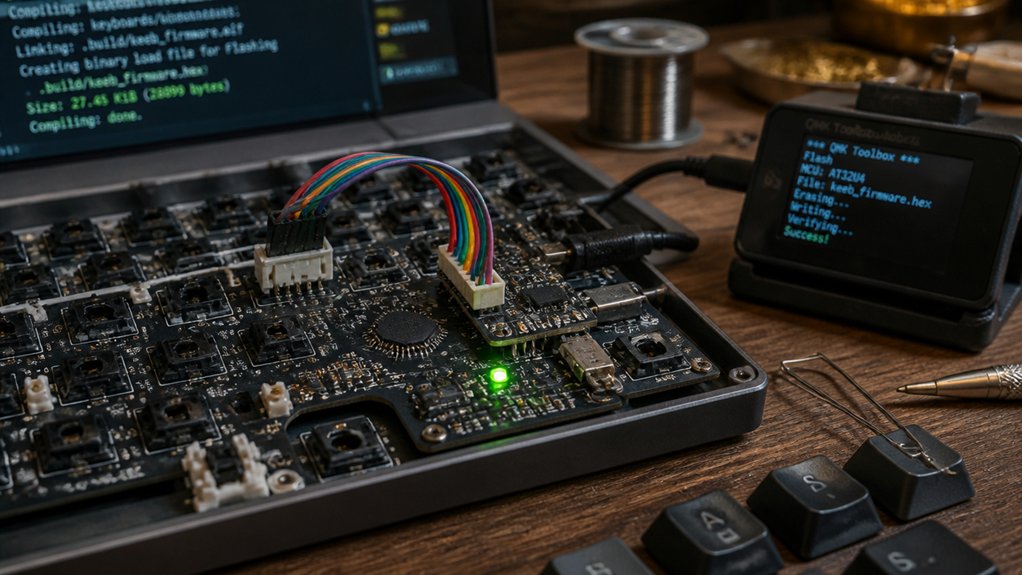
Flashing your firmware safely requires you to put your keyboard into bootloader mode first, which typically involves pressing a specific key combination like the QK_BOOT key or Bootmagic reset keys. Once it’s in bootloader mode, you can use `qmk flash` or QMK Toolbox to upload the firmware file. Make sure your keyboard is connected and detected to prevent issues. Here’s a quick overview:
| Step | Action | Tip |
|---|---|---|
| 1 | Enter keyboard into bootloader mode | Use reset keys or QK_BOOT |
| 2 | Flash the firmware | Run `qmk flash` or use Toolbox |
| 3 | Wait for completion | Don’t unplug during process |
| 4 | Reboot and test | Keyboard auto-restarts |
Never unplug or turn off the keyboard during flash, as that can brick it. Ensuring your firmware process includes correct board protection features like resettable fuses helps avoid potential damage. After successful flashing, it restarts with your new firmware, ready for use.
Test Your Custom Firmware and Troubleshoot Issues
Once you’ve flashed your firmware, test all keys, layers, and macros to confirm everything works as expected.
If you encounter issues, use `qmk clean` to clear old builds and check your keymap syntax for errors.
When problems persist, tools like `qmk doctor` can help identify environment issues or guide you through troubleshooting steps.
Additionally, verifying the hardware specifications such as GPIO pin availability and interface support can prevent compatibility issues during firmware development.
Firmware Test Methods
How can you be sure your custom keyboard firmware is working correctly? Start by compiling your firmware with `qmk compile -kb [keyboard] -km [keymap]`. Make certain the build completes successfully, creating the hex file and matching the expected firmware size.
Next, enter bootloader mode—usually by holding the QK_BOOT key or using device-specific combos—and flash the firmware. After flashing, test each key to confirm proper functionality.
To troubleshoot, modify the `process_record_user` function in `keymap.c` by adding print statements or toggles to observe key actions. If issues persist, perform a clean build with `qmk clean` and retry flashing.
Verify features like RGB effects or macros post-flash, as real-time observation is essential—there’s no tester for these tests.
Troubleshooting Common Errors
Are you unsure why your custom keyboard isn’t functioning correctly after flashing the firmware? First, run `qmk clean` to remove old build artifacts that could cause errors. Double-check your `keymap.c` syntax; avoid adding or removing commas in the layers matrix, which often triggers compile errors. Use `qmk doctor` to validate your environment setup and fix missing dependencies. When compiling, make certain you specify the correct `-kb` (keyboard) and `-km` (keymap name). If your firmware won’t reload or the keyboard malfunctions, try resetting the keyboard or disabling conflicting keys like the reset key. Here’s a quick guide:
| Issue | Solution | Command/Tip |
|---|---|---|
| Firmware compile error | Run `qmk clean` before compiling | `qmk clean` |
| Syntax mistakes | Check keymap syntax, avoid comma errors | Edit `keymap.c` carefully |
| Environment issues | Run `qmk doctor` to troubleshoot | `qmk doctor` |
| Upload problems | Reset keyboard or disable reset key | Reset the keyboard |
Add Macros, Animations, and RGB Effects to Personalize Your Keyboard
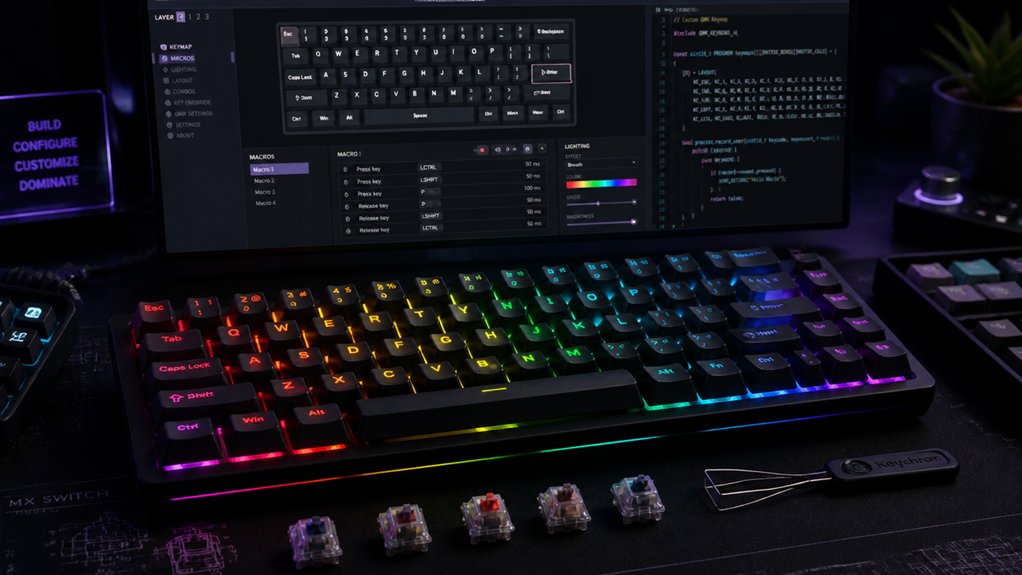
Adding macros, animations, and RGB effects allows you to truly customize your keyboard’s appearance and functionality. To do this, you can leverage QMK features, such as defining custom keycodes with enums and implementing their behavior in `process_record_user`. This lets you create macros that type strings or toggle states on key press.
You can also enhance visual flair by adding RGB lighting indicators and animations in `rgb_matrix_user.inc`, using functions like `RGB_MATRIX_INDICATOR_SET_COLOR` and custom HSV math for effects like pendulum or band animations.
Finally, use `matrix_scan_user` to enable continuous actions, such as mouse button spamming macros. These creative options help keyboard enthusiasts craft uniquely responsive and eye-catching keyboards, especially when combined with features like mouse controls and dynamic lighting.
Maintain and Update Your Firmware for Better Performance
Maintaining and updating your firmware regularly is essential for ensuring your keyboard performs efficiently and benefits from the latest features and fixes. Start by pulling updates from the official QMK repository to include bug fixes and improvements. Before compiling, run `qmk clean` to remove residual files and prevent conflicts. Review your `keymap.c`, `config.h`, and `rules.mk` files to optimize performance and limit firmware size. Use the command `qmk compile -kb [keyboard] -km [keymap]` to build your custom keyboard firmware, ensuring the output shows enough free space. After flashing, thoroughly test your firmware, checking custom layers, macros, and RGB settings. Keep your firmware updated for the best performance:
| Step | Command/Focus | Goal |
|---|---|---|
| Update repository | `git pull` | Bug fixes and features are current |
| Prepare build | `qmk clean` | Remove conflicts and residual files |
| Compile firmware | `qmk compile -kb …` | Build optimized firmware |
Frequently Asked Questions
How Do I Troubleshoot Compilation Errors During Firmware Build?
You troubleshoot compilation errors by carefully reading error messages, checking your code for syntax mistakes, verifying dependencies, updating firmware tools, and consulting online forums or documentation for similar issues. This systematic approach helps identify and fix issues efficiently.
What Are the Best Practices for Backing up Custom Firmware Configurations?
You should regularly save your custom firmware configurations to a secure location, use version control systems like Git, and keep backups of your configuration files. Additionally, document changes and store backups on cloud storage for safety.
Can I Revert to the Original Firmware if Needed?
Yes, you can revert to the original firmware if needed. Keep a backup of the stock firmware before making changes, and use your programming software to upload the original version, ensuring easy restoration whenever necessary.
What Are Common Causes of Firmware Flashing Failures?
You often encounter firmware flashing failures due to incompatible firmware files, corrupted downloads, insufficient power supply, incorrect device selection, or interrupted connections. Always double-check file compatibility, keep firmware files intact, and maintain stable power and connection before flashing.
How Do I Ensure Compatibility With Different Keyboard Revisions?
You guarantee compatibility by checking the keyboard’s revision-specific documentation, updating your firmware source accordingly, and testing on a non-critical device first. Use revision-specific firmware files and verify hardware details before flashing to prevent mismatches.



