
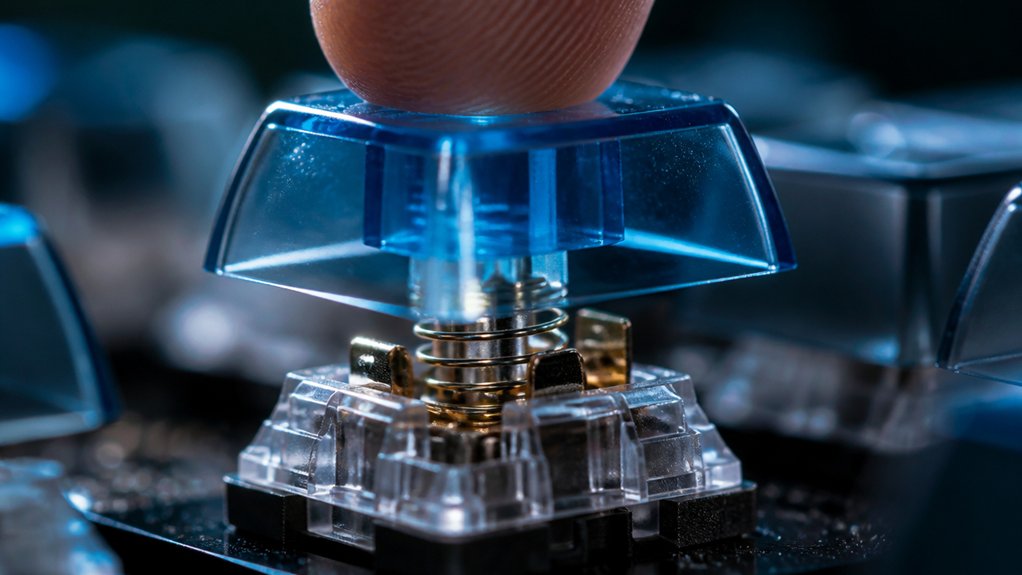
To test your mechanical keyboard’s keypress registration, start with online keyboard testers that show each key’s response—press keys individually and in combos to check for ghosting or rollover issues. You can also inspect switches and circuit connections for physical damage or dirt, and use a multimeter to verify electrical continuity. If you notice problems, cleaning or replacing switches may help. Keep exploring to discover detailed troubleshooting steps and repair tips for reliable performance.
How Mechanical Keyboard Switches Register Keypresses
Have you ever wondered how your mechanical keyboard detects each keypress? It all comes down to the mechanical keyboard switches. When you press a key, the switch’s stem moves downward, compressing a spring inside.
Mechanical keyboard switches detect keypresses through stem movement and spring compression, completing circuits for quick, accurate responses.
This action closes an electrical circuit by making metal contacts touch, sending a signal to the keyboard’s controller. The Printed Circuit Board Assembly (PCBA) links these switches to the controller, guaranteeing quick and accurate responses.
The controller firmware processes these signals, confirming that each keystroke registers properly. The design of the switches, including the spring and metal contacts, is vital for durability and reliability. Using high-quality solder and properly assembled components further ensures the overall joint strength of the keyboard, preventing failures over time.
Additionally, key rollover and ghosting tests help verify that multiple simultaneous keypresses are registered accurately. This precise process guarantees your keyboard responds promptly and faithfully to every press.
Common Signs of Key Registration Problems
If you notice keys not responding or registering inconsistently, it’s a clear sign of problems with switches or connections.
Ghosting or double registers during testing also point to wiring faults or rollover issues. Recognizing these signs helps you identify where your keyboard needs attention before the problem worsens.
Missing Key Responses
Missing key responses are a clear sign that your mechanical keyboard may be experiencing hardware issues. If pressing a key doesn’t produce a response on your screen, it’s a sign of missing key responses indicating potential faults like broken switches or faulty PCB connections. A mismatch between expected and actual key registration can also be detected with switch comparison charts, which help identify if the switch type or feel may be contributing to the problem. Using an online keyboard tester helps identify these issues—non-registering keys will remain grey or unlit during the test. Performing simultaneous multi-key presses can reveal if certain keys fail to register under common conditions like ghosting or rollover. Consistently unresponsive or sticking keys during testing suggest hardware problems that often require switch replacement. Checking for missing key responses allows you to rule out mechanical faults and determine if your keyboard’s problems are hardware-related, ensuring you address the root cause effectively.
Ghosting or Double Registers
Wondering why your keyboard registers extra or unwanted keystrokes? It could be due to ghosting, where pressing multiple keys simultaneously causes unintended signals to register. This typically happens because of wiring or circuit design limits, especially on keyboards without proper key rollover technology.
To check for ghosting, use an online keyboard tester and press several keys at once; if unpressed keys light up, ghosting is present.
Double registers, however, occur when a single keypress registers more than once, often caused by faulty switches, PCB issues, or contaminants that cause short circuits. Using a diagnostic tool helps distinguish between true ghosting caused by hardware limitations and double registers resulting from mechanical or electrical faults.
Identifying the cause guarantees you know whether your keyboard needs repair or upgrade.
How to Use Online Tools to Test Your Keyboard’s Keys
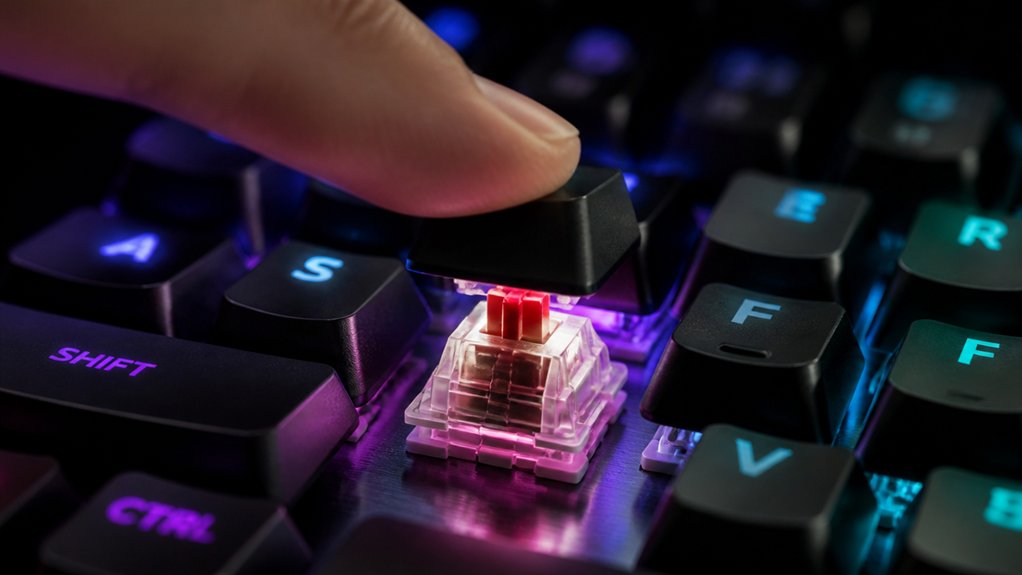
Using online keyboard testers is a straightforward way to verify that all your keys are functioning correctly. Start with a keyboard test by opening a reputable online tool designed for this purpose.
When you press keys, they should appear in dark green, confirming registration. For quick identification of stuck keys, the tool highlights them in yellow.
To guarantee your keyboard handles multiple presses, press several keys simultaneously to detect ghosting or rollover issues. Make sure JavaScript is enabled and use a compatible browser like Chrome, Firefox, or Edge for accurate, real-time feedback.
Use the toggle feature to test all keys, including the Numpad and function keys (F1–F12). Ensure your keyboard supports multiple key rollover, which is essential for accurate testing of simultaneous key presses. Finish by pressing the reset button to clear previous inputs and perform additional tests efficiently.
Step-by-Step Manual Test for Your Keyboard Hardware
Start by setting up your testing environment with your keyboard connected to your computer and confirm JavaScript is enabled in your browser. Next, use an online keyboard tester to visually confirm that each keypress registers correctly and that multiple keys can be pressed simultaneously without issues. Additionally, consider testing different switch types with a switch tester, which can help you gauge tactile feedback and sound. Finally, pay close attention to any keys that stick or fail to register, as these indicate potential hardware problems that need further inspection.
Prepare Your Testing Environment
Before testing, verify your keyboard is properly connected to your computer and that your browser has JavaScript enabled on a compatible platform such as Chrome or Firefox. This guarantees accurate keyboard testing and keypress detection.
A stable workspace and proper secure mounting help prevent movement or accidental detachment during testing, ensuring precise results.
Next, open an online keyboard tester to prepare for your test. Make sure your environment is quiet and free from distractions to focus on responses. Remove any debris or dust from your keyboard to prevent unresponsive keys. Use a stable surface to keep the keyboard steady during testing.
Confirm that other software won’t interfere with the process. Having everything prepared simplifies keyboard testing and helps identify faults quickly.
Proper setup helps you accurately assess key registration, ghosting issues, and mechanical faults. This foundation enables effective, reliable testing of your mechanical keyboard’s performance.
Conduct Physical Keypress Checks
To guarantee your keyboard’s hardware is functioning properly, systematically press each key individually and observe its response. Make certain each key registers a mechanical response, with tactile or audible clicks if applicable. Using a keyboard test tool or software that highlights pressed keys, confirm that each key’s electronic signal is detected—these often turn green when confirmed. Test for key rollover by pressing multiple keys simultaneously to see if all signals register correctly, avoiding ghosting. Also, inspect keycaps and switches physically for irregularities, looseness, or damage. Repeat presses to check for consistency; note any keys that fail to register or feel inconsistent. Proper stabilization and lubrication, as discussed in the stabilizer features, can also influence key registration quality. Here’s a visual guide to help you understand key responses better:
| Key | Response | Issue |
|---|---|---|
| A | Tactile click | Works fine |
| S | No response | Needs replacement |
| D | Slight delay | Possible switch issue |
| F | Loose keycap | Repair needed |
When to Check Your Keyboard’s Switches and Circuit Board
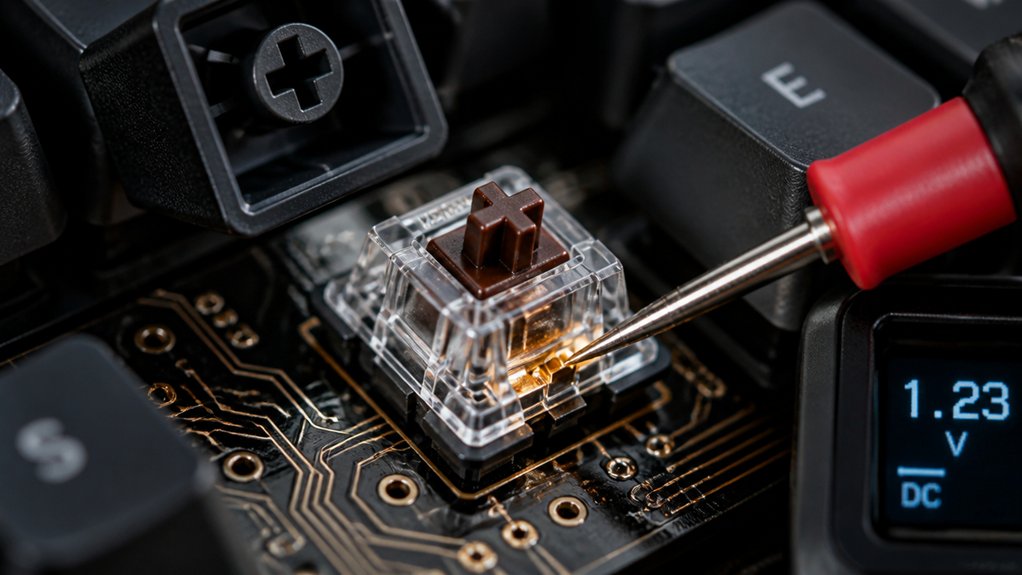
Have you noticed keys that don’t respond, feel sticky, or register inconsistently even after updating your software? It’s time to check your computer keyboard’s switches and circuit board.
You should inspect these components if multiple keys fail simultaneously or if ghosting occurs, indicating possible electrical issues. Liquid spills also require immediate examination—liquid damage can disrupt circuit connections, so visual inspection and drying are essential before further repair.
Additionally, if your mechanical keyboard exhibits tactile feedback inconsistencies or unreliable rollover during multi-key presses, it’s a sign to examine switch contacts and circuit traces. Regularly testing the circuit board with a specialized fixture can reveal broken components or misaligned traces that impair key registration. Incorporating sound calibration can also help identify irregularities in switch performance that might impact registration.
Don’t overlook these checks to keep your keyboard functioning smoothly.
How to Test for Ghosting and Key Rollover Issues
To identify ghosting and key rollover issues, you should press multiple keys at once on a test tool and see if all are registered correctly. Look for any extra or missing key signals that indicate ghosting, especially during complex key combinations. Using the test’s highlighting feature helps you easily spot which keys register properly and where problems occur across different areas of your keyboard. Paying attention to the multimeter safety ratings and proper testing procedures can help prevent damage to your keyboard during diagnostics.
Detecting Ghosting Effects
Detecting ghosting on a mechanical keyboard involves pressing multiple keys simultaneously and carefully observing how the keyboard registers those inputs.
If unpressed keys are mistakenly triggered during the test, your keyboard may be experiencing ghosting effects. To test this:
- Press more than the keyboard’s key rollover limit, like 6 keys or more, to see if all register properly.
- Use online testers that visually highlight pressed keys in real-time.
- Watch for false key activations or phantom signals during multi-key presses.
- Focus on adjacent keys, as ghosting often occurs due to electrical limits in the matrix circuit.
- Test multiple key combinations to identify specific ghosting problem areas.
- Remember that hot-swap PCBs with reliable electrical contacts can help reduce such issues by maintaining consistent connections during extensive testing.
These steps help you identify whether ghosting impacts your keyboard’s ability to accurately register simultaneous keypresses, especially during fast-paced activities.
Evaluating Key Rollover Limits
Evaluating key rollover limits involves systematically testing how many keys your keyboard can register simultaneously without losing input or registering phantom signals. To do this, press multiple keys at once and observe if all inputs are detected correctly, indicating no ghosting. Including common key combinations that often cause ghosting, such as keys on the same row or column, can help assess the anti-ghosting capabilities of your keyboard. Use online keyboard testing tools that highlight each key in green, providing visual confirmation of multi-key registration during simultaneous presses. Most mechanical keyboards support N-Key Rollover (NKRO), allowing all keys to register independently, while budget models typically support 2-6 key rollover. Gradually increase concurrent keypresses to identify the maximum rollover your keyboard can handle accurately. Additionally, switch types such as linear, tactile, or clicky can influence how effectively your keyboard registers multiple inputs, especially under heavy use.
Using Test for Multiple Keys
Testing for ghosting and key rollover issues involves directly pressing multiple keys at once on your keyboard tester to see which inputs are recognized accurately. This test shows whether your keyboard can handle multiple keys pressed simultaneously without errors.
When you press multiple keys, the tester displays correctly registered keys in dark green, while ghosted or unrecognized keys may show as error colors or not appear. This helps identify your keyboard’s rollover capabilities, like NKRO (n-key rollover).
You can also toggle the tester to include or exclude the Numpad keys, ensuring full coverage.
- Press multiple keys to test simultaneous registration
- Observe dark green for correctly registered keys
- Watch for error colors indicating ghosting
- Use toggle options for full keyboard coverage
- Confirm your keyboard handles multiple keys effectively
Troubleshooting Keys That Won’t Respond
If a key on your mechanical keyboard isn’t responding, the first step is to verify whether the problem is mechanical or electronic. Use an online keyboard testing tool that highlights pressed keys in green to see if the unresponsive key registers input.
Try pressing multiple keys at once to identify ghosting or rollover issues that might cause some keys not to respond. If the key remains unhighlighted, it could indicate a mechanical fault.
Sticking or unresponsive keys often show up as yellow or lack color during testing, which suggests cleaning or replacing the key switch might be necessary. Also, test the Fn key in combination with volume or function keys, as some keys only respond when used with modifier keys.
If the key still fails after cleaning, the keyboard’s switch or PCBA might be damaged, requiring repair or replacement.
Does Wear and Tear Affect Your Mechanical Switches?
Have you noticed that some keys on your mechanical keyboard feel less responsive or require more force to register? Wear and tear definitely affect your mechanical switches over time.
Keys may become less responsive over time due to wear, so monitor your switches for optimal performance.
As you use your keyboard, the springs and contact points inside the switches degrade, leading to slower actuation or missed keystrokes. Dust, dirt, and debris can build up, causing sticky or unregistered keys that impair typing.
Regular testing can reveal early signs of switch wear. You might notice a reduction in tactile feedback or a mushy feeling, indicating the switch is near the end of its lifespan.
To maintain peak performance, monitor key responsiveness and consider replacing switches that show signs of wear. Proper care guarantees your mechanical switches stay reliable longer.
How to Check If Your Keyboard Is Properly Assembled and Connected
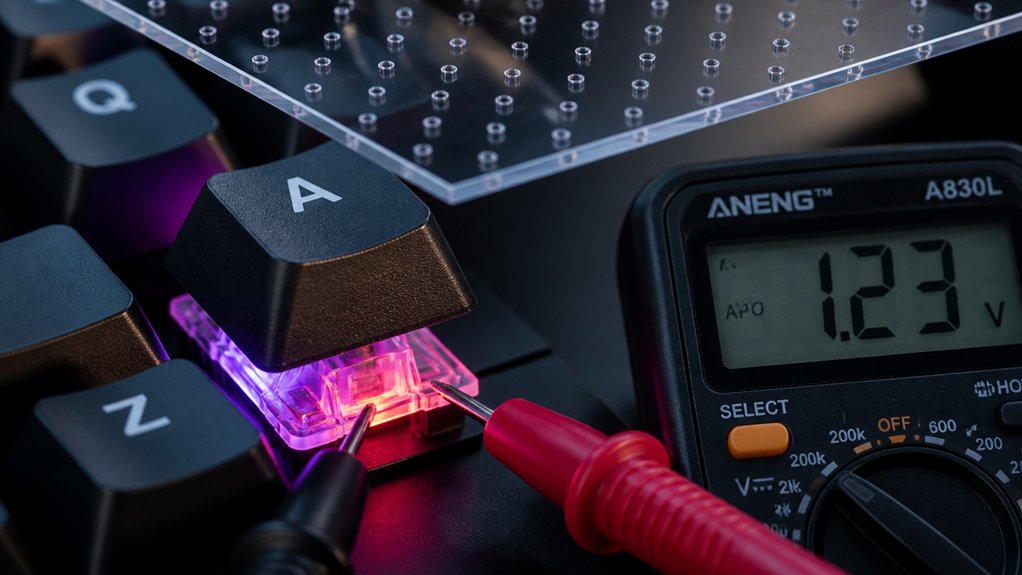
Wondering whether your keyboard is properly assembled and connected? Use a keyboard tester to verify key registration and circuit integrity. First, place the PCB into a proprietary keyboard test fixture and power it on; observe color changes that show active connections. Next, employ a multimeter or specialized keyboard test tool to check for electrical connectivity, resistance, and circuit continuity on the PCB. Perform a visual inspection for broken components, misaligned traces, or physical damage that could disrupt key presses. Finally, press each key while monitoring the test interface to confirm proper response. Guarantee your keyboard firmware (like Elecrow’s test firmware) is up to date for accurate diagnostics.
| Step | Purpose |
|---|---|
| Place PCB in test fixture | Verify connection indicators with color changes |
| Use multimeter or test tool | Check electrical circuit continuity and resistance |
| Visual inspection | Spot physical damage or misaligned components |
| Test each key on keyboard tester | Confirm key registration and switch-to-controller connection |
How Liquid Damage Can Lead to Key Registration Failures
Liquid damage can instantly disrupt your keyboard’s ability to register keypresses by creating short circuits or causing corrosion on the PCB. This damage hampers the electrical connections necessary for proper keys’ performance.
When liquid seeps into your keyboard, you might notice sticky or unresponsive keys, leading to missed or repeated signals during typing. To maintain peak keyboard performance, address spills immediately—power off and dry your device quickly.
Persistent liquid exposure often results in irreversible internal damage, requiring a keyboard replacement. If you’re testing after a spill, look for:
- Non-registering keys
- Stuck or unresponsive switches
- Corrosion on contact points
- Dead or inconsistent keys
- Visible liquid residue or corrosion
These signs indicate damage that could compromise your keyboard’s ability to perform reliably.
Best Practices for Cleaning and Maintaining Your Mechanical Switches
Maintaining your mechanical switches in top condition involves regular cleaning and proper care to guarantee peak performance.
Every key should be free of dust and debris, so periodically remove keycaps and use compressed air or a soft brush for cleaning.
For a deeper clean, gently wipe switch stems and surrounding areas with a lint-free cloth dampened with isopropyl alcohol to prevent sticky keys and secure smooth actuation.
Avoid spilling liquids; if it happens, turn off the keyboard immediately, and dry thoroughly to prevent permanent damage.
To keep switches responsive, lubricate them sparingly with specialized keyboard grease, reducing friction and noise without affecting tactile feedback.
Regular maintenance helps every key register accurately, assuring consistent performance over time.
When to Repair or Replace Your Keyboard Based on Tests
Testing your keyboard with diagnostic tools can reveal whether it requires repair or replacement. If multiple key presses fail during ghosting and rollover tests, consider repairing the keyboard if possible; otherwise, replacement is best.
Persistent stuck or unresponsive keys found online usually indicate mechanical failure, often leading to keyboard replacement, especially in laptops.
After liquid damage, unregistered keystrokes despite thorough drying and cleaning suggest internal damage, and replacement is recommended.
Repair is more practical for PC or mechanical keyboards with replaceable switches or diagnosed PCBA issues. However, most laptop keyboards aren’t economical to repair—over 99.9%.
- Multiple key failures on tests
- Stuck or unresponsive keys
- Liquid damage with ongoing issues
- Mechanical or switch problems
- Intermittent or no response despite updates
Frequently Asked Questions
Why Is My Mechanical Keyboard Not Registering Keystrokes?
Your mechanical keyboard isn’t registering keystrokes because of potential hardware issues like faulty connections, debris under switches, or internal liquid damage, or software problems such as incorrect settings. Use an online tester to identify the root cause.
Is 84 Keys 75%?
Yes, an 84-key layout is typically a 75% keyboard. It maintains essential keys like function keys and arrow keys in a compact design, balancing space efficiency with full functionality, suited for users needing more keys than smaller setups.
How Do You Know How Many Inputs Your Keyboard Can Register?
You test your keyboard by pressing multiple keys at once on a benchmarking website, which then shows you how many keys can register simultaneously. The highest number of correctly registered keys reveals your keyboard’s rollover limit.
How to Check Keyboard Keystrokes?
You check keyboard keystrokes by using an online tester, pressing each key to see if it lights up, testing multiple keys simultaneously for ghosting, and verifying function keys work properly with any required combo.
In Summary
Regularly testing your mechanical keyboard helps guarantee it works reliably. By understanding how switches register keypresses, recognizing common issues, and using online tools or manual tests, you can identify problems early. Keep your keyboard clean and well-maintained, and check for damage if keys misregister. Knowing when to repair or replace your keyboard saves you hassle and guarantees smooth typing. Stay proactive, and your keyboard will serve you well for years to come.



