
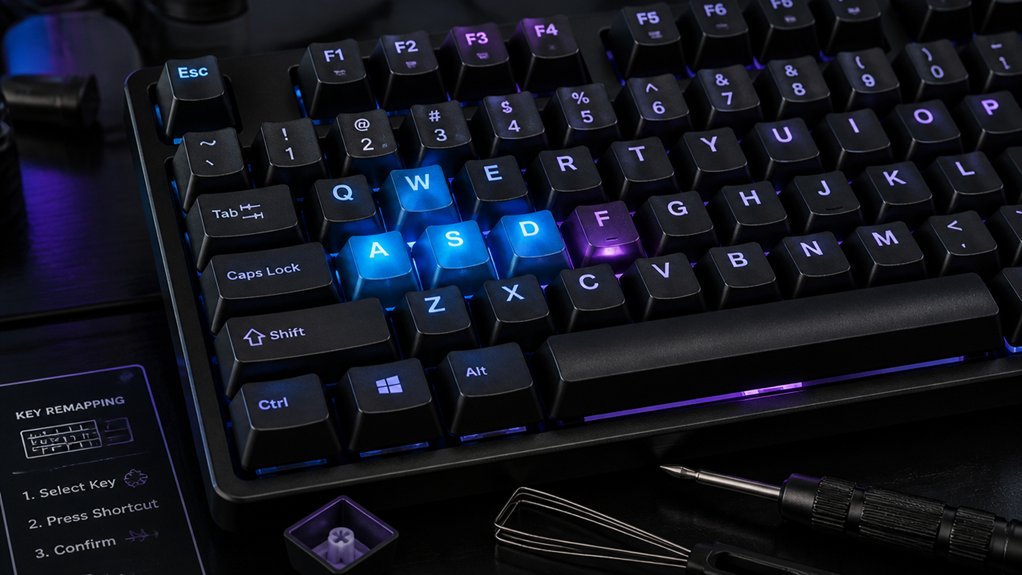
To remap keys on your mechanical keyboard, you can use manufacturer software, system-level tools like SharpKeys on Windows, or firmware-based options like QMK or VIA. First, check if your keyboard supports remapping through dedicated software for easier customization. If not, install a tool like SharpKeys to remap keys system-wide. For more advanced options like macros, explore tools like QMK or VIA. Keep in mind, the best method depends on your keyboard type—continue to explore for detailed guidance.
Why Remapping Keys on Your Mechanical Keyboard Can Improve Workflow
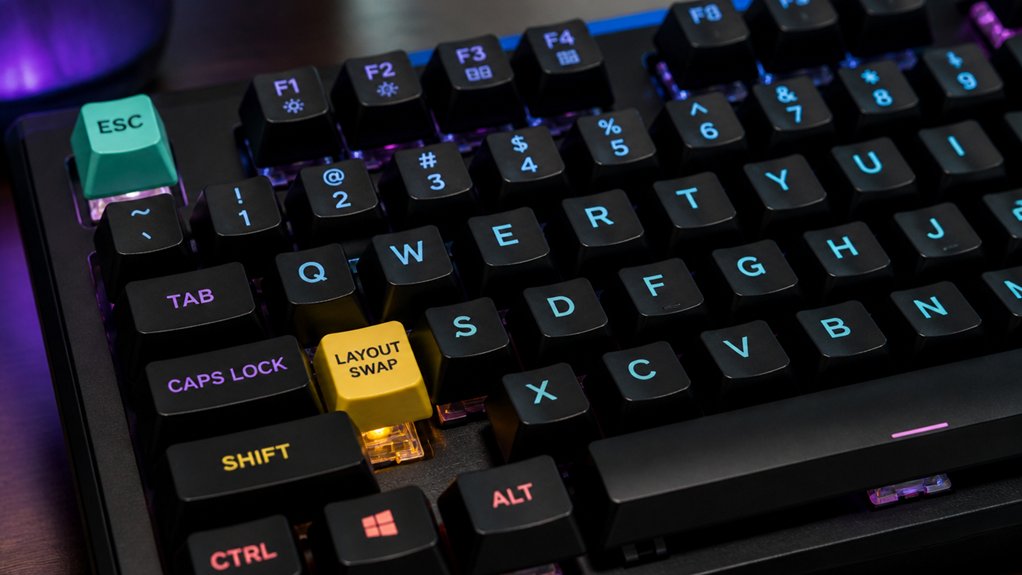
Remapping keys on your mechanical keyboard can greatly streamline your workflow by making frequently used commands more accessible. Simply press a key to customize its function, allowing you to change what it does to better suit your tasks. This means you can assign shortcuts or commands in software like Adobe Premiere Pro or coding environments, boosting your efficiency. A comprehensive firmware like QMK provides layer support to easily create multiple key configurations and switch between them on the fly. With onboard programming or third-party software, these remaps stay active across different computers without needing to tweak system settings each time. Personalizing your key layout helps improve ergonomics and reduces accidental presses, making complex workflows more intuitive.
Go ahead, tailor your keyboard to fit your needs—remapping transforms less-used keys into productivity boosters, helping you work faster and more comfortably.
Should You Use Manufacturer Software or System-Level Remapping?
Choosing between manufacturer software and system-level remapping tools depends on your keyboard hardware and your specific needs. If you’re going i’m using a gaming keyboard with dedicated features, manufacturer software is preferable.
Choose manufacturer software for gaming keyboards, or system-level tools for basic key remapping on non-programmable models.
It offers advanced options like macro recording, per-key lighting, and onboard profiles—great for low-latency remapping. For a little bit more flexibility with non-programmable or membrane keyboards, system-level tools like SharpKeys can do the job. They modify key functions through the OS, affecting all connected devices equally.
Consider these points:
- Manufacturer software offers hardware-specific customization.
- System-level remapping is simple for basic key changes.
- Using manufacturer software may require installation and admin access.
- Go for system-level remapping if your keyboard has limited software options.
Best Remapping Software Options for Mechanical Keyboards

Ever wondered what software can give you the most control over your mechanical keyboard’s keys? Let’s go.
Popular brands like Corsair, Razer, and Logitech offer proprietary apps—Corsair iCUE, Razer Synapse, and Logitech G HUB—that enable robust key remapping and macro customization.
For more advanced customization, QMK Firmware is a powerful open-source option, allowing deep remapping at the firmware level. VIA provides a user-friendly interface for QMK-based keyboards, letting you remap keys in real time without reflashing.
On macOS, Karabiner-Elements offers complex device-specific remapping and profiles. Windows users often turn to AutoHotkey, which provides flexible scripting capabilities for advanced key remapping and automation.
These options give you various levels of control, whether you prefer manufacturer software, firmware-based solutions, or scripting tools. Additionally, understanding the layout and key placement of your TKL keyboard can significantly influence your remapping efficiency and overall typing experience.
How to Install and Set Up SharpKeys on Windows
To install SharpKeys on Windows, download the latest release from its GitHub page, choosing either the MSI installer or portable ZIP. Run the installer with administrative privileges and follow the prompts, then launch the program from the Start menu. Once open, you can quickly configure your key remaps by adding new mappings and applying them system-wide. For users interested in exploring more advanced or custom keyboard configurations, understanding mechanical keyboard components can be beneficial.
Installing SharpKeys Easily
Installing SharpKeys on Windows is a straightforward process. First, download the latest SharpKeys installer (MSI) or portable ZIP from the official GitHub release page to guarantee security and updates.
Second, run the MSI installer and follow the prompts, granting administrative privileges if needed.
Third, launch SharpKeys from the Start menu and accept the risk warning that appears.
Fourth, use the “Add” button to start mapping keys by selecting source and target keys from dropdown menus or using the “Type Key” feature for easier identification.
Once you’ve configured your desired remaps, click “Write to Registry” and restart your computer. This simple setup guarantees system-wide key remapping with minimal effort. Additionally, understanding switch types and feel from comparison charts can help tailor your remapping for optimal typing experience.
Configuring Key Remaps
Once you’ve completed the installation of SharpKeys, you can start configuring your key remaps with ease. Launch SharpKeys from the Start menu. Click “Add” to create a new remapping. Use the “Type Key” feature or dropdown menu to select the source key you want to change. Then choose the target key it should emulate. After setting your desired remaps, click “Write to Registry” to save your changes. To apply the new configuration, reboot your Windows system. If you need to adjust or remove remaps later, open SharpKeys again, modify or delete entries, and write the updates to the registry before restarting. This process makes customizing your keyboard straightforward and efficient, ensuring your key mappings fit your preferences. Additionally, understanding the various hot-swap PCB options can help you customize your keyboard layout and switch types for an optimal experience.
A Beginner’s Guide to Remapping Keys With Sharpkeys

Curious how to customize your mechanical keyboard without complex software? SharpKeys is an open-source Windows tool that makes remapping keys simple by editing the registry.
To get started:
- Launch SharpKeys and click “Add” to create a new key mapping.
- Choose the source key and target key from the dropdowns or use “Type Key” to identify them.
- Click “OK” to save your selection.
- Hit “Write to Registry” to apply the changes, then reboot your system for them to take effect.
Remapping keys with SharpKeys works on keyboards without dedicated software. Undo changes easily by deleting mappings, saving, and restarting.
It’s an accessible way for beginners to personalize setups without extra software.
Common Troubleshooting Tips for Key Remapping Issues
If your remapped keys aren’t working correctly, check for registry key conflicts or overlapping remap entries that might be causing issues.
Also, confirm the software you’re using is compatible with your system and doesn’t bypass the OS, which can prevent changes from taking effect.
If problems persist, review the remapping setup, undo any problematic changes, and reboot to apply the fixes.
Additionally, ensure your firmware supports hardware protection features like resettable fuses or diode protection, which can impact remapping functionality.
Registry Key Conflicts
Registry key conflicts are a common cause of remapping issues on mechanical keyboards, especially when multiple entries assign different functions to the same source key. These conflicts lead to inconsistent or failed key behaviors.
To avoid problems, make sure no two remaps share the same original or target key code in SharpKeys, preventing overlapping registry entries Windows can’t interpret properly. Conflicts can also occur if the target key is reserved or used by system shortcuts, causing partial or ignored remaps.
Here’s how to troubleshoot:
- Delete all existing remap entries in SharpKeys before creating new ones.
- Reconfigure remaps with unique source and target keys.
- Double-check that target keys aren’t system-reserved.
- Reboot your system to apply changes and resolve conflicts.
- Using stable or high-quality stabilizers can help ensure consistent key registration, reducing the risk of remap conflicts caused by hardware issues.
Software Compatibility Issues
Software compatibility issues are a common obstacle when remapping keys on mechanical keyboards, often caused by the OS not recognizing certain hardware scan codes or by keyboard firmware handling keys exclusively.
If your remapping software isn’t working, make sure the OS properly detects your keyboard’s scan codes. Some tools need administrative privileges to modify system settings like the registry; without these permissions, changes mightn’t apply system-wide.
Restarting your computer or logging off and back on can also be necessary for changes to take effect. Be aware that certain keys, like multimedia or Fn keys, might be non-remappable due to hardware-layer encoding that bypasses standard OS input processing.
Finally, conflicts can occur if multiple remapping or gaming programs run simultaneously, causing inconsistent behavior. Additionally, hot-swap compatibility in your keyboard can influence how easily certain key adjustments are applied, especially when switching between different switch types.
How to Test and Verify Your Custom Keyboard Mappings
Once you’ve remapped your keys and rebooted your system, the next step is to test and verify that your changes work as intended.
To do this effectively:
- Use built-in tools like Windows On-Screen Keyboard or third-party key testers to press remapped keys and confirm they output correctly.
- Open a text editor or application where key functions matter, such as Adobe Premiere Pro, and test the remapped keys within your workflow.
- Check if shortcuts involving remapped keys, like combinations with Alt or Ctrl, register properly.
- If something doesn’t work, revisit your remapping software or registry settings, make adjustments, and retest after rebooting.
- Monitoring your accuracy metrics can help ensure that your custom setup maintains high performance and minimizes errors.
How to Undo or Change Your Key Remaps
If you need to undo or modify your key remaps, the process is straightforward with SharpKeys. Open the application, then delete specific remap entries or remove all to reset your changes.
After making adjustments, you must reboot your system for the registry changes to take effect. Remember, SharpKeys physically retains the original key labels, so it’s wise to test remapped keys in your software to confirm they’re functioning correctly.
If something isn’t working properly or you encounter errors, restoring defaults by clearing all entries can help troubleshoot. Keep in mind, you need administrative privileges to make these changes since they alter the Windows registry. Once you reboot, your remaps will be either updated or reverted to default based on your modifications.
Additionally, understanding component quality & handling can help prevent potential issues with remapped keyboards or during circuit assembly.
Tips to Remap Keys for Better Ergonomics and Productivity
Remapping keys can greatly enhance both your comfort and efficiency while using a mechanical keyboard. To optimize ergonomics and workflow, consider these tips:
- Swap frequently used keys, like replacing an awkwardly placed backslash with Alt, to reduce finger strain and streamline tasks.
- Use software such as SharpKeys or manufacturer-specific tools to change key functions at the OS level, ensuring the changes suit your needs.
- Test your remapped keys in the applications you use most, like Adobe Premiere Pro, to confirm the layout works smoothly without errors.
- Remember that physical keycaps won’t reflect changes, so add custom keycaps or stickers for clarity and ease of use.
Always back up your settings before making significant remaps to prevent productivity loss.
Advanced Techniques: Creating Macros and Complex Key Sets
Advanced techniques like creating macros and complex key sets can greatly boost your productivity and streamline your workflow. Using tools like QMK or VIA, you can program macros that perform multiple actions with a single key press. These can include launching applications, inserting specific phrases, or controlling multimedia functions.
Layer functionality lets you assign different macros or behaviors to the same physical keys depending on the active layer, effectively increasing your keyboard’s capabilities. QMK requires compiling custom keymaps, while VIA offers an intuitive GUI for real-time macro programming, making adjustments quick and easy.
Many gaming and productivity keyboards support on-board macro storage, allowing your macros to work independently of your OS and across devices. This flexibility helps create a personalized, efficient keyboard experience suited to your daily tasks.
Choosing the Right Remapping Method for Your Keyboard Type
Choosing the right remapping method depends heavily on your keyboard’s manufacturer support, your technical skills, and whether you prefer system-wide changes or application-specific shortcuts.
If your keyboard comes with dedicated software like Corsair iCUE or Razer Synapse, you can easily customize keys at the hardware level—perfect for seamless adjustments. Without proprietary software, you’ll need to rely on OS-level tools such as registry edits or third-party apps like SharpKeys, which affect all applications uniformly.
For advanced users, firmware-based remapping using tools like QMK or VIA offers granular control, especially on compatible keyboards.
Consider these factors:
- Manufacturer support and software availability
- Your technical expertise and comfort level
- Whether you want system-wide or app-specific remaps
- The complexity of your desired remapping features
Final Tips for Maintaining Your Custom Remappings
Maintaining your custom key remappings requires proactive management, especially after system updates or driver installations that can sometimes reset your settings. To avoid losing your configurations, regularly back up your remapping files within your software or export registry changes for quick restoration.
After Windows updates or drivers, test your remapped keys to verify they still work correctly, as updates can disrupt settings. Keep your remapping software updated to benefit from bug fixes, new features, and improved compatibility with your keyboard.
Document your remapping choices clearly, particularly if using multiple layers or complex profiles, to simplify future edits and troubleshooting. If issues arise, reboot your system, or delete and rewrite registry entries through your remapping tool to reset configurations effectively.
Frequently Asked Questions
Can I Remap Keys on Wireless or Bluetooth Mechanical Keyboards?
Yes, you can remap keys on wireless or Bluetooth mechanical keyboards if they support custom software or firmware. Check your keyboard’s documentation or manufacturer’s website to see if remapping is possible and what tools are compatible.
Are There Any Risks of Software Conflicts When Remapping Keys?
Yes, software conflicts can occur when remapping keys, especially if multiple programs try to control the same functions. To minimize issues, use reliable remapping tools and avoid running conflicting software simultaneously. Always back up your settings first.
Is Remapping Permanent or Can It Be Reverted Easily?
Remapping keys on your mechanical keyboard isn’t permanent; you can easily revert changes through the remapping software or reset your keyboard settings. This flexibility allows you to experiment without worrying about losing your original configuration.
How Does Remapping Affect Keyboard Gaming or Software Compatibility?
Remapping can improve your gaming experience and software compatibility when configured correctly, but it might cause conflicts or misinterpretations if not. Always test your settings thoroughly to guarantee smooth functioning across all applications and games.
Can I Remap Multiple Keys at Once Using Specific Software?
Yes, you can remap multiple keys simultaneously using specific software. Many programs allow batch remapping, so you can customize key functions efficiently. Just make sure the software supports your keyboard model and features a user-friendly interface.
In Summary
Remapping your mechanical keyboard keys can boost your productivity and comfort. Whether you choose manufacturer software or system-level tools, finding the right method makes customization easy. Experiment with layouts and shortcuts to suit your workflow, and don’t forget to back up your settings. With a few adjustments, your keyboard can become a powerful tool tailored perfectly to your needs. Start remapping today and enjoy a more efficient, ergonomic typing experience.



