
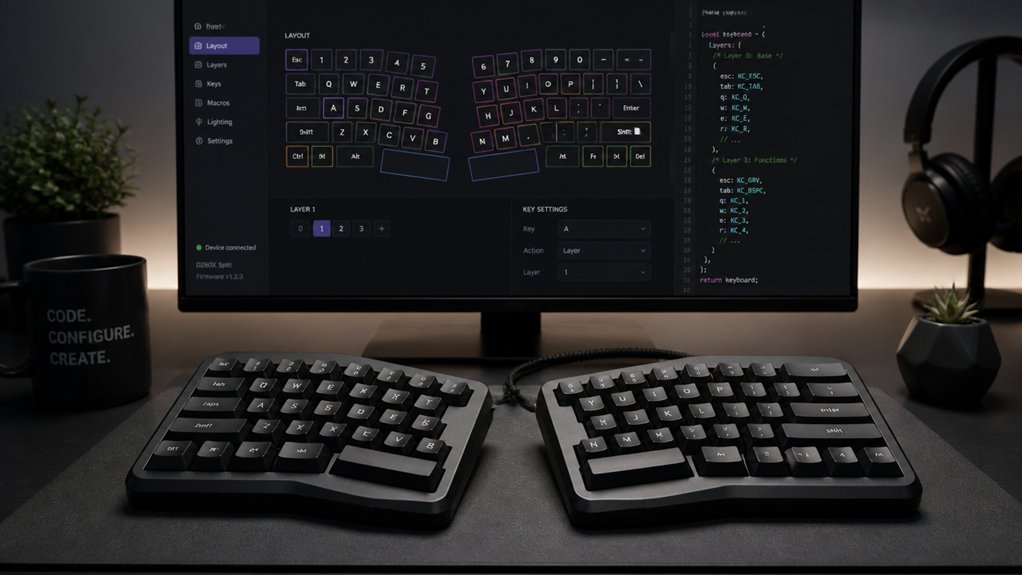
To program split keyboard layouts easily, start by setting up QMK firmware and using tools like QMK Toolbox for flashing. Map your layers for letters, modifiers, and navigation, and assign thumb keys for smooth toggling. Use tap/hold functions and one-shot modifiers to boost efficiency, testing each change for comfort. If you keep exploring, you’ll discover how to optimize your layout further for comfort and speed.
Why Use a Split Keyboard and How to Get Started

Have you ever wondered why so many programmers and ergonomic enthusiasts prefer split keyboards? A split keyboard improves your ergonomic posture by allowing your hands to rest apart, reducing upper back strain and encouraging better sitting habits.
Split keyboards promote better posture, comfort, and reduced strain for programmers and ergonomic enthusiasts alike.
When you start, keep the halves close together to build muscle memory and ease into touch typing. As your comfort grows, gradually increase the distance for better ergonomics.
Programming split keyboards involves customizing keyboard layers, which enable efficient use of limited keys through tap/hold functions and home row modifiers. Popular models like the Ergodox EZ and Moonlander offer user-friendly software and web editors for easy layer setup.
Understanding PCB layout, size, and key switch compatibility is crucial to ensure your keyboard fits your ergonomic needs and typing style. Practicing with tools like Monkeytype helps you adapt quickly, sharpening your skills and ensuring accurate, speedy typing on your split keyboard.
Understanding the Basics of Split Keyboard Layouts
Understanding the basics of split keyboard layouts is essential for customizing your typing experience. Split keyboards use layers to expand key functions, allowing you to access symbols, navigation, or extra functions effortlessly. Ortholinear PCBs arrange keys in straight rows and columns, reducing finger movement and enhancing ergonomic comfort during extended use.
Key features include:
- Layers: Multiple layers enable different key mappings, activated via thumb keys for easy switching.
- Home row modifiers: Keys like ASDF and JKL; can act as both letters and modifiers depending on tap or hold actions, boosting efficiency.
- Firmware support: Using QMK firmware allows programming complex tap/hold actions and managing layers effectively.
- One-shot modifiers: They let you queue modifier keys for upcoming inputs, simplifying shortcut execution without changing hand positions.
How to Set Up Your Firmware Environment (Like QMK)

To set up your firmware environment with QMK, you first need to install the QMK tools, which include the CLI for easy building and flashing your firmware. Next, you’ll configure your keymap files, customizing layers and behaviors like tap versus hold actions. Using QMK’s documentation and web tools can simplify this process, helping you refine your layout before deployment. For optimal results, ensure you understand microcontroller support requirements so your firmware matches your keyboard’s hardware specifications.
Installing QMK Firmware Tools
Setting up your QMK firmware environment involves installing the essential tools to build and flash custom layouts onto your split keyboard.
First, download and install the QMK Toolbox, which simplifies flashing firmware onto split keyboards. Next, clone the QMK Firmware repository from GitHub, giving you the latest features and support. Then, make sure you have Python 3.8+ installed, along with dependencies like `pip`.
Running `qmk setup` from your command line automatically clones the QMK repo and installs required tools. To ensure compatibility, verify that your keyboard layout and key switches are supported by checking the hot-swappable support and key switch types in the QMK documentation. Finally, verify your setup by compiling firmware with `qmk compile -kb
Regular updates via `qmk update` keep your environment current for new split keyboard features.
Configuring Keymap Files
Once you’ve installed the QMK firmware tools and set up your build environment, the next step is configuring your keymap files. This involves editing the `keymap.c` file in your keyboard folder to define layers and assign functions. You’ll specify which keys trigger different layers, using layer switching keycodes for flexibility.
To maximize functionality, implement modifier keys like `MOD_T` and specify tap versus hold actions with `LT()`. Make sure your layers include modifier keys for shortcuts and special commands. Additionally, configure your `config.h` to support split keyboard communication, such as enabling `SPLIT_USB_DETECT`. Understanding the hot-swap compatibility features can help you optimize your setup for easy switch replacement and customization.
Once your keymap is finalized, compile and flash the firmware to your halves, ensuring each communicates properly. Proper keymap configuration is essential for an efficient, customized split keyboard layout.
Mapping Your Custom Keyboard Layers: Letters, Modifiers, and Navigation
To optimize your split keyboard, you’ll want to carefully assign layers for letters, modifiers, and navigation, ensuring quick access and fluid typing. Using techniques like tap versus hold allows you to give dual functions to keys, while holding thumb keys can switch layers seamlessly. Thoughtful placement of modifier keys and navigation controls helps maintain ergonomic comfort and efficiency during extended use. Additionally, customizing key functions with programmable keys can further enhance your workflow and reduce unnecessary finger movement.
Layer Mapping Techniques
Layer mapping techniques are essential for creating an efficient and customizable split keyboard layout. They allow you to switch between layers like base, number, symbol, and navigation seamlessly.
To do this, you can:
- Use thumb keys to toggle layers, such as holding left or right thumb keys to switch between base and navigation layers, keeping flow smooth.
- Implement home row modifiers by assigning tap-for-letter functions and hold-for-modifier keys (Ctrl, Shift, Alt, Cmd) to maximize efficiency.
- Incorporate One Shot Modifiers, queuing modifier keys for the next press across layers, enabling quick shortcuts without shifting layers.
- Design navigation layers with Vim-style arrow keys and dedicated thumb keys for cursor movement, allowing seamless navigation without leaving the home row.
- Take advantage of hot-swappable switches, which make customization easier without soldering, enabling rapid layer adjustments as your needs evolve.
Assigning Modifier Keys
Assigning modifier keys effectively is essential for optimizing your split keyboard layout, especially when space is limited. You can use home row modifiers with tap vs. hold functionality to maximize efficiency and minimize hand movement. This approach allows you to assign modifier keys such as Shift, Ctrl, or Alt to keys on the home row, making shortcuts faster and more natural. Additionally, using hot-swappable switches enables easy customization and adjustments to feel and performance. Thumb keys are ideal for dedicated modifiers like Space, Backspace, or layer switching, offering ergonomic benefits and smooth typing flow. Layer switching can be achieved by holding thumb keys that act as modifiers, enabling seamless toggling between letters, symbols, and navigation. Additionally, incorporate One Shot Modifiers to apply a modifier to the next key press without continuous holding, simplifying shortcut execution and maintaining muscle memory.
How to Use Layer Toggles and Access Keys Effectively

Using layer toggles and access keys effectively can greatly expand your split keyboard’s functionality without cluttering the layout. By assigning layer toggling keys, such as #=+ or 123, you can switch between base, number, and symbol layers seamlessly.
Holding thumb keys to momentarily shift layers, like in the Callum layout, creates a smoother typing flow. Dedicated thumb keys for common functions like Space and Backspace make layer access quick and comfortable.
Additionally, home row modifiers activated by holding keys provide dual functionality without adding extra keys. Incorporating one-shot modifiers applies shortcuts across layers with a single press. Understanding how switch testing helps identify preferred switch feel can also inform which keys to assign for optimal comfort and responsiveness during heavy typing sessions.
Implementing Tap and Hold Modifiers for Efficient Coding
Implementing tap and hold modifiers lets you double the functionality of each key, making your coding workflow more efficient on compact split keyboards. This technique can also help you customize programmable layers to assign multiple actions for each key, further reducing the need for extra keys. You can assign home row keys as layered modifiers or shortcuts, reducing hand movement and increasing speed. This approach streamlines your layout by minimizing physical keys needed for modifiers without sacrificing functionality.
Efficient Modifier Usage
Tap and hold functionality in QMK firmware transforms a single key into a dual-purpose tool, allowing you to type normal characters when tapped and act as modifiers when held. This setup maximizes efficiency, especially with split keyboards.
To optimize modifier use:
- Implement tap and hold for home row modifiers, so your fingertips double as modifiers like Ctrl, Shift, Alt/Opt, and Cmd/Super.
- Use one shot modifiers in combination with tap/hold keys to queue shortcuts without keeping fingers on modifiers.
- Assign modifiers to keys based on ergonomics, prioritizing common shortcuts.
- Combine thumb keys for layer switching with tap and hold modifiers, enabling quick access to symbols and commands.
This approach streamlines coding workflows, reduces finger travel, and keeps your hands in a natural position.
Layered Key Customization
Layered key customization transforms your split keyboard into an adaptable tool by assigning multiple functions to a single key through tap and hold actions. With layer switching, you can hold designated thumb keys to seamlessly access layers like numbers, symbols, or navigation, keeping your hands centered.
Tap and hold functionality in QMK firmware enables keys to produce different outputs: a quick tap for a character, or a hold to activate a modifier such as Ctrl, Shift, or Alt. Incorporating home row modifiers enhances efficiency by allowing you to input shortcuts without moving your hands.
One Shot Modifiers queue modifier states for the next key, streamlining commands like Ctrl+S or Alt+Tab. This layered approach reduces hand movement, conserves thumb use, and makes coding faster and more ergonomic.
Setting Up One-Shot and Sticky Modifiers for Faster Workflow
To accelerate your workflow on split keyboards, setting up one-shot and sticky modifiers can make a significant difference. These features let you activate modifiers quickly without holding keys down constantly, boosting efficiency.
Here’s how to do it:
- Enable one-shot modifiers in your QMK configuration to apply a modifier with a single tap.
- Configure sticky modifiers to stay active until you cancel them, ideal for complex shortcuts.
- Assign these modifiers to home row keys for seamless access without disrupting regular tap behavior.
- Use cross-layer support to keep modifiers active across different layers, especially in symbol or navigation modes.
Implementing these features on your splits keyboard minimizes finger strain, reduces hand movements, and streamlines multi-key operations. This creates a faster, more fluid typing experience.
Common Firmware Programming Problems and How to Fix Them
Firmware programming for split keyboards can present various challenges that hinder smooth operation and user experience. Layer toggling issues often cause accidental switches, disrupting typing flow. To fix this, hold layer-switch keys on thumb keys instead of toggling, improving usability.
One Shot Modifiers help by applying to just the next key press, even across additional layers, but improper setup can lead to inconsistent behavior.
Misplaced symbols or incorrect layer assignments cause discomfort and inefficiency, requiring iterative testing to find ideal configurations. Be mindful of gaming mode layers—dedicated layers prevent modifier conflicts with home row mods, enabling smooth multi-key presses like to control multiple WASD keys.
Carefully adjusting layer toggling, implementing one shot modifiers correctly, and testing layout changes create a more reliable and efficient split keyboard setup.
How to Test and Refine Your Keyboard Layout for Comfort and Speed
Testing and refining your keyboard layout is essential to achieving the perfect balance of comfort and speed. Start by using typing tutors like Monkeytype or TypeRacer right after setup to assess your speed and accuracy with the new layout.
Experiment with tap versus hold functions and home row modifiers to see what reduces finger movement and feels ergonomic. During testing, switch between layers like navigation, symbols, and numbers to identify keys you use frequently that might need repositioning.
Track any discomfort or fatigue during extended sessions to adjust thumb key assignments or layer toggling methods for better ergonomics. Continuously refine your layout by observing where your typing flow slows down or interrupts, ensuring a seamless balance of speed, comfort, and efficient keyboard shortcuts.
Sharing Your Custom Layouts and Getting Community Feedback
Sharing your custom layouts online reveals valuable opportunities for feedback and collaboration within the community. By posting on platforms like GitHub or keyboard forums, you invite others to review your design, suggest improvements, and share experiences. To maximize helpful input, include detailed explanations of layer structures, key assignments, and the reasoning behind choices. Incorporating configuration files like QMK source files, along with typing videos or images, helps others understand your layout clearly. Engaging in discussions about issues like symbol placement or gaming layers allows for diverse perspectives that refine your design. Responding to feedback with updates and logs shows active development, encouraging ongoing community support.
| Idea | Action |
|---|---|
| Sharing custom layouts | Post on forums, include configs and visuals |
| Receiving feedback | Request specific suggestions, clarify design principles |
| Improving through edits | Update layouts based on community insights |
Frequently Asked Questions
Can I Convert an Existing Keyboard Layout to a Split Design Easily?
Yes, you can convert an existing layout to a split design easily by using customizable firmware like QMK or VIA, then reprogramming each half’s keymap. This allows flexible adjustments suited to your ergonomic and functional preferences.
How Do I Assign Macros or Complex Commands to Split Keyboard Keys?
You assign macros or complex commands by programming each key through your keyboard’s software. Select the key, input or record the macro, and save your configuration. Test the functionality to guarantee your commands execute correctly.
What Tools Are Best for Visualizing and Editing Split Keyboard Layouts?
You should try programs like Keyboard Layout Editor or Karabiner-Elements. You can visually design, modify, and test your layouts easily, tweaking key positions and functions while ensuring compatibility with your hardware and preferences.
How Do I Troubleshoot Connectivity Issues With Custom Split Keyboards?
You should check all cable connections first, make certain your firmware is up-to-date, and re-pair your keyboard. If issues persist, reset the device, update drivers, and consult the manufacturer’s troubleshooting guide for specific steps.
Are There Recommended Ergonomic Practices When Designing Custom Key Placements?
When designing custom key placements, prioritize natural hand arches, reduce finger movement, and align keys with your fingertips. Use ergonomic principles like split layouts and tenting to minimize strain, enhancing comfort and efficiency during extended typing sessions.
In Summary
By understanding the basics and leveraging firmware tools like QMK, you can easily customize your split keyboard for maximum comfort and efficiency. Experiment with layers, toggles, and modifiers to find what works best for your workflow. Don’t hesitate to test and refine your setup until it’s just right. Sharing your layouts with the community can also provide valuable feedback. With a bit of patience, you’ll create a typing experience perfectly tailored to your needs.



