

Using sound dampening foam in your keyboard helps absorb vibrations and reduce noise from each key press, creating a quieter, more satisfying typing experience. It minimizes hollow echoes, pinging, and resonance, making your keystrokes sound deeper and more solid. Plus, it helps improve overall comfort and protects against dust and moisture. If you want to know how this simple upgrade can transform your keyboard’s sound and feel, keep exploring the details.
What Is Sound Dampening Foam and How Does It Work?
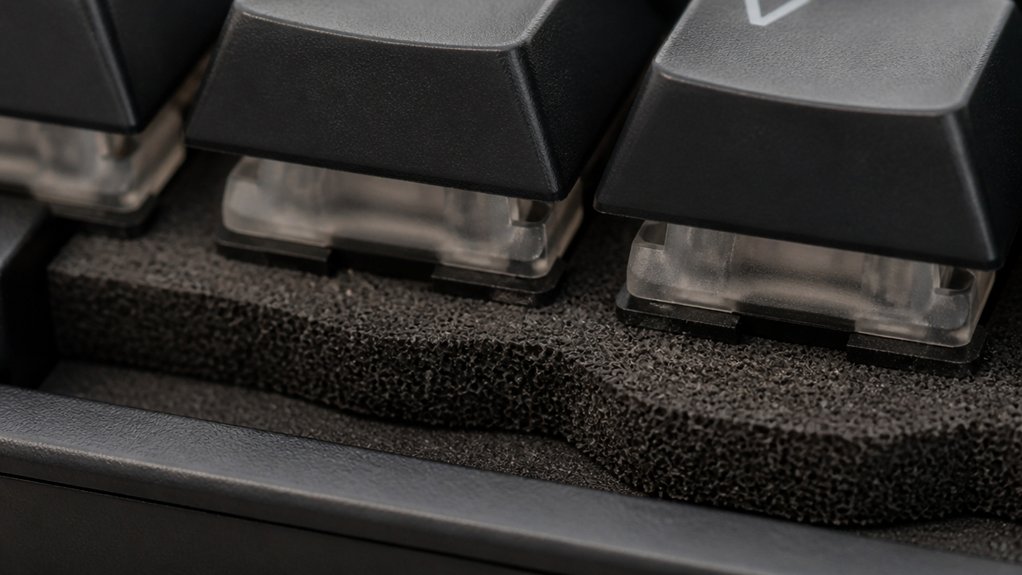
Have you wondered how some mechanical keyboards stay quiet and sound solid? That’s where sound dampening foam comes in. This specialized material is installed inside your keyboard to absorb vibrations and reduce noise from keypresses.
It works by filling the cavity between the PCB and the keyboard case, which minimizes sound reflections and cavity resonance—the main causes of pinging or hollow sounds. The foam transforms loud keystrokes into softer, deeper sounds, making your typing feel more solid.
Typically, foam thickness ranges from 1.5mm to 3mm, with materials like Poron or neoprene chosen for their sound-absorbing qualities. By altering how sound waves behave inside the keyboard, sound dampening foam creates a quieter, more tactile typing experience with less noise disruption. Material quality plays a crucial role in ensuring effective vibration absorption and long-term durability.
Why Use Foam to Improve Keyboard Sound?
Wondering why foam makes such a noticeable difference in keyboard sound? It’s because keyboard foam can reduce noise by 30%-50%, turning loud keystrokes into softer, deeper sounds.
Keyboard foam can cut noise by up to half, creating quieter, deeper keystrokes for a better typing experience.
By filling internal cavities, foam absorbs vibrations and sound waves, preventing hollow reverberation and metal ping noises. Placing foam between the PCB and case blocks echo noise, creating a more stable, solid typing profile preferred by many users.
- It minimizes unwanted resonance and keypress sound variance inside your mechanical keyboard.
- It maintains responsiveness and backlighting features while making your typing quieter.
- It transforms noisy keystrokes into a more subdued, pleasant sound that feels better to type on.
- The choice of material density and thickness further influences how effectively the foam dampens sound and improves the overall typing experience.
Using keyboard foam is an effective way to improve sound quality without sacrificing performance or aesthetics.
How to Choose the Best Sound Dampening Foam for Your Keyboard
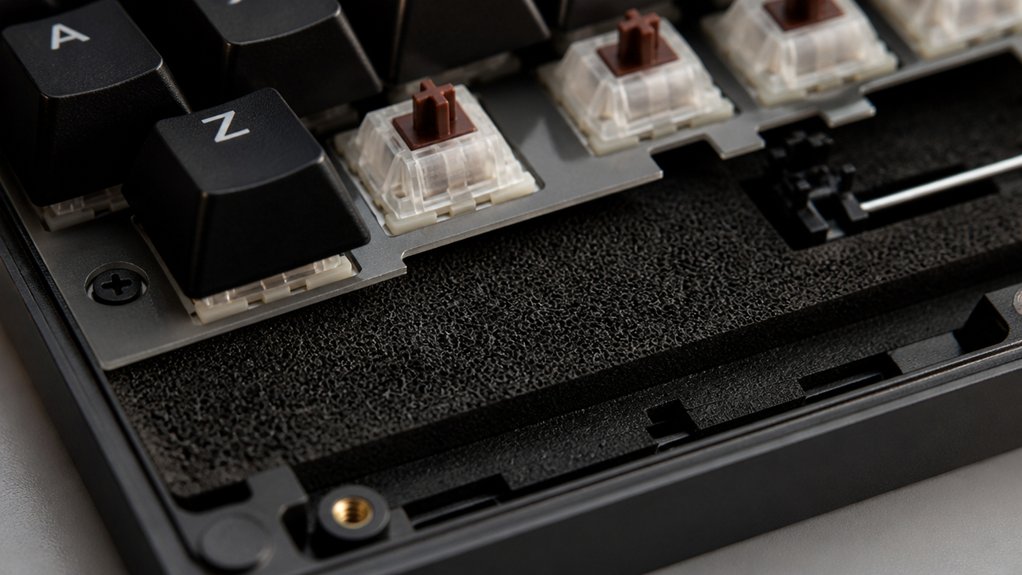
When choosing sound dampening foam, you’ll want to take into account materials like Poron, silicone, or neoprene for effective noise reduction. Using foam with the right closed-cell structure ensures better weather resistance and durability in your keyboard setup. Make sure the foam thickness and shape fit your keyboard’s size and internal layout, possibly needing to cut it to size. Additionally, select a foam that’s easy to install and balances sound absorption with your keyboard’s design and acoustics.
Foam Material Options
Choosing the right foam material for sound dampening in your keyboard depends on balancing your specific needs with the compatibility of different options. Foam options vary in noise reduction, durability, and ease of installation.
Self-adhesive foam sheets can simplify installation and ensure secure placement, especially in complex layouts. Silicone pads are popular for their significant noise reduction and simple setup. Foam padding, especially between 1.5mm to 3mm thick, offers an affordable and versatile solution suitable for various keyboard layouts. Rubber pads deliver durability and excellent rebound performance for long-lasting dampening.
Poron foam, like the 2mm LE-20 used in HONKID keyboards, absorbs cavity noise and minimizes echo inside the case. When selecting foam, confirm compatibility with your keyboard model, as some foams are universal, while others are tailor-made for specific designs. Density and Thickness are critical factors that influence the effectiveness and suitability of the foam in different keyboard configurations.
Thickness and Compatibility
Selecting the right sound dampening foam involves considering its thickness and how well it fits inside your keyboard. Foam would need to strike a balance: thick enough—typically around 2mm—to provide effective noise reduction without causing case bulging or misalignment. Thinner options, like 1.5mm, can be better for keyboards with tight internal tolerances. Additionally, choosing foam with the appropriate density ensures it effectively absorbs sound without being overly compressible. Compatibility depends on your keyboard’s layout and internal cavity size; foam sheets sized around 50 cm x 15 cm are versatile, allowing customization through cutting for 60%, 87-key, or full-size keyboards. Materials like Poron or neoprene are popular because they absorb sound effectively and minimize cavity echo without impacting key feel. Prior testing with different thicknesses and materials can help guarantee the foam would enhance sound dampening without compromising your keyboard’s performance.
Installation Considerations
To install sound dampening foam effectively, you’ll want to focus on proper fit and placement within your keyboard. Choose foam thicknesses between 1.5mm and 3mm to balance noise reduction and fit.
Select compatible materials like Poron, neoprene, silicone, or rubber based on your desired noise absorption and durability. Make certain that the foam size and shape can be easily trimmed or come pre-cut for your specific keyboard layout—whether it’s a 60%, 87-key, or 104-key model—to prevent improper fitting or bulging.
Consider different foam placement options—such as in the bottom case cavity, between the PCB and plate, or on switch pads—to customize acoustic performance. Depending on your skill level, installation can be quick and simple, typically taking 15–30 minutes for beginners.
Additionally, choosing high-quality gasket-mount kits ensures better sound dampening and overall keyboard stability, contributing to a quieter and more refined typing experience.
Can You Install Keyboard Foam Yourself? Easy DIY Tips
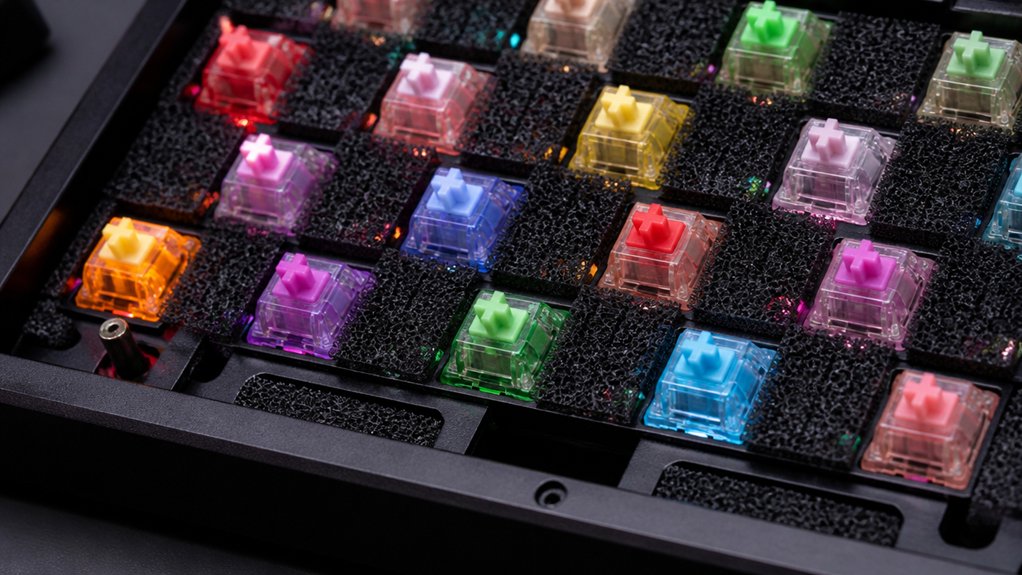
Installing keyboard foam is a straightforward DIY project that only takes about 15-30 minutes and uses basic tools like screwdrivers and tweezers. You’ll remove the keycaps, open the case, and carefully insert trimmed foam into the right spots. With some patience, you can achieve a snug fit and improved sound, all while cleaning and customizing your keyboard. For optimal results, ensure that the foam doesn’t interfere with the stability and fit of the key switches or mechanisms.
Necessary Tools and Materials
Sound dampening foam is a straightforward upgrade that can greatly improve your keyboard’s noise profile. To install foam yourself, you’ll need a few basic tools and materials.
First, a screwdriver is essential for opening your keyboard case safely. Tweezers come in handy for precise placement of the foam inside tight spaces, especially around small parts. Additionally, having a good pair of scissors or a craft knife is vital for cutting foam sheets, like HONKID 2mm Poron foam, to the right size for your keyboard layout.
When working on the keyboard case, verify the foam is placed flat inside the base or between the PCB and case for peak sound absorption. With these tools, you can efficiently complete your DIY upgrade in about 15-30 minutes.
Step-by-Step Installation Process
Ever wondered how easy it’s to upgrade your keyboard with sound dampening foam? If you have a mechanical keyboard, installing foam is straightforward and beginner-friendly.
Start by removing the keycaps and unscrewing the keyboard case to access the internal cavity. Measure and cut the foam slightly larger than the cavity, then carefully trim it to fit snugly without bulging or misaligning inside your keyboard.
Place the foam either beneath the PCB or between the PCB and plate, depending on your preferred sound profile. This process takes around 15-30 minutes and allows you to both improve sound absorption and clean dust from inside your keyboard.
Ensure you select the right hot-swap PCB to easily change switches without soldering, making future modifications more convenient. With basic tools like screwdrivers and tweezers, you can easily complete this DIY project at home.
Tips for Precise Fitting
Achieving a precise fit when installing foam inside your mechanical keyboard starts with careful measurement and cutting. Remove keycaps and unscrew the case first; then, use the keyboard or backplate as a stencil.
Cut the foam slightly larger than the internal cavity, then trim carefully to guarantee a snug, gap-free fit. This prevents excess bulk that could affect key travel or cause bulging.
For peak results, aim for foam thickness around 2mm to 3mm, balancing noise reduction with comfort. Use scissors or blades for clean cuts, and check fit frequently during installation.
With basic tools, you can comfortably install foam yourself in 15-30 minutes. Remember, precise fitting enhances both sound dampening and mechanical feel. To ensure optimal acoustic properties, consider how sound calibration and microphone placement] influence your testing setup.
- Use the backplate as a reference for accurate cutting
- Trim gradually for a perfect, snug fit
- Avoid foam that’s too thick to prevent key pressure
Benefits of Adding Foam to Your Mechanical Keyboard
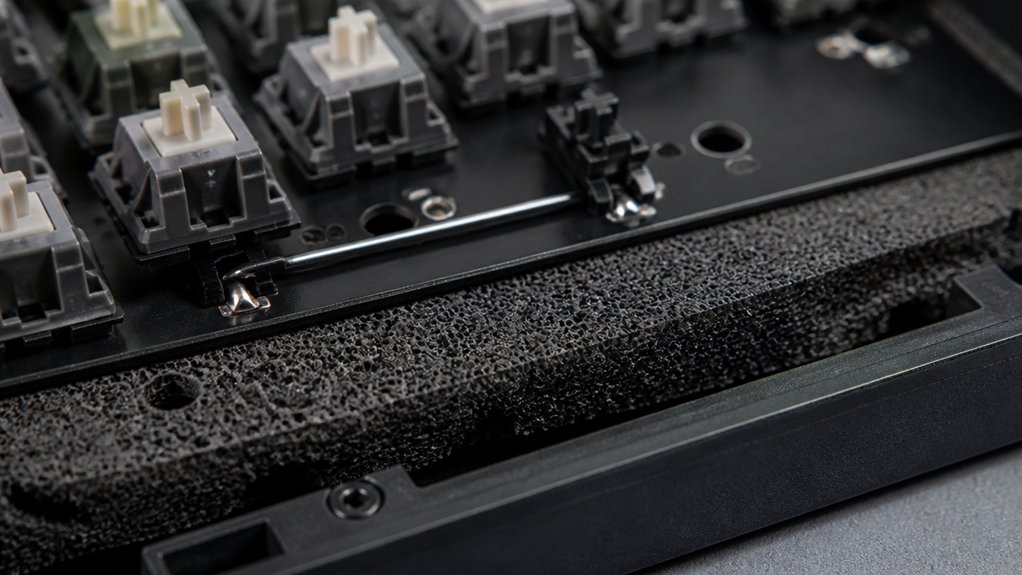
Adding foam inside your mechanical keyboard offers a significant reduction in noise, often lowering sound levels by 30% to 50%. This directly improves the keyboard sound, making it less sharp and metallic, and more pleasant to hear. Foam absorbs vibrations inside the case, transforming loud keystrokes into softer, deeper sounds that boost typing comfort. Using sound dampening foam enhances the overall acoustic profile by minimizing resonance and echo. It also helps eliminate hollow reverberation and echo noise, giving your keyboard a clearer, more refined acoustic profile. Different foam placements, like underneath the PCB or between the plate and case, allow you to customize your sound signature by reducing resonance and stabilizing keypresses.
Plus, foam provides extra protection against dust and moisture, helping keep your keyboard in better condition and extending its lifespan.
How Foam Enhances Your Keyboard’s Sound and Feel
Have you noticed how the right placement of foam inside your keyboard can dramatically improve its sound? Sound dampening foam absorbs vibrations within the case, transforming loud keystrokes into softer, deeper sounds that cut down hollow reverberation and metal pinging.
Installing 2mm to 3mm thick foam between the PCB and case cavity minimizes echo noise, resulting in a more satisfying “thock” sound. It also changes the acoustic environment by limiting air reflections, so switch sounds come through clearer without sacrificing natural resonance or tactile feedback.
Additionally, foam enhances typing comfort by stabilizing keys and reducing rattling noises.
- Absorbs vibrations to produce richer, more controlled sounds
- Reduces unwanted echo and metallic pinging
- Increases typing comfort and keyboard stability
Frequently Asked Questions
Should I Put Foam in My Keyboard?
Yes, you should put foam in your keyboard if you want quieter, deeper sounds and reduced echo. It’s a simple, effective mod, especially for beginners, that can greatly enhance your typing experience without complex modifications.
Do Soundproof Foams Actually Work?
Yes, soundproof foams really work. You’ll notice a 30-50% noise reduction, softer keystrokes, and a deeper sound. Proper placement enhances the effect, making your typing quieter and more comfortable without sacrificing performance.
Does Keyboard Foam Make It Quieter?
Yes, keyboard foam makes it quieter by absorbing vibrations and sound waves, reducing echo and ping noises. You’ll notice softer, deeper key presses that considerably lower overall noise, creating a more pleasant, less disruptive typing experience.
What Are the Benefits of Using Case Foam on a Keyboard?
Using case foam on your keyboard reduces resonance and unwanted noise, making your typing sound deeper and more satisfying. It also minimizes sound variance, enhances switch acoustics, and offers protection against dust and moisture, boosting durability and overall experience.



